
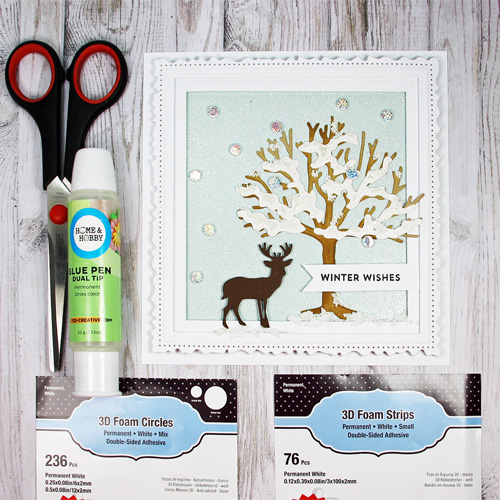
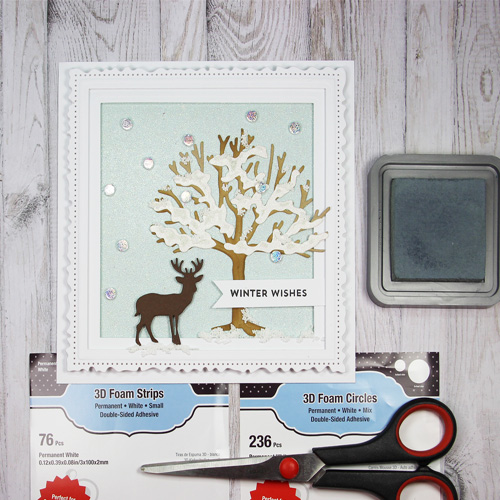
Hi everyone, Yvonne here with a framed winter wishes card. I am using the NEW 3D Foam Strips to lift up the detailed framing on my card front. They are only 1/8-inch wide, so perfect for this kind of job.
Framing Details
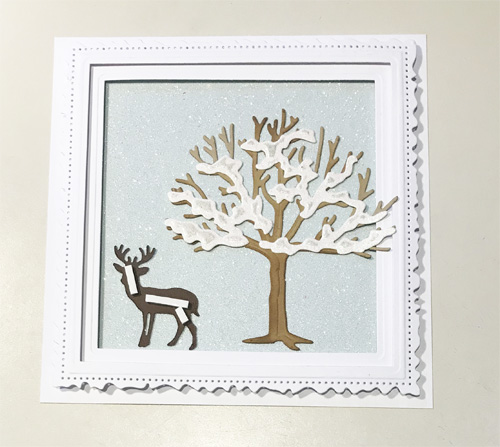
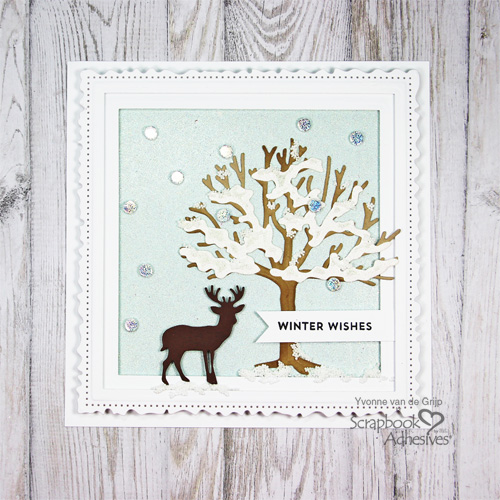
Die-cut a square with a pale glittered square and placed it on an A4 size white cardstock with the E-Z Runner® Grand Refillable Dispenser.
To create an open decorative frame, I nest a decorative edge square with a square shape inside, secure with washi tape and die-cut a piece of white cardstock with a die-cutting machine.
Next, I needed a straight-edge open frame to compliment the large frame. Nest two square dies, secure with washi tape and die-cut with white cardstock.
Stack the two frame shapes by putting 3D Foam Strips to the back of the larger window frame and adhere to the smaller frame.
To give the frame more height place 3D Foam Strips to the back of the stacked frame, remove the liner and adhere to the blue glittered square.
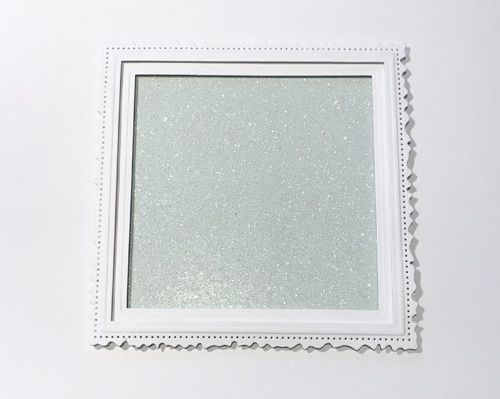
Cut the white cardstock A4 sheet to a size slightly larger than the stacked frame to create the card base.
Building the Card Front
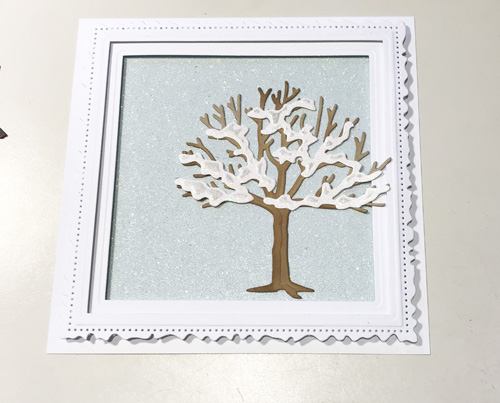
Die-cut and emboss a tree shape from kraft cardstock and then shade it with brown ink and an ink blending tool. Using the fine tip on the Dual Tip Glue Pen, adhere the tree to the card.
For the snow tops on the branches, die-cut and emboss from white glittered cardstock. Keep the die cut in the etched die and stencil through the die with grey ink and an ink blending tool. Remove and adhere it to the card base with the Dual Tip Glue Pen.
The deer is die-cut from dark brown cardstock and placed on the card using 3D Foam Strips. Finally, secure a stamped sentiment to the card with 3D Foam Circles White Mix.
Adding Sparkle
We are creating snowflakes by adding 3D Foam Circles White Mix and Metallic Transfer Foil Sheets Holographic Colors to Wear Your Adhesive on the Outside. Instead of using adhesives between layers of paper, we bring them out as embellishments!
Randomly place the 3D Foam Circles in small size on the card front, remove the top liner, place desired foil (color side UP), rub with fingertips to transfer the color and peel away to see the color.
For an extra snowy effect, I put some foam ball clay on to the branches and on the ground.
Stamp a sentiment onto white cardstock, cut into a banner shape and adhered it to the card frame using 3D Foam Circles White Mix.
And…voila…your Framed Winter Wishes card is ready. I hope you enjoyed the tutorial and wish you happy winter crafting!
Yvonne van de Grijp
Creative Time: 40 minutes
Skill Level: Intermediate
Materials needed:
Scrapbook Adhesives by 3L®
3D Foam Circles White Mix
E-Z Runner® Grand Refillable Dispenser
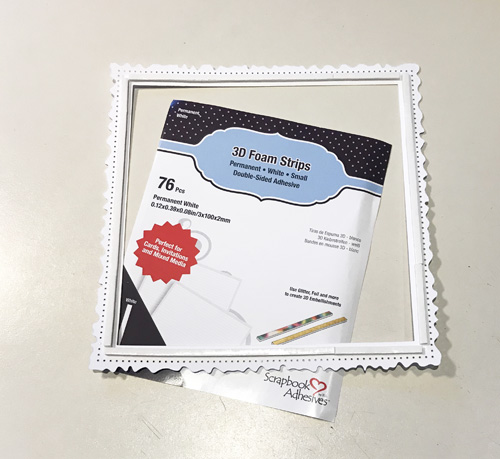
3D Foam Strips
Metallic Transfer Foil Sheets Holographic Colors
HomeHobby™ by 3L
Dual Tip Glue Pen
Other
Etched Dies and Die Cutting Machine: Spellbinders® Paper Arts (6×6 Matting Basics B Card Creator, Shapeabilities Vintage Stitched Squares – Marisa Job); Clearstamps (My Favorite Things: Bitty Holiday Wishes); Inkpads (Black, Grey, Brown); Ink Blending Tool; Acrylic Stamp Block; Cardstock (White, White Glitter, Blue Glitter, Kraft, Dark Brown); Foamball Clay
Save It on Pinterest!
Visit our Website and Blog!
Sign up for our Newsletter so you never miss a contest or giveaway!


