
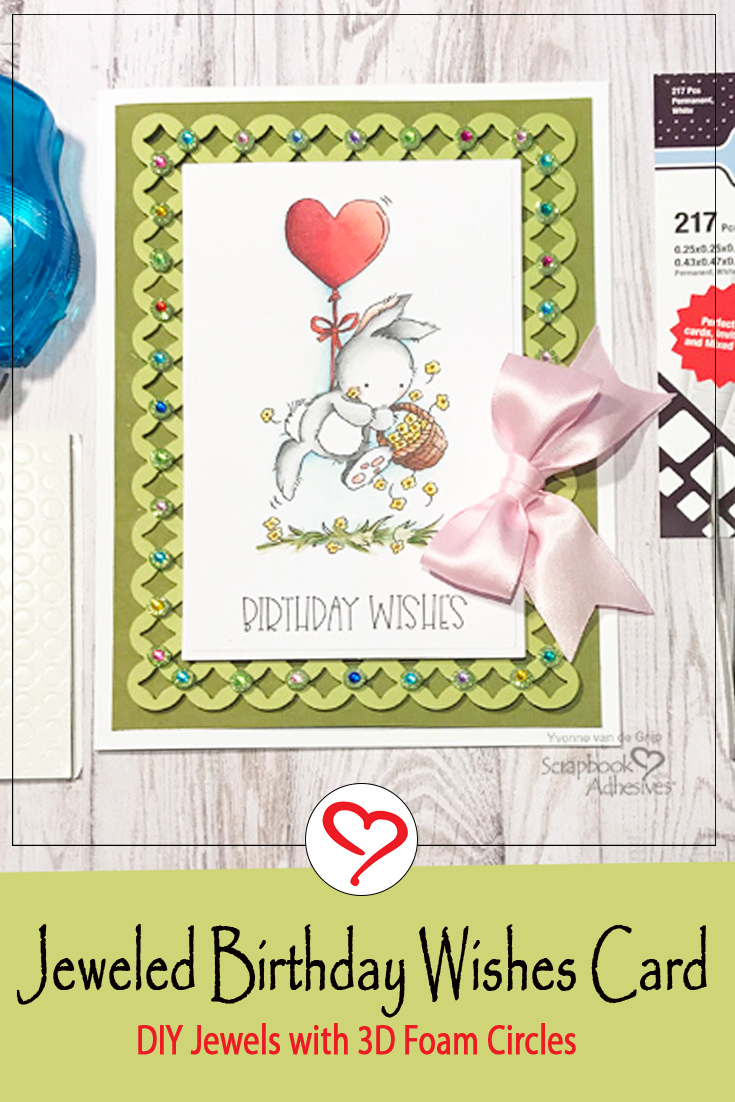
Hi everyone, Yvonne here! Today I am sharing how to make a Jeweled Birthday Wishes Card. With a little help of the 3D Foam Circles White Mix, it’s easy to create these sparkly accents to Wear Your Adhesive on the Outside.
Spring (and Easter) is around the corner so why not use a cute bunny as a focal piece on my card. Let me show you how I made my card.
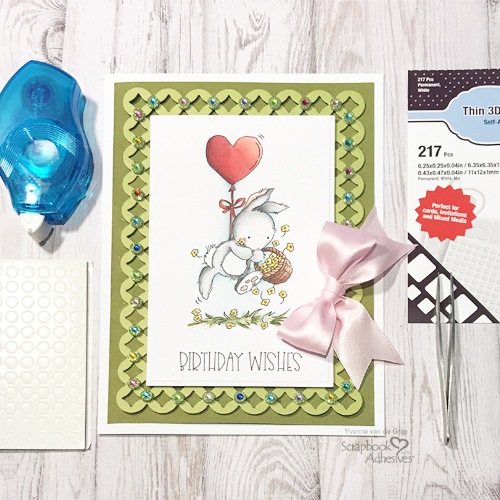
Jeweled Birthday Wishes Accents
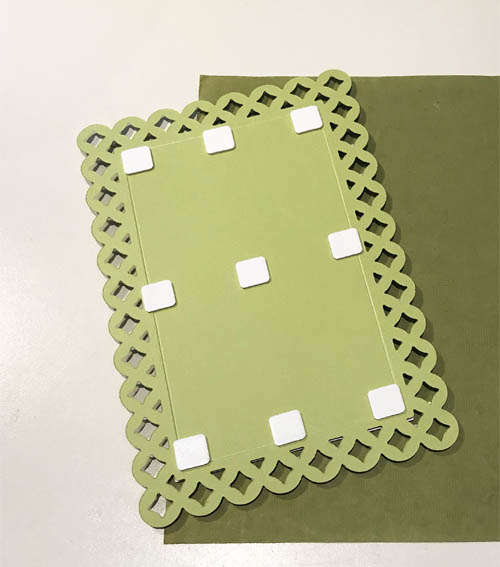
Start by die-cutting a lattice rectangular shape from green cardstock. On the edges, I will make the glitter jewel accents.
Wear Your Adhesive on the Outside by adhering 3D Foam Circles White Mix to the edges of the lattice rectangular shape. I used the small circles from the 3D Foam Circles White Mix.
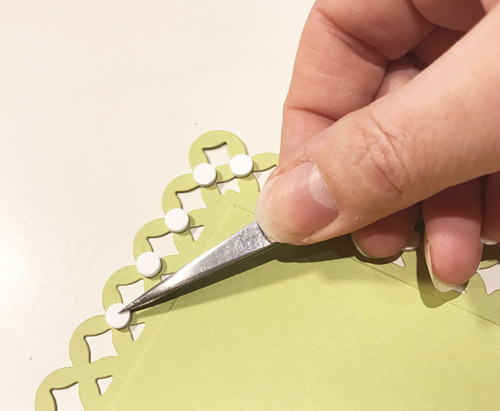
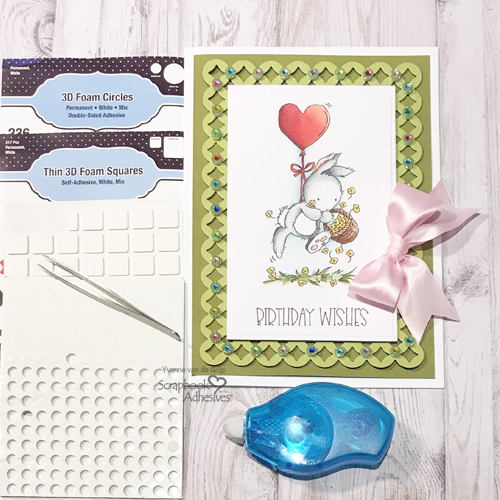
Remove the top liners from the 3D Foam Circles White Mix. Adhere small rhinestones on top of each circle. Make sure that the rhinestones are smaller in diameter.

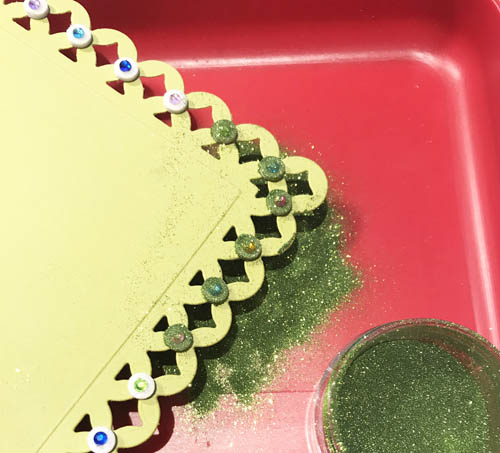
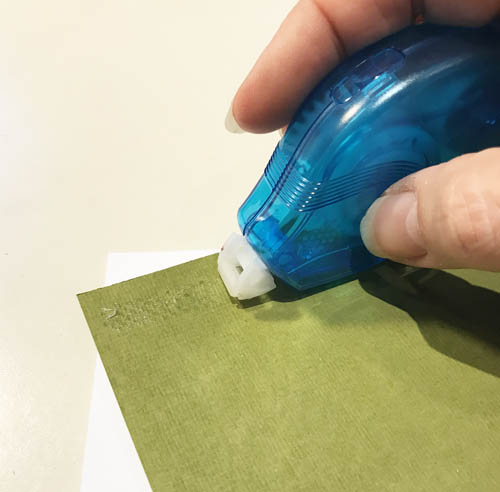
Next, sprinkle green fine glitter over the 3D Foam Circles White Mix and then tap and brush off the excess glitter. I loved how this part of my Jeweled Birthday Wishes Accent Card turned out!
Card Layers
Print a digi-stamp and matching sentiment out onto white cardstock. Use markers to color the image. Then die-cut it into a rectangle size that fits the green jeweled card panel. Lift and attach the white cardstock panel with Crafty Foam Tape White to the green jeweled card panel.
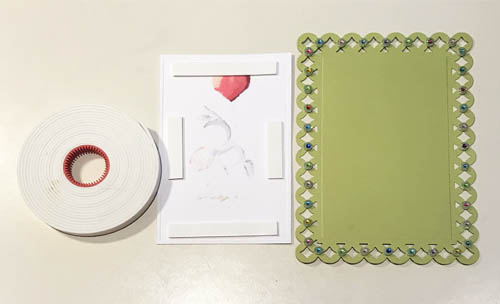
Secure the layered card panel onto a dark green card panel with Thin 3D Foam Squares White Mix for a subtle dimension.
Finally, adhere the stacked card panel onto a white card base using the E-Z Runner® Petite Permanent Dots Refillable Dispenser.
Finishing Touches
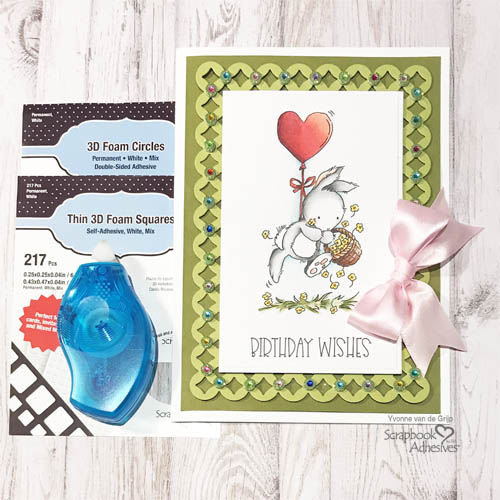
Make a pink satin bow and adhere to the card base using Premium Double-Sided Tape 1/8in. This tape is a great way to prevent any glue shining through the ribbon! And voila…your bunny card with glitter jewels is ready.
I hope you enjoyed the tutorial and wishing happy jeweled crafting day!

Creative Time: 30 minutes
Skill Level: Intermediate
Materials needed:
Scrapbook Adhesives by 3L®
3D Foam Circles White Mix
Crafty Foam Tape White
Thin 3D Foam Squares White Mix
E-Z Runner® Petite Permanent Dots Refillable Dispenser
HomeHobby™ by 3L
Premium Double-Sided Tape 1/8in
Other
Etched Dies and Die Cutting Machine: Spellbinders® Paper Arts (5×7 Matting Basics B Card Creator, 5×7, Fanciful Lattice Card Creator, Platinum 6 Die-Cutting and Embossing Machine); Lili Of the Valley (Digi-stamps: Bunnies Flower Basket, Little Friends Extra); Cardstock (White, Soft Green, Olive Green); Pink Satin Bow; Paper Trimmer; Tweezers; Bone Folder
Save It to Pinterest!
Visit our Website and Blog!
Sign up for our Newsletter so you never miss a contest or giveaway!


