
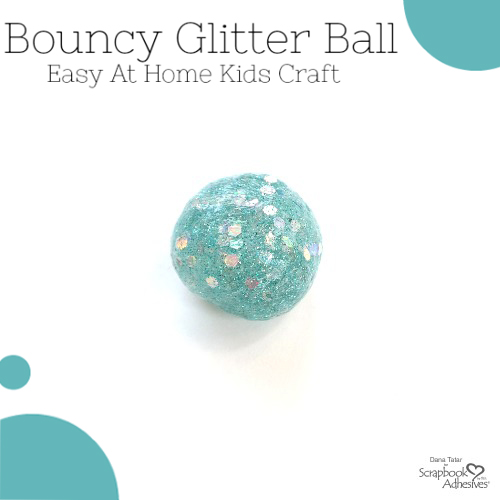
Hi friends! Dana here today sharing a fun kids craft tutorial for DIY bouncy glitter balls. It’s only two weeks into summer vacation and I have heard the phrase ‘I’m bored’ more times than I care to count. This simple project uses two basic craft staples and one common household item.

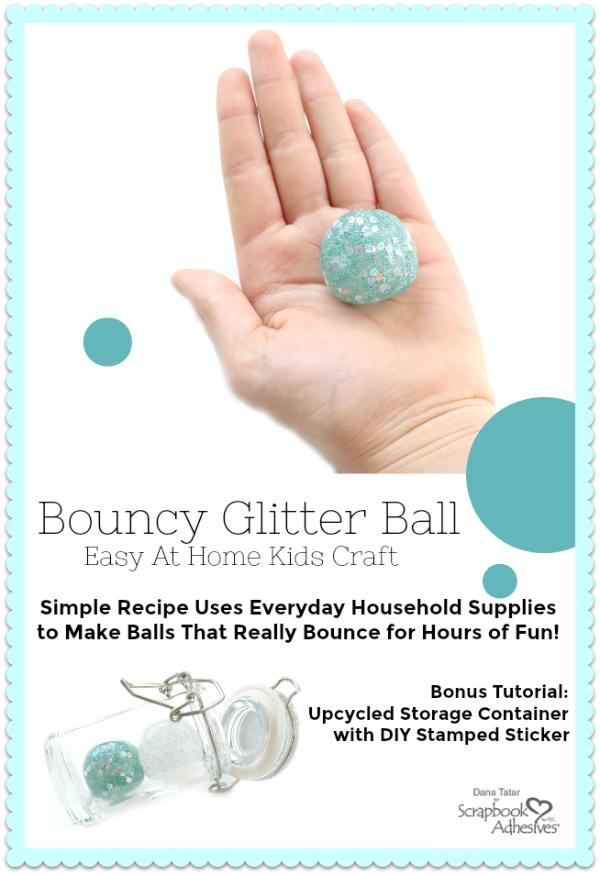
In less than 15 minutes my kids had several bouncy balls that produced hours of fun! The WOW! Sparkles Premium Glitter that I mixed into the ball shown above catches the light is a fantastic way.
DIY Glitter Bouncy Ball Tutorial
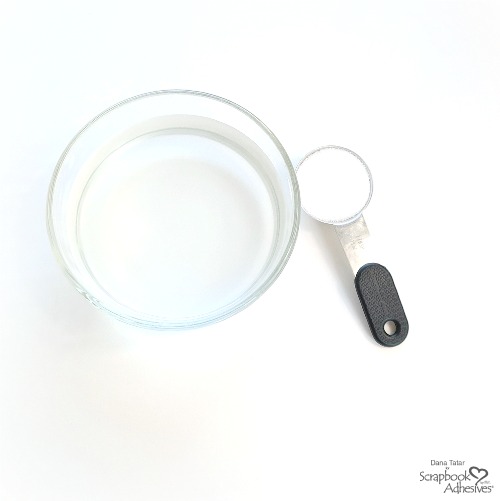
Dissolve 1 tablespoon of Borax into 3/4 cup of warm water.
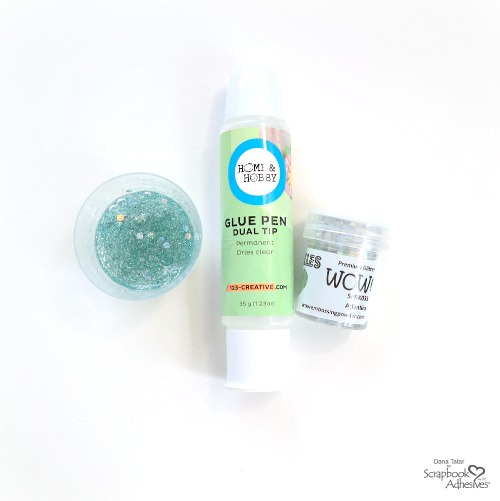
Squeeze 1 tablespoon of Dual Tip Glue Pen Clear Glue into a small container. Sprinkle a small amount of WOW! Sparkles Premium Glitter onto the glue. Stir to combine.

Pour the glitter glue mixture into the Borax solution. Press and squeeze the glitter glue together with your fingers until the mixture is no longer sticky.
Remove the glitter glob from the Borax solution and roll into a ball shape.
Bouncy Ball Storage
The bouncy balls will eventually dry out if left exposed to air. My kids were happy to zip their balls into a plastic bag. I wanted something a little cuter to hold my bouncy balls so I upcycled a small glass jar.
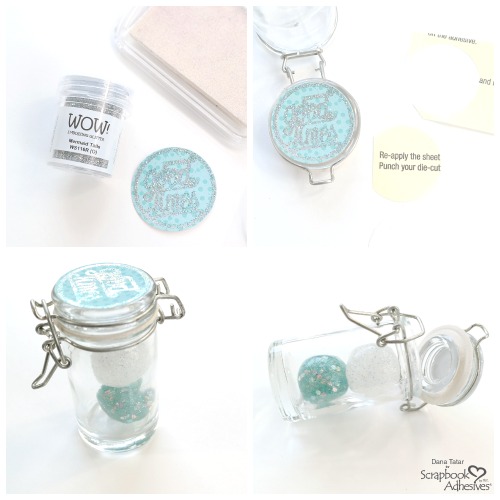
1. Apply embossing ink onto a stamp and press onto patterned paper (or cardstock). Sprinkle on WOW! Mermaid Tails Embossing Glitter. Tap off the excess powder and apply heat to set.
2. Use a 6×12 Inch Adhesive Sheet to create a sticker. Punch a circle from the adhesive sheet. Remove the yellow backing paper and align the paper onto the adhesive. Remove the back liner and adhere to the project.
These bouncy balls will flatten over time. Warm the ball in your hand and roll to reshape to continue the fun. Thanks for stopping by today!
~Dana Tatar
Creative Time: 15 minutes
Skill Level: Beginner
Materials Needed:
Scrapbook Adhesives by 3L®
Adhesive Sheets 6×12 Inch
HomeHobby™ by 3L
Dual Tip Glue Pen
Wow! Embossing Powder
Atlantica Sparkles Premium Glitter
Bridal Sparkles Premium Glitter
Mermaid Tail Embossing Glitter
Other
Borax; Patterned Paper; Stamp: Studio Calico; Embossing Ink: Clearsnap
Save to Pinterest Now!
Visit our Website and Blog!
Sign up for our Newsletter so you never miss a contest or giveaway!


By Verna Angerhofer June 1, 2020 - 11:00 am
That is a cool ball and looks like it would be fun for kids. By the way I won a EZ Grand runner and now I need a refill. I see there is no option to buy from you. Do all the refills fit the same cartridge for a Grand EZ runner? I had the red one but could one put in a dotted refill instead?
By Margie Admin June 11, 2020 - 1:30 pm
Hi Verna! Unfortunately, we cannot sell directly to consumers. But you can ask your favorite craft retailers or most of the online craft retailers can help you. See list here: https://www.scrapbook-adhesives.com/blog/preferred-retailer-shop-list/ Yes, you can change out your Grand refill cartridge with another Grand refill, including the E-Z Runner Grand Permanent (or Repositionable) Dots Refill, without waiting for the entire roll to empty. Hope that helps! ~MargieH
By Verna Angerhofer June 13, 2020 - 11:05 am
Thanks. And, yes, that helps.