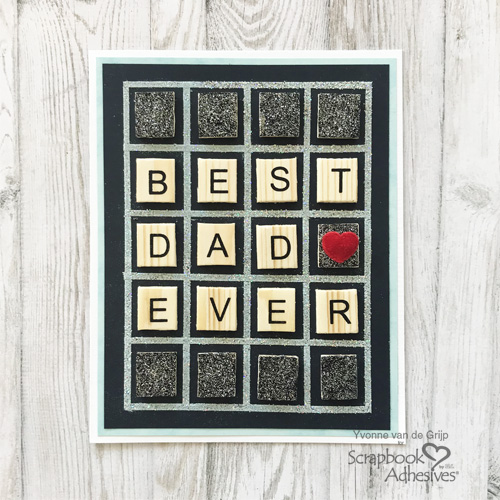
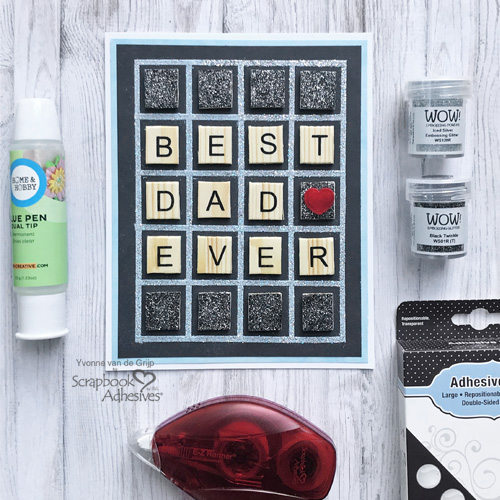
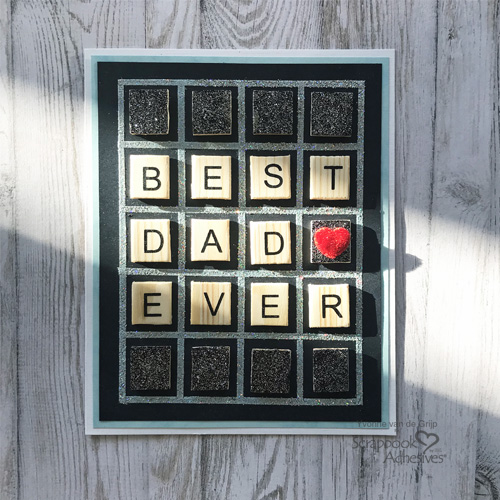
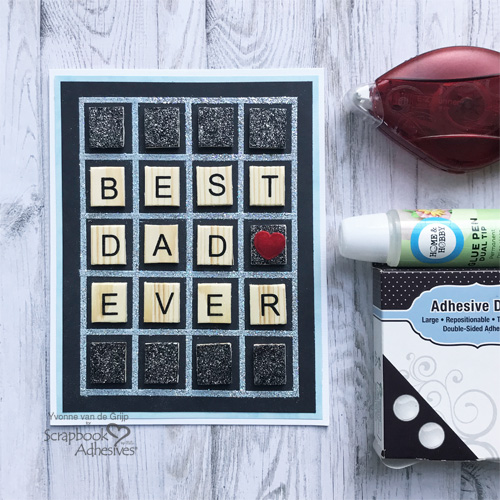
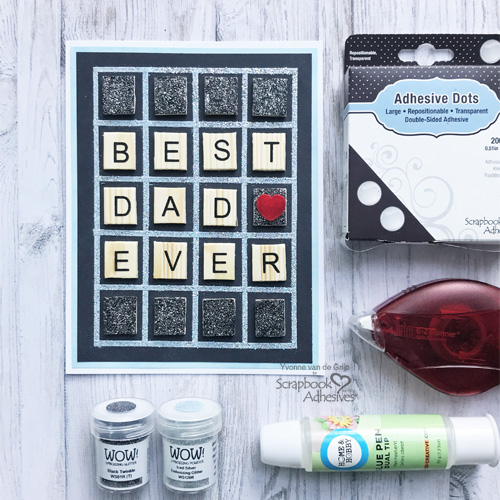
Hi everyone, Yvonne here with a Father’s day card idea. Use a grid design with game pieces for a unique masculine look! Then make your dad shine by adding glittery embossing powder using Wear Your Adhesive on the Outside concept! I’ll show you how in my tutorial.
Positioning the Grid Design
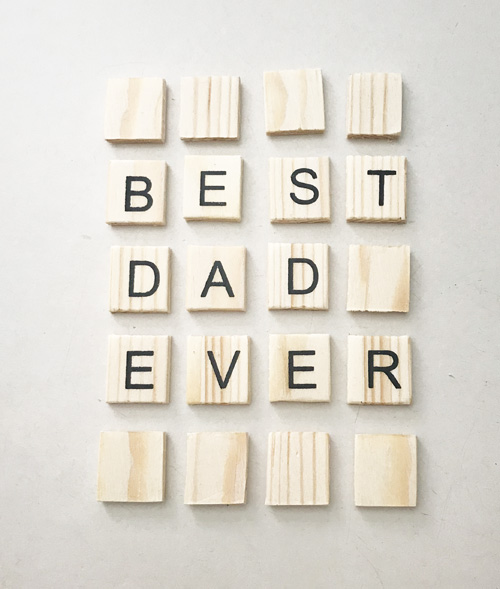
Using some wooden scrabble game letters to spell out “Best Dad Ever” and use the blank ones to fill in the rest of the grid design. The blank ones are really unpopular letters (like Q) turned blank side up. LOL!
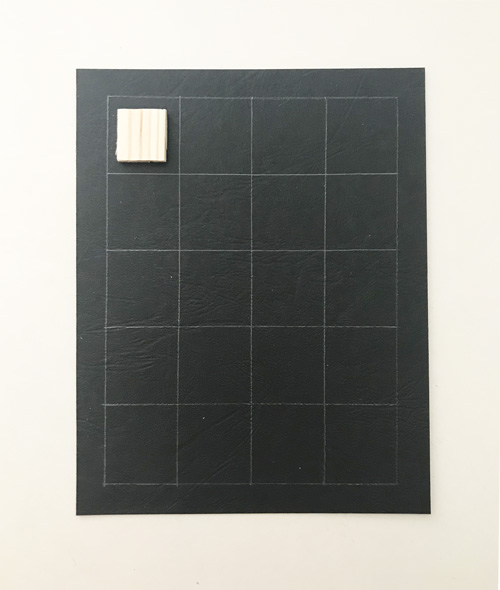
On a piece of the black cardstock card panel, draw a grid using a pencil and a ruler. Note the grid size is about ¼-inch larger than the size of the wooden letter tiles.
The Grid Card Base & Layer
After finishing the grid card panel, I created another layer to mat the grid. A soft blue cardstock was my choice which I adhered with the E-Z Runner® Permanent Strips Refillable Dispenser. Then you can then determine the size of the card base you are going to make. Use the same adhesive to attach the layered card panel to the white card base.
Wear Your Adhesive on the Outside Concept
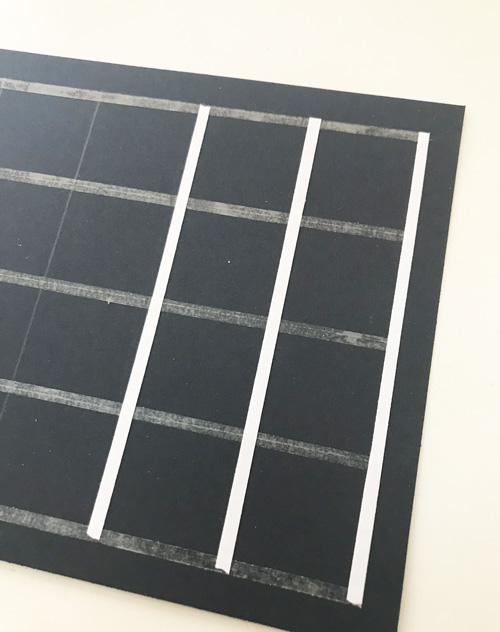
We will be using Premium Double-Sided Tape 1/8in onto all of the grid lines. Start with the vertical lines first. Make sure to rub the tape for extra secure hold. Then remove the liners. Make sure your desk is clean so nothing will stick to the tape.
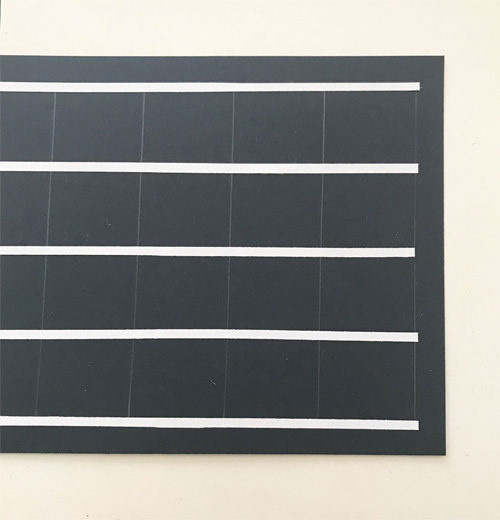
Now make the horizontal lines with the Premium Double-Sided Tape 1/8in and repeat the same steps.
Now you have a sticky grid ready to glitter!
Cover the Iced Silver Embossing Glitter over the grid. Press in to secure and then tap off any excess. Repeat to cover any missed areas.
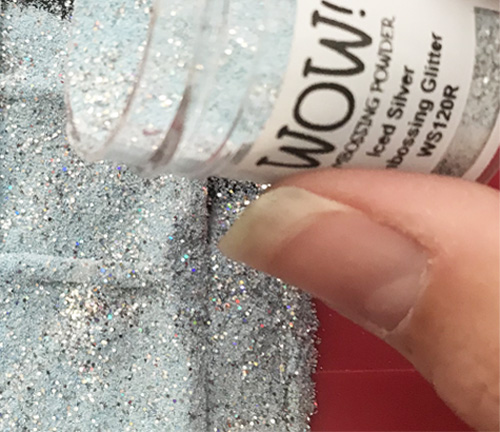
Melt the embossing powder with a heating tool. This technique is known as Wear Your Adhesive on the Outside.
Embellish the Tiles
Cover the blank titles with a thin layer of the Dual Tip Glue Pen with my finger. I used a drop to spread over the surface.
Sprinkle dark glitter embossing powder on top of the title and melt using a heating tool. Designer’s Tip: to protect my fingers from the heat, I used tweezers to hold the tile.
Adhere the Tiles
Add an Adhesive Dot Large Repositionable into each square of the grid. I love these dots because I can easily take the tile off if it’s crooked. It gives me peace of mind until I change my mind! LOL!
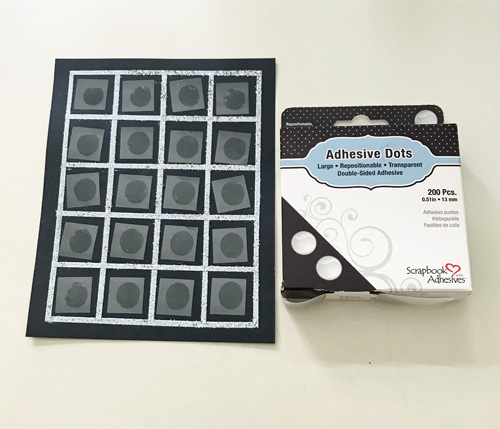
Remove the liners and adhere the tiles to the card panel. Finish off the card by adhering a red velvet heart onto a tile using an Adhesive Dot Large Repositionable.

And voila, your Grid Father’s Day Card is ready to make any dad smile!
I hope you enjoyed this tutorial and wish you happy crafting!
Yvonne van de Grijp
Creative Time: 40 minutes
Skill Level: Intermediate
Materials needed:
Scrapbook Adhesives by 3L®
E-Z Runner® Permanent Strips Refillable Dispenser
Adhesive Dots Large Repositionable
HomeHobby™ by 3L
Premium Double-Sided Tape 1/8in
Dual Tip Glue Pen
WOW! Embossing Powder
Iced Silver Embossing Glitter
Black Twinkle Embossing Glitter
Other
Black, Soft Blue, and White Cardstock; Wooden Scrabble Tile Game Pieces; Red Velvet Heart; Ruler; Pencil; Paper Trimmer; Tweezers
Save it to Pinterest!
Visit our Website and Blog!
Sign up for our Newsletter so you never miss a contest or giveaway!


