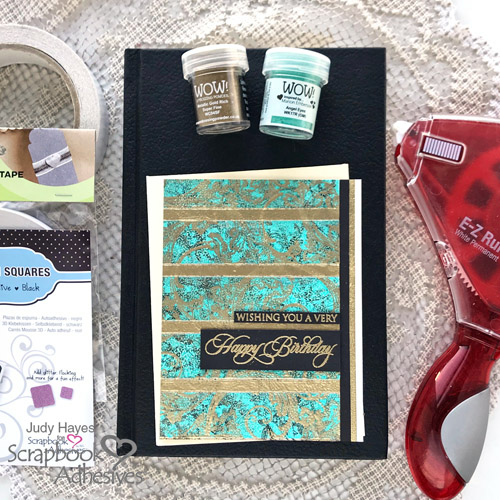
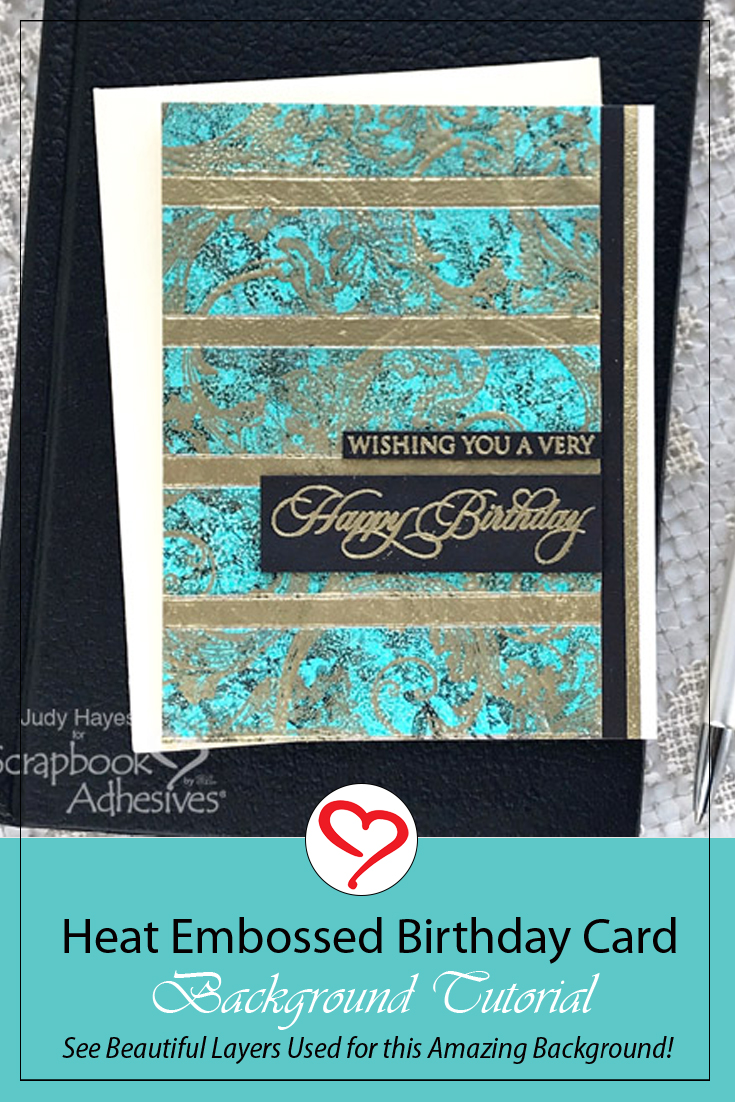
Hello everyone! Judy here to share how to use Premium Tape and WOW! Embossing Powders to create a stunning heat embossed background for cards and other projects!
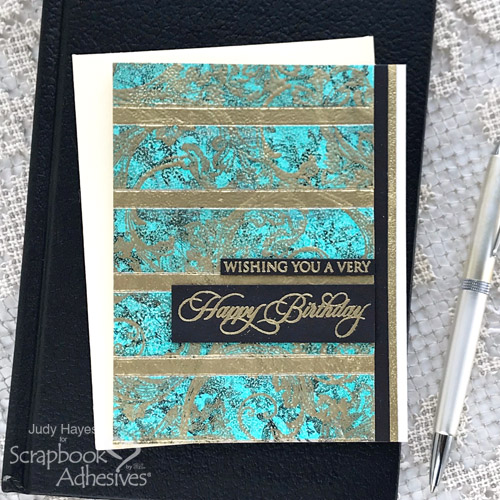
Heat Embossed Background
Let’s start with a piece of 5.5 x 8.5-inch tan cardstock as the card panel. I thought the color would blend in and not be obvious if it showed between tape strips. You can make any size card panel you want!
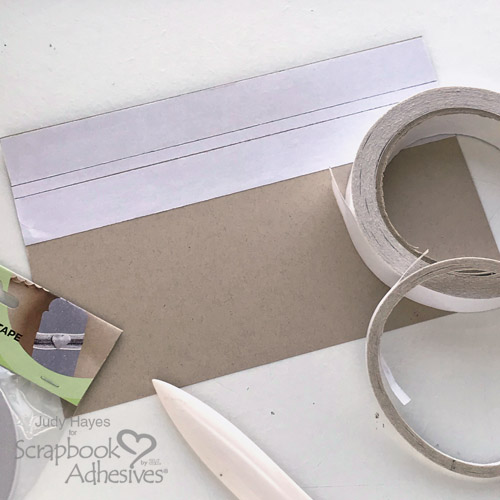
Apply alternating pieces of Premium Double-Sided Tape 1 inch and Premium Double-Sided Tape 1/4 inch on the card panel. Burnish the tapes well with a bone folder.
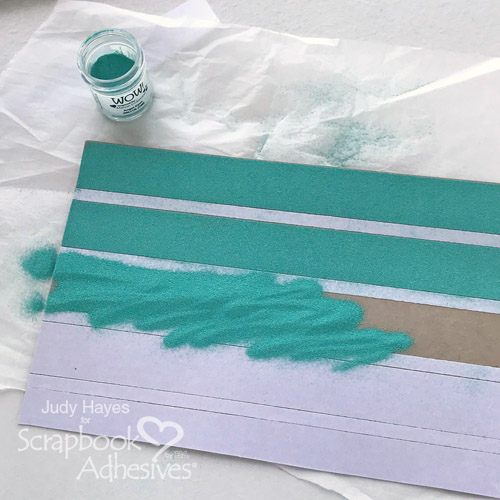
Remove the top liners from the Premium Double-Sided Tape 1 inch first and sprinkle with WOW! Opaque Primary Angel Eyes Embossing Powder. Tap off the excess.
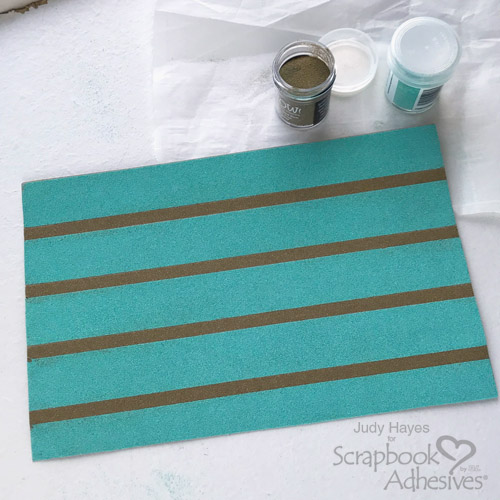
Next, remove the top liners from the Premium Double-Sided Tape 1/4 inch and cover with WOW! Metallic Gold Rich Super Fine Embossing Powder. Tap off the excess.
Designer’s Tip: press the embossing powder into the tape with the fingertips to be sure there is good coverage and the powders are secured.
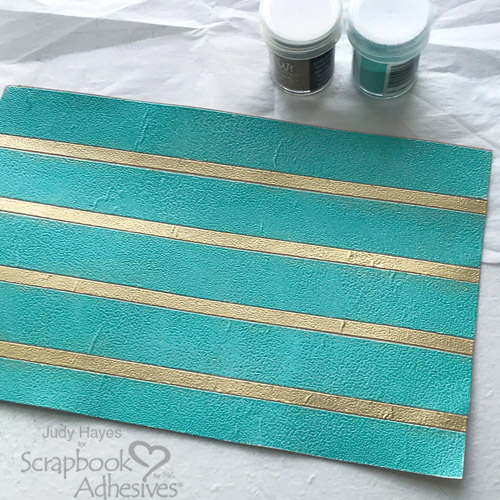
Use a heating tool to melt embossing powders over the entire piece. See the magic happen for a stunning heat embossed background. But we’re not done yet!
The Stamping Details
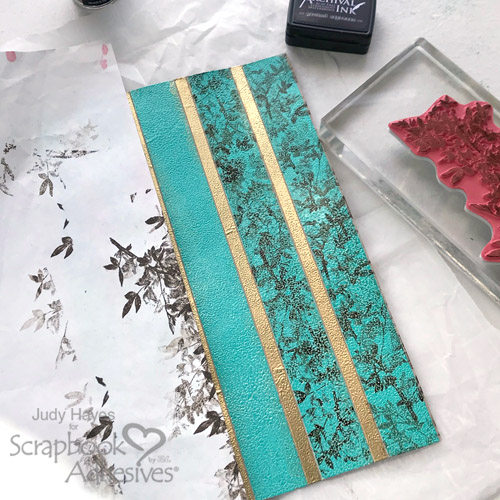
Randomly stamp the flower image across the 1-inch Opaque Primary Angel Eyes (turquoise color) embossed areas with dark brown ink. Use scratch paper to mask off the gold strips to protect it from the stamping.
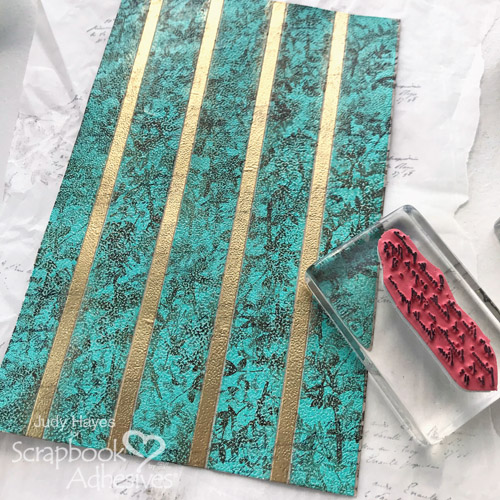
Next, stamp the script design with black ink across entire piece for another layer of design. Rub off any ink on the gold strips with a paper towel.
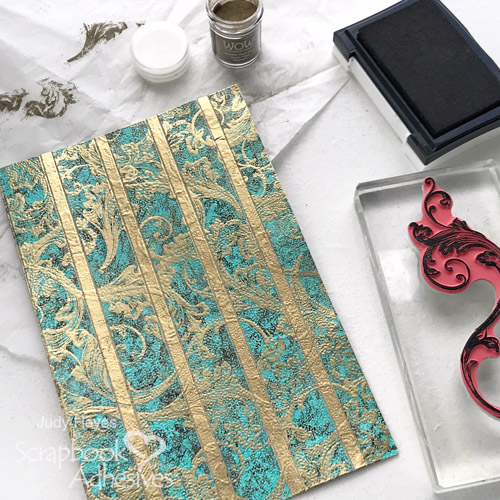
With two different flourish stamps and Versafine Black Onyx ink, randomly stamp two-three flourishes at a time. Cover with Metallic Gold Rich Super Fine Embossing Powder, tap off excess and heat to emboss. Repeat to cover the entire piece. When cooled, cut the card panel to 3.75 x 5.50-inch.
Beautiful Bold Black Accents
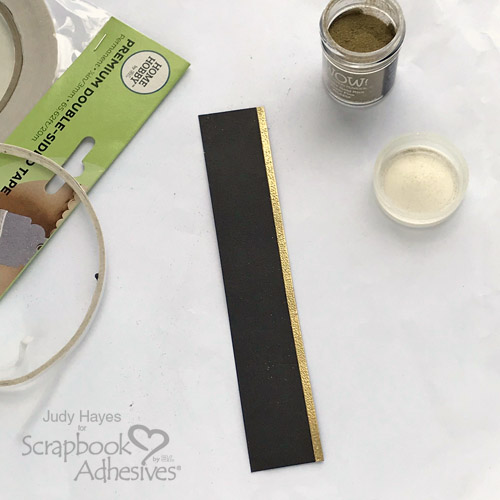
Cut a 1 x 5.50-inch strip of black cardstock and apply Premium Double-Sided Tape 1/8in along the 5.50-inch edge. Remove the top liner and cover it with the Metallic Gold Rich Super Fine Embossing Powder. Tap off the excess and melt with a heating tool.
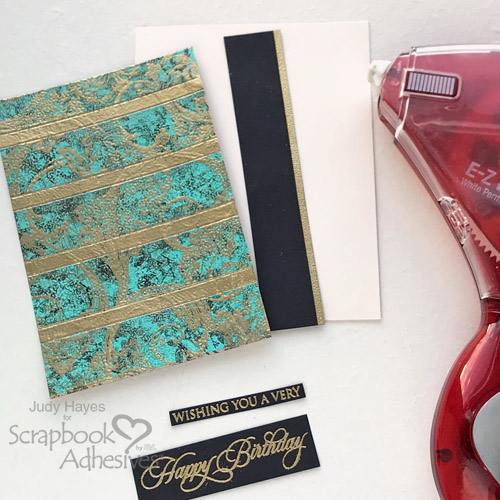
Stamp the birthday greetings using Versafine Onyx Black ink and Metallic Gold Rich Super Fine Embossing Powder. Melt with a heating tool. Trim paper as needed.
Card Assembly
Create a 4.25 x 5.50-inch (A2 size) card base from ivory cardstock. Secure the black cardstock strip about a 1/8-inch from the open edge using E-Z Runner® Grand Refillable Dispenser. Adhere the embossed card panel to the card front using E-Z Runner® Grand Refillable Dispenser.
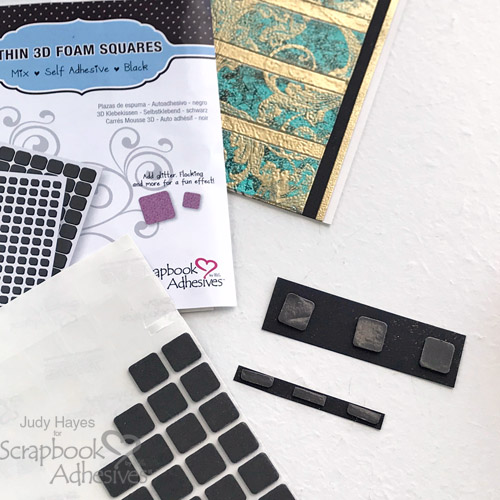
Place Thin 3D Foam Squares Black Mix in regular size to the back of the Happy Birthday sentiment. Next, cut one Thin 3D Foam Squares Black Mix in regular size into thirds and apply them to the back of the narrow sentiment. Adhere both sentiments to the card front.
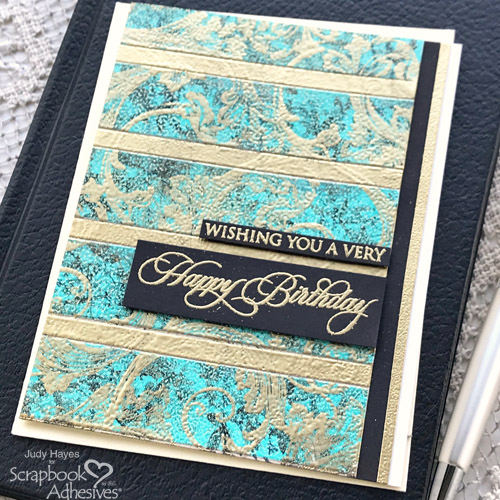
I hope you’ve enjoyed learning how to make this heat embossed background! I plan to make a few more pieces to have on hand for a quick card. Just imagine all the color combinations with different embossing powders and stamping!
Thanks for Visiting!
Judy Hayes
Creative Time: 30 minutes
Skill Level: Intermediate
Materials Needed
Scrapbook Adhesives by 3L®
HomeHobby™ by 3L
WOW! Embossing Powder
Other
Inks: Tsukineko (Versafine in Onyx Black) and Ranger Ink (Distress Inks in Ground Espresso and Black Soot); Stamps: Penny Black Stamps (Beautiful Heart and Special Sentiments); Stamps: Stampers Anonymous (Scrollwork, Tiny Toadstools and Flower Shop Stamps by Tim Holtz); Tan, Black and Ivory Cardstock
Save it to Pinterest!
Visit our Website and Blog!
Sign up for our Newsletter so you never miss a contest or giveaway!


