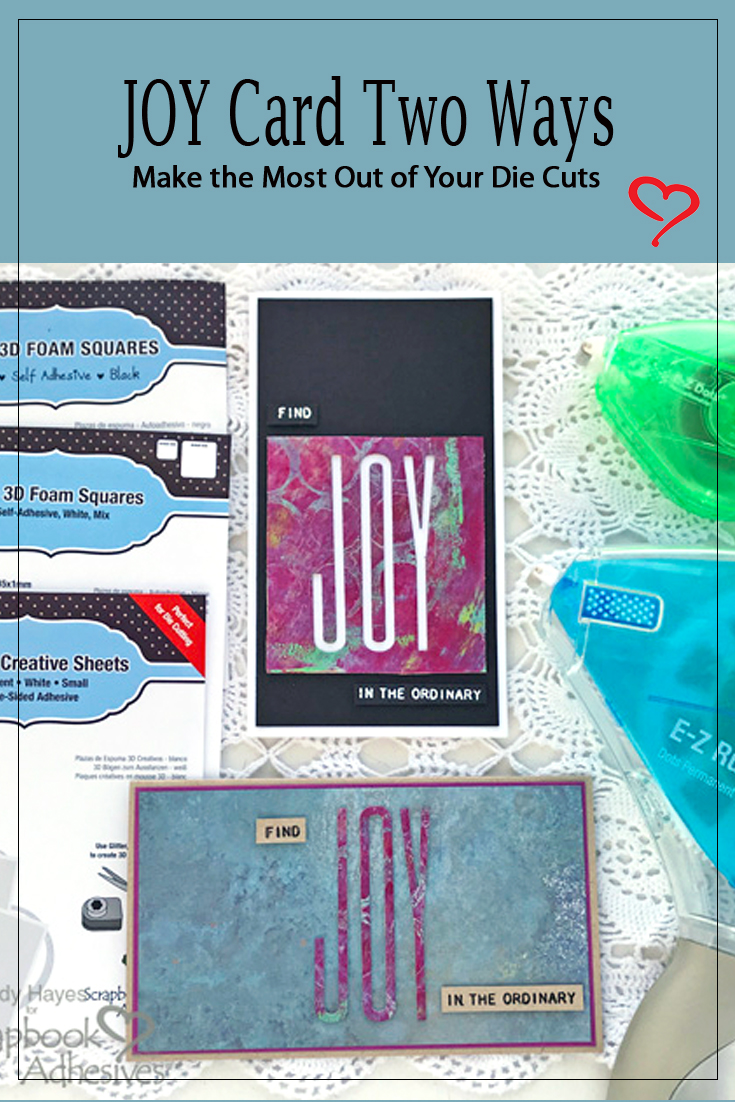
Hello friends! Today, I’ve put together two different cards by die-cutting letters and using its negative part. I used 3D Foam Creative Sheets Small White to give dimension to the letters plus they have adhesive on the back! Easy to adhere them in place! Let’s create Find Joy Card in two ways!
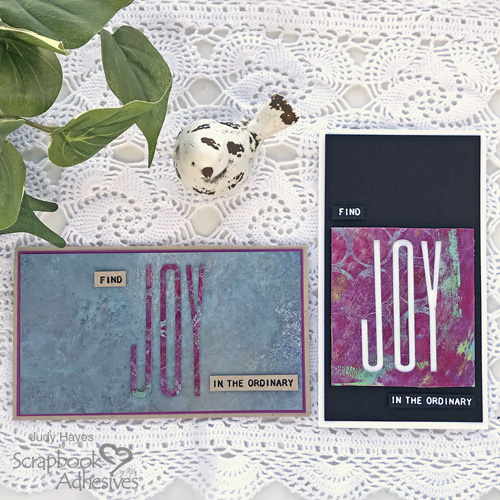
I used paper from my stash of gel press printed papers for the letters. Any patterned or solid paper can be used. I made the blue paper background paper as well by spraying blue and silver mists on it.
I intentionally cut the paper from which to cut the letters large enough so I could use the negative piece.
Find Joy Card the First Way
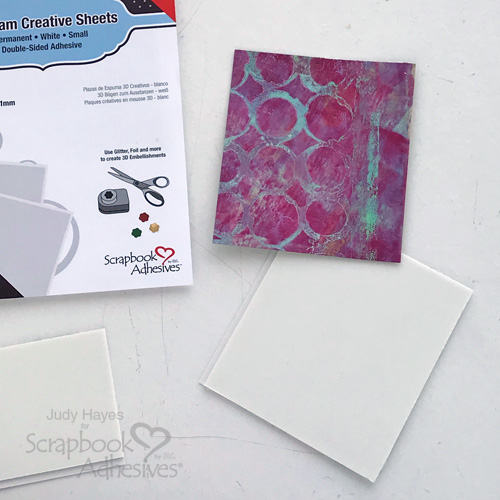
Cut a piece of patterned paper to 2.75 x 3 inches and adhere a piece of 3D Foam Creative Sheets Small White cut to the same size on its back.
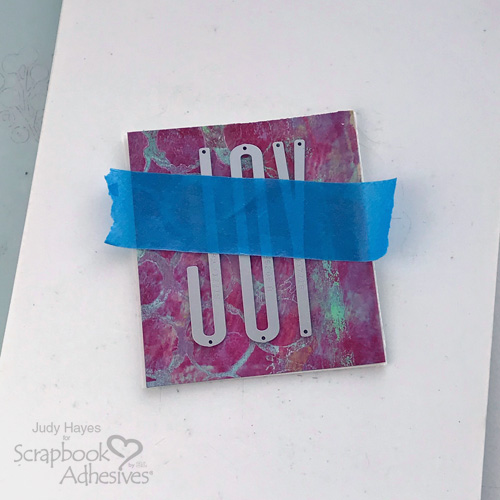
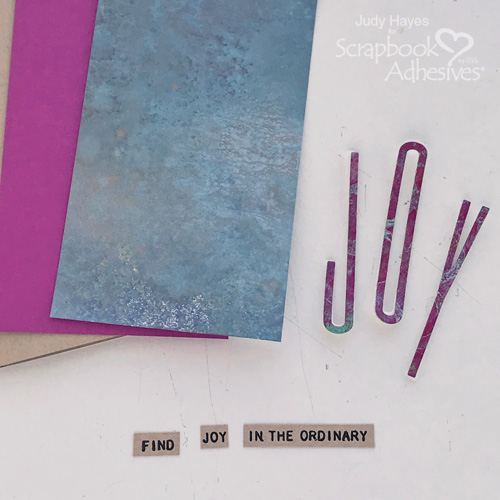
Align letter dies on top and secure with painter’s tape to die-cut the letters.
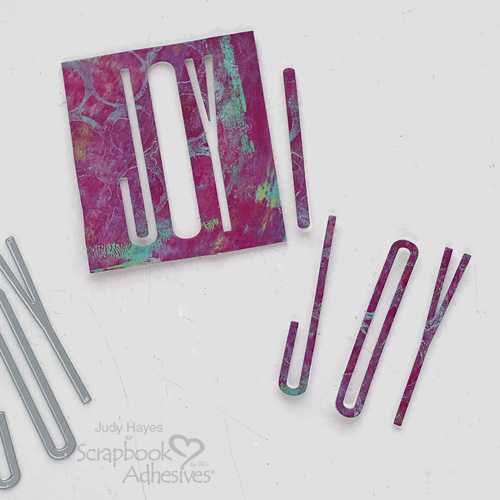
Carefully remove letters including center from “O”. The liners may come loose, simply replace them to their position and set them aside.
More Details
Stamp phrase with black ink on tan paper. Heat emboss with clear embossing powder. Trim around the phrase and cut JOY out.
Designer’s Tip: Stamp many of these phrases along with others from the same stamp set to have on hand.
Let’s form the card panel layers. First, form a 3.25 x 5.75-inch card base with tan cardstock. Then cut a mat 3.125 x 5.625 inches from purple cardstock. Lastly, cut a blue card panel that is slightly smaller.
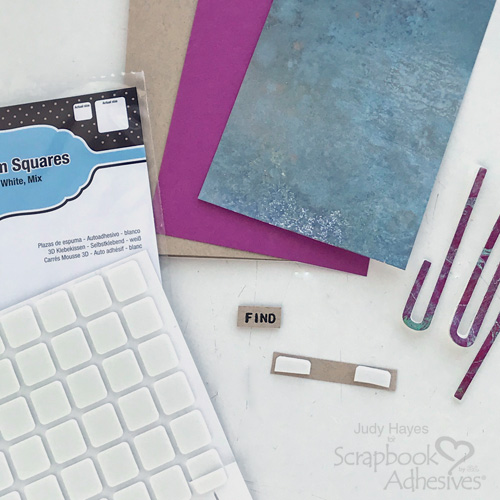
Use the larger squares from the Thin 3D Foam Squares White Mix and cut in half to place on the back of phrase pieces.
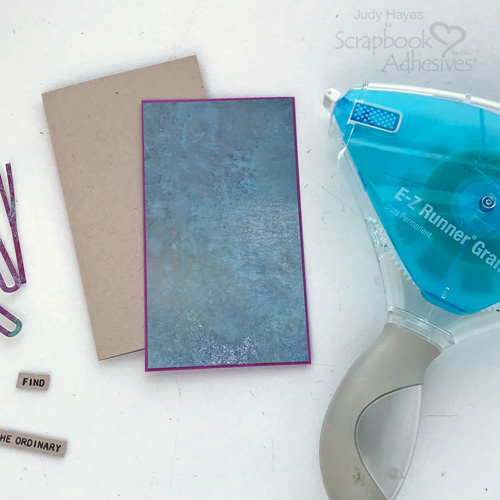
Adhere all the card panel to the card base with the E-Z Runner® Grand Permanent Dots Refillable Dispenser.
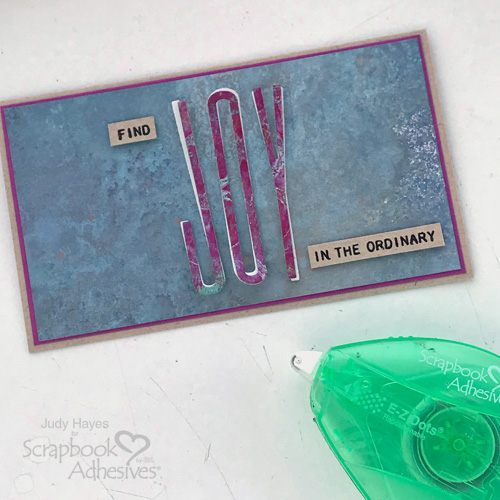
To keep the card closed while aligning letters, apply a small amount of E-Z Dots® Repositionable Refillable Dispenser to the inside of the card. It can be removed by simply rubbing the adhesive off.
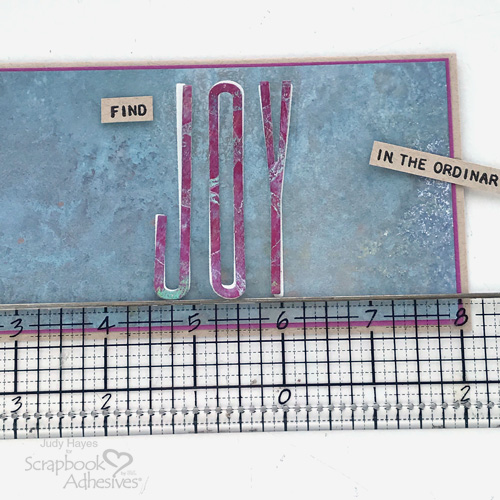
Use a ruler to align “JOY” letters on the card front. Remove the liner from the back of each letter to attach in place. Adhere the phrase pieces and done!
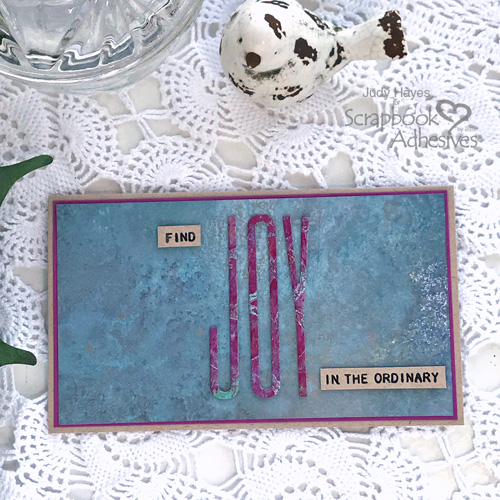
Find Joy Card in the Second Way
Now to use the negative from the die cut letters for a second card!
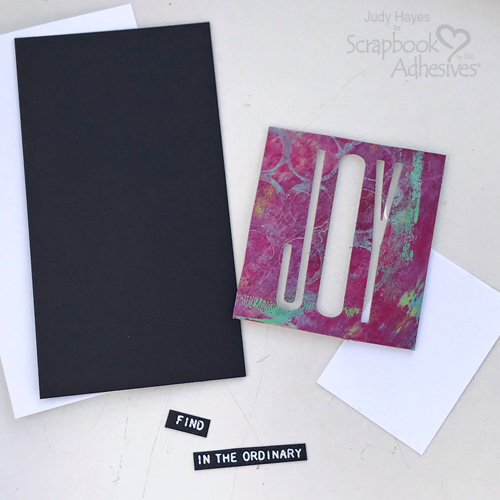
Form a 3.25 x 5.75-inch card base from white cardstock. Cut a piece of 3 x 5.5-inch black mat and secure it onto the card base with the E-Z Runner® Grand Permanent Dots Refillable Dispenser.
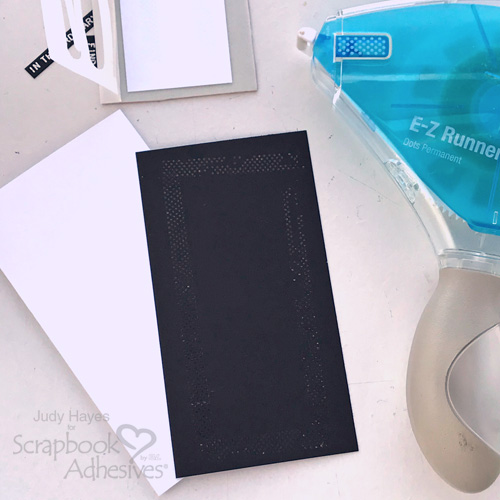
Cut a piece of white cardstock large enough to cover the opening behind letter cutouts in the negative piece. Remove the liner from the negative piece and place white cardstock over letter openings.
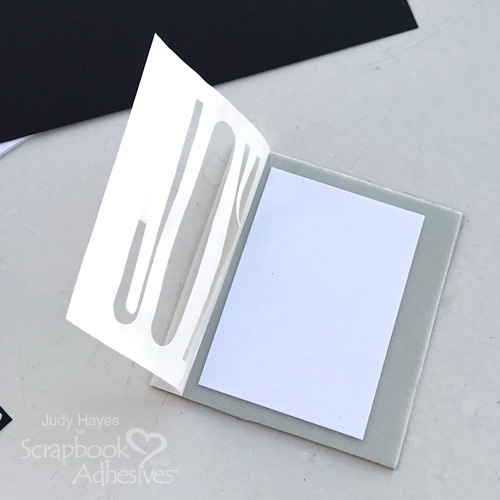
Stamp phrase on a piece of black cardstock with Versamark ink and heat emboss with white embossing powder. Trim around the phrase. Cut out “joy”.
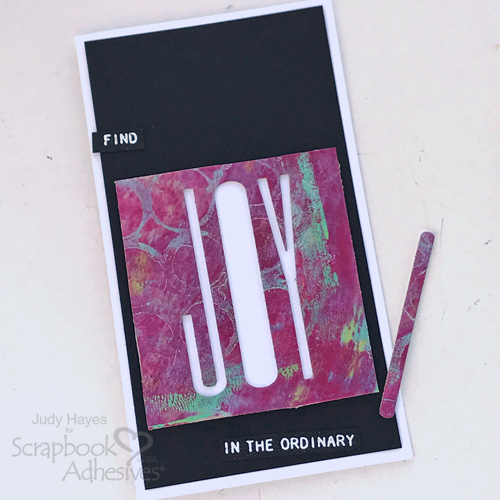
Adhere the JOY panel on the card front and place the centerpiece for “O”. Then add the phrase pieces as shown in the photo using the larger squares from Thin 3D Foam Squares Black Mix cut in half.
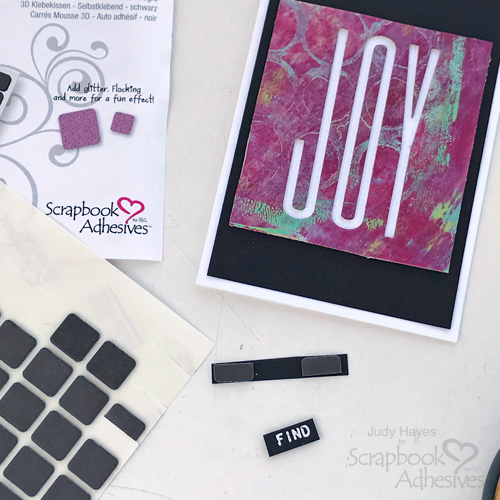
TaDa! Two cards from one die cut and no waste! Love it!
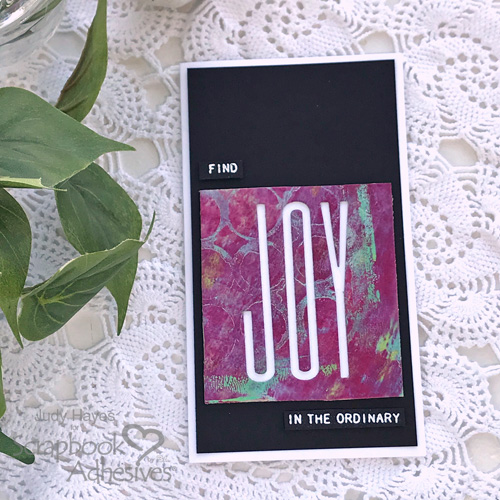
I hope you’ve found a bit of inspiration from my cards today!
Thanks for Visiting!
Judy Hayes
Creative Time: 45 minutes
Skill Level: Intermediate
Materials Needed
Scrapbook Adhesives by 3L®
- 3D Foam Creative Sheets Small White
- Thin 3D Foam Squares Black Mix
- Thin 3D Foam Squares White Mix
- E-Z Dots® Repositionable Refillable Dispenser
- E-Z Runner® Grand Permanent Dots Refillable Dispenser
Other
Imagine Crafts/Tsukineko – Versafine Onyx Black, Versamark; Ranger Clear Embossing Powder; Sizzix Tim Holtz Alphanumeric Stretch Upper Dies; Stampers Anonymous Tiny Text; Cardstock: Black, White, Desert Storm, Violet; Gel Press Printed Paper and Sprayed Background paper
Save It to Pinterest!
Visit our Website and Blog!
Sign up for our Newsletter so you never miss a contest or giveaway!


