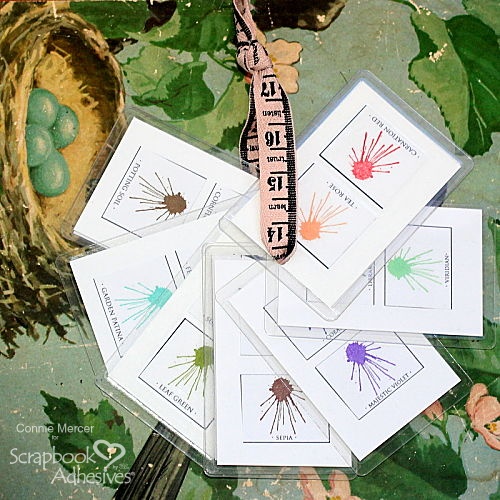
Hi, Connie here with an organizing tool idea using the Self-Laminating Pouches/Cards Small. The small size pouches worked great for a Swatch Book to organize my Archival Inks.
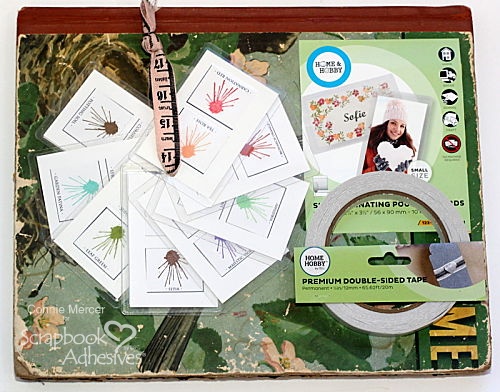
Swatch Book Supplies
Depending on the inks you want to swatch (or another medium) you will need a list of the inks. I went to Ranger Ink and printed out the ink charts.
They are sized to fit the laminating pouches and they make it easy!!! You will also need the Self-Laminating Pouches/Card Small (one package, 10 pouches), which will do 40 inks – 2 on each side). Also needed is the Premium Double-Sided Tape 1/2″.
Make a Swatch Book
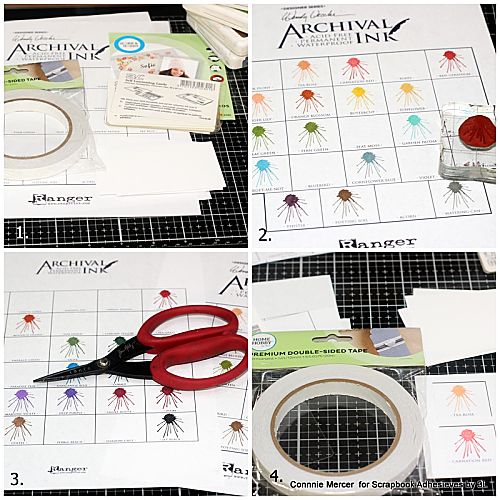
- Supplies as outlined in the above paragraph. You will also need 10 rectangle pieces of cardstock size 2 1/4″ X 3 1/2″.
- Print Ink Charts and stamp each ink in the space on the chart. Side note ~you don’t need to print the charts, just stamp directly on the precut cardstock and hand label each ink color.
- Cut out the inked squares and lay them out in a pattern of two each.
- Using the Premium Double-Sided Tape 1/2″ adhere to the precut cardstock. Do each inked squares adhering two to the front and two to the back of the precut cardstock.
Creating the Swatch Book Pages
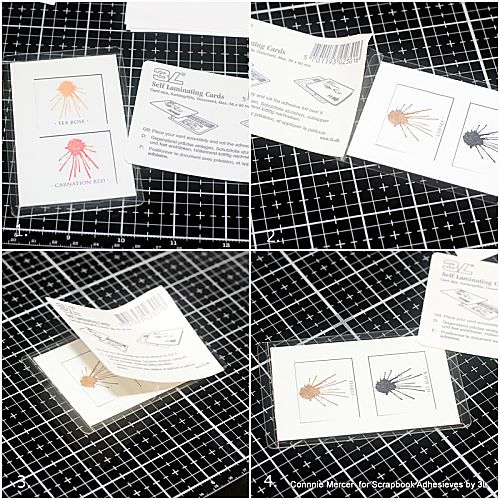
- The completed look of a laminated card.
- Open the Self-Laminating Pouch and lay the stamped card, in the middle, of the pouch. Peel back the release paper.
- As you peel back the release paper, hold the card in place.
- Continue to press down and pull the release paper off. Rub with hand or soft cloth to continue to seal the card. Do each card this way.
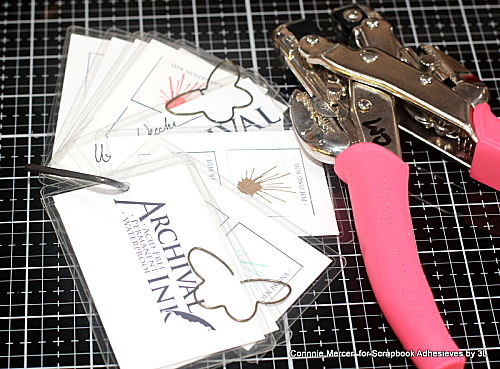
Punch holes in the cards and add an O Ring or ribbon. Below are the completed cards laminated and ready to be used!
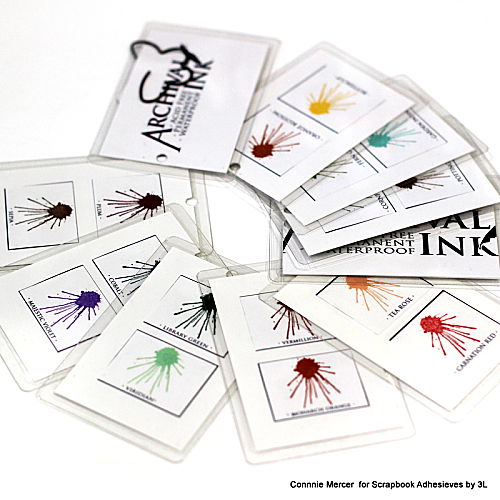
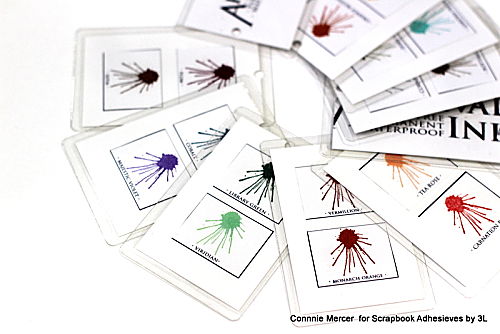
Thanks for stopping by!!
Connie
Creative Time: 60 minutes
Skill Level: Beginner
Materials Needed
HomeHobby™ by 3L
Self-Laminating Pouches cards/small
Premium Double-Sided Tape 1/2″
Other: White Cardstock, Stamps: Darkroom Door, and Ribbon or O-Rings
Save It to Pinterest!
Visit our Website and Blog!
Sign up for our Newsletter so you never miss a contest or giveaway!


