Edit to Add: The Insta Hop & Giveaway is Closed. Thank You for Participating!!
Congratulations to the winner, @pegasong! 🎉
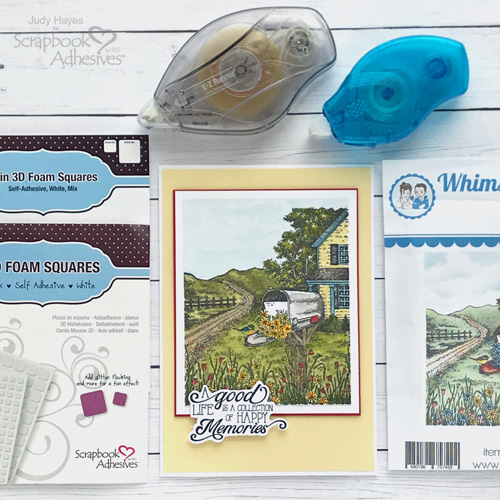
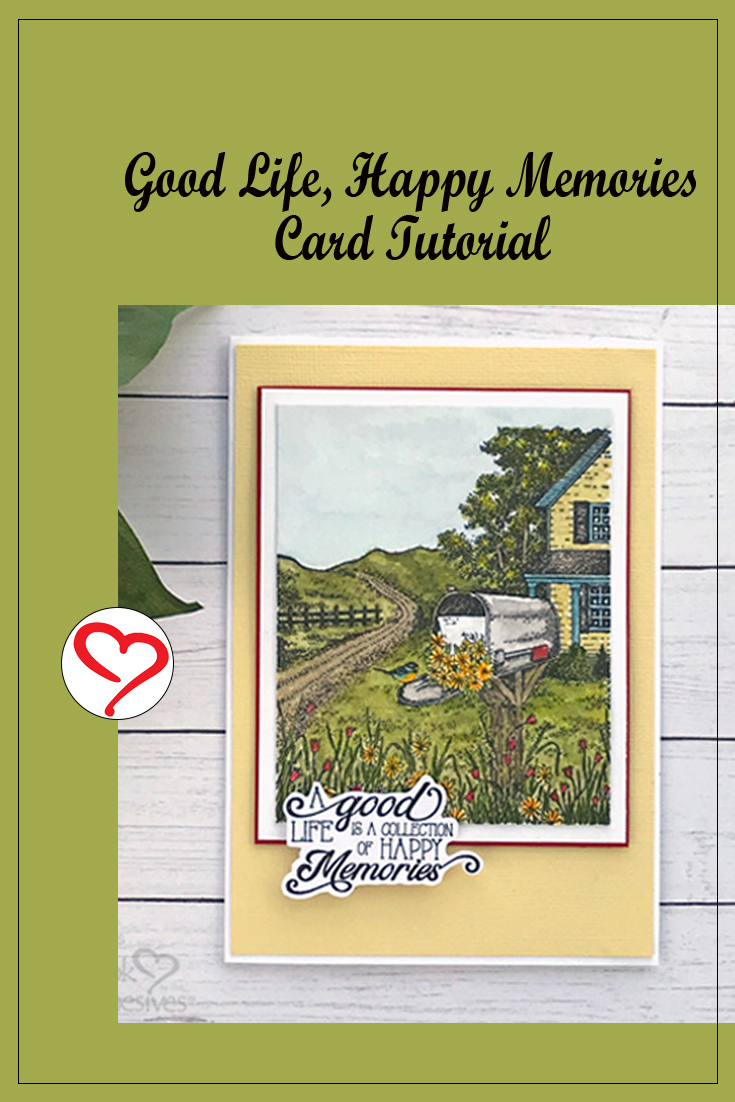
Hello crafty friends! Today it’s all about Whimsy stamps on the blog. But all week, we are collaborating with them in an Instagram Hop! It is Day 4 and details are at the bottom of this post. My contribution is this card featuring The Mailbox stamp set. It recalls happy memories of quiet days. It’s such a pretty scene to stamp and color. Let me walk you through my process.
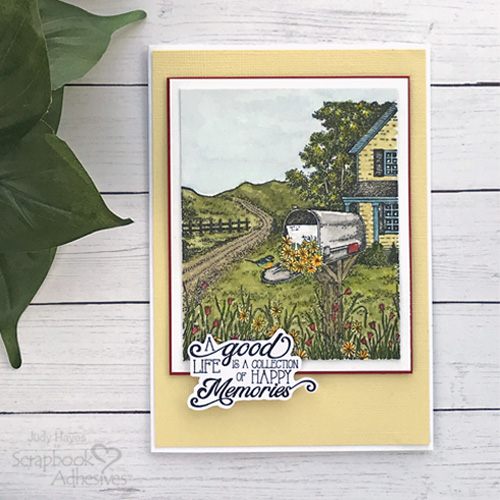
Good Life Happy Memories Card Basics
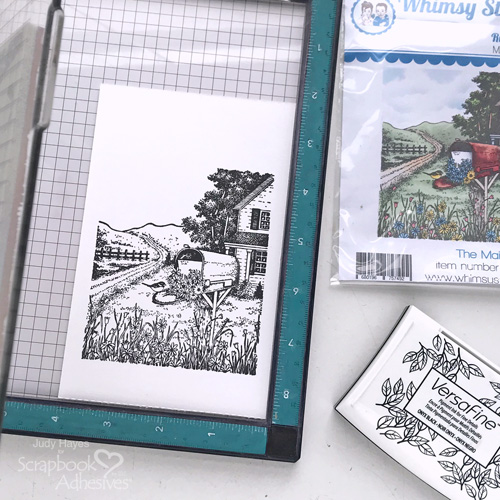
To make this card, first stamp The Mailbox scene with Versafine Onyx Black ink on the smooth side of watercolor paper. I used my Misti so I could stamp more than once if needed to get a good image. Heat set ink or allow to dry thoroughly before water coloring image.
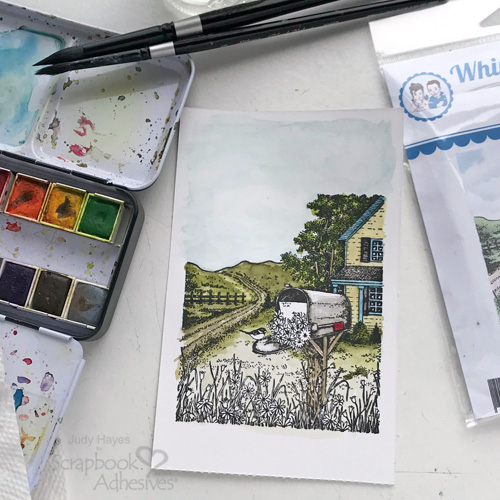
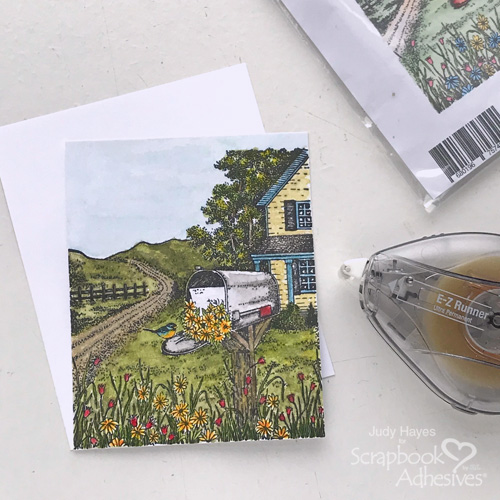
I like watercolors and chose to use those for coloring. Markers will work well, too. Paint the image with watercolors. Let dry and trim close to stamped image – about 3.375 x 4.25 inches. For the mat, cut white cardstock to 3.75 x 4.625 inches. Then cut a red cardstock mat just slightly larger than the white mat.
Creating the Panels
Adhere the watercolor panel to the white mat using E-Z Runner® Ultra Strong Refillable Dispenser. This adhesive is strong which makes it ideal for watercolor paper which often curls after painting and needs a strong adhesive to keep it flat.
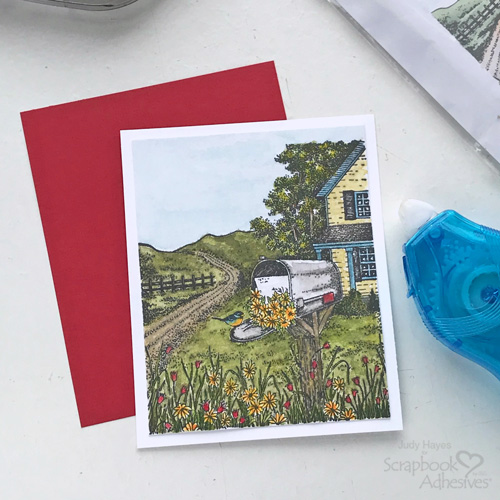
Use E-Z Runner® Petite Permanent Dots Refillable Dispenser to apply adhesive to back of white mat. Fasten to red mat. E-Z Runner® Petite Permanent Dots Refillable Dispenser is my favorite adhesive dispenser! It’s small and fits my hand well. E-Z Runner® Ultra Strong Refillable Dispenser can be used but it’s not necessary here although I often use it on the corners to be sure they stay in place!
Make the Card Front
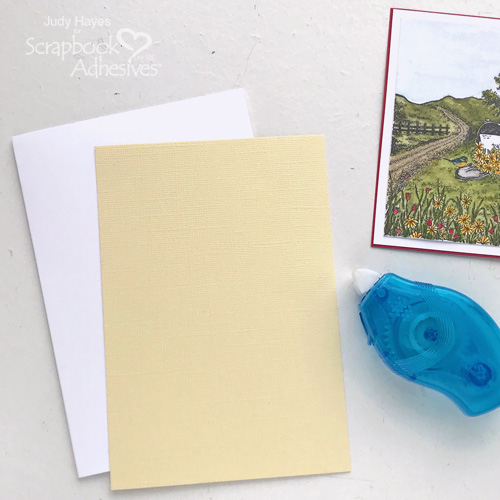
Form white cardstock to make a side open card that’s 4.5 x 6.5 inches. Cut yellow cardstock mat 4.375 x 6.375 inches and secure the yellow mat to the card front using E-Z Runner® Petite Permanent Dots Refillable Dispenser.
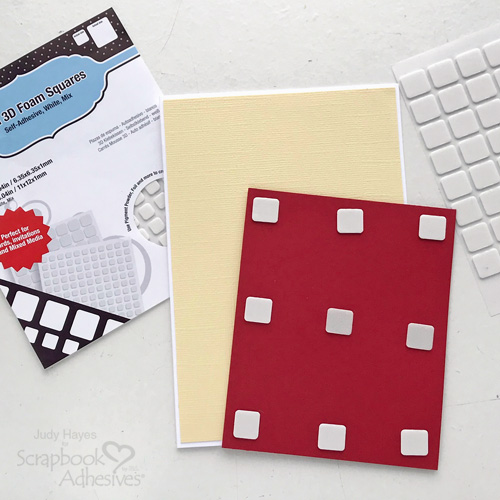
Apply Thin 3D Foam Squares White Mix to back of matted stamped image. Remove liners and attach to the card front.
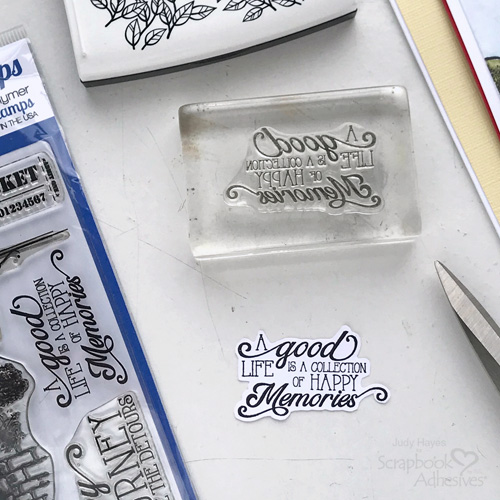
Good Life Happy Memories Sentiment
Stamp the sentiment on white cardstock with Versafine Onyx Black ink and fussy cut around it.
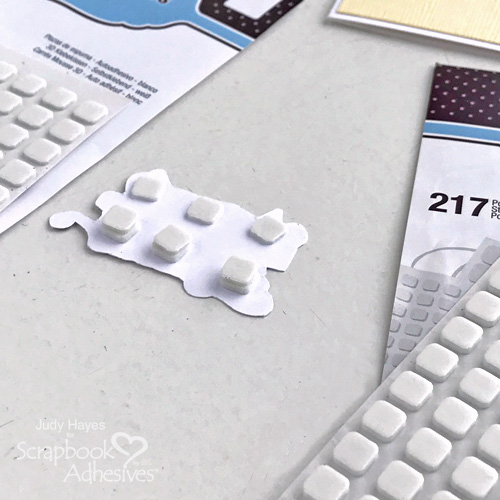
Apply Thin 3D Foam Squares White Mix small squares at top of the sentiment and then apply 3D Foam Squares White Mix along the bottom. Check how it lays on card before placing. If not level, add Thin 3D Foam Squares White Mix on top of 3D Foam Squares White Mix as needed so it lays flat. It will overlap the stamped image where it’s raised and bottom rests on card. Remove liners and fasten verse on card. It’s ready to be sent out!
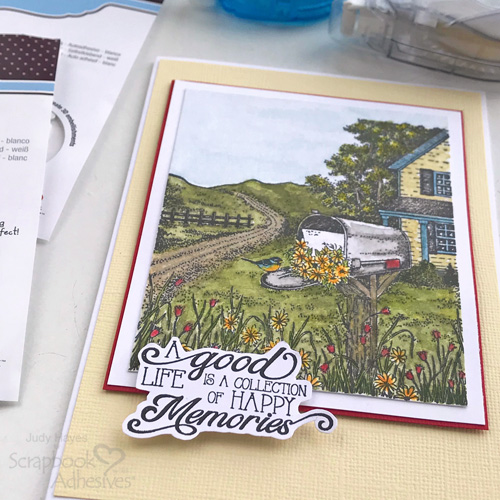
I hope you enjoyed this Good Life Happy Memories card!
Thanks for Visiting!
Judy Hayes
Creative Time: 30 Minutes
Skill Level: Intermediate
Materials Needed
Scrapbook Adhesives by 3L®
- E-Z Runner® Ultra Strong Refillable Dispenser
- Thin 3D Foam Squares White Mix
- 3D Foam Squares White Mix
- E-Z Runner® Petite Permanent Dots Refillable Dispenser
Other
Stamps: Whimsy Stamps (Enjoy the Journey Clear Stamps, The Mailbox Red Rubber Stamp), Tsukineko Versafine Onyx Black Ink, Prima Marketing (The Classics Watercolor Set), Cardstock (White, Red, Yellow), Watercolor Paper (140lb)
Save on Pinterest!
Insta Hop & Giveaway with Whimsy Stamps!
Scrapbook Adhesives by 3L and Whimsy Stamps are collaborating on each company’s Instagram accounts this week! As Judy mentioned, it’s Day 4! Find this below image on Instagram for the other days’ inspiration and details on our giveaways. To start, CLICK THE IMAGE BELOW & enjoy!!
Visit our Website and Blog!
Sign up for our Newsletter so you never miss a contest or giveaway!

