
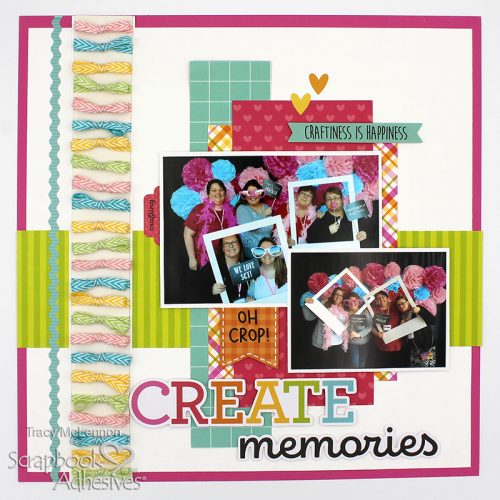
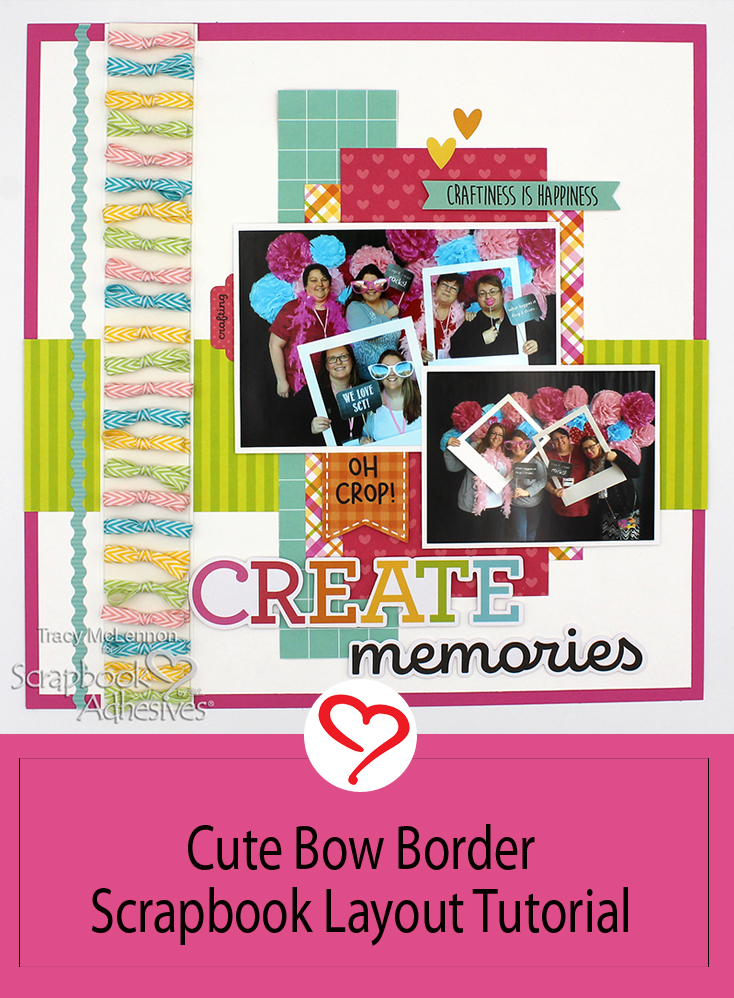
Hello crafty friends! Tracy here, and today I have a sweet and simple bow border layout to share. This layout features something that I have so much in my stash, ribbon. Here is how I created this fun bow border.
Let’s Get Started
First I cut a strip of white chipboard that is 1.5×12, this will be the base of the bow border. I added strips of Extreme Double Sided Tape 1/4in up both sides. Next I created 24 mini bows using some great chevron ribbon from May Arts Ribbon and my bow maker.
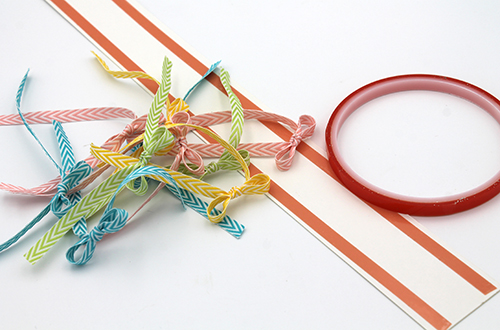
Add the bows up the chipboard border strip. Add Extreme Double Sided Tape 1/4in to the back of the border, for adhering to the bow border layout later.

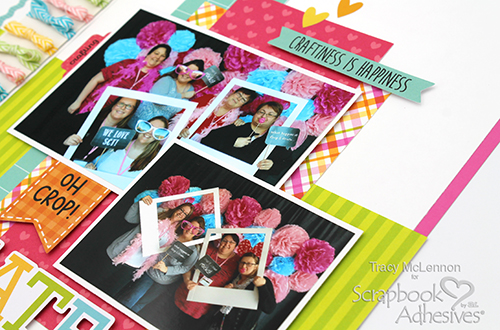
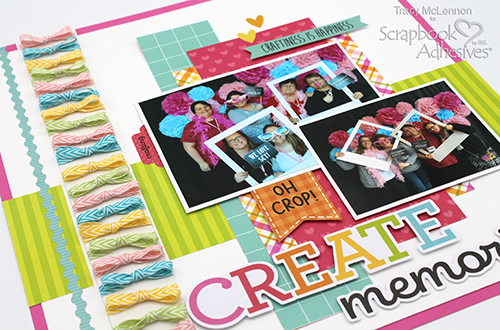
I created a simple layered background using patterned paper and cardstock, all adhered together using the E-Z Runner® Permanent Strips Refillable Dispenser. I matted the photos in white cardstock with the E-Z Runner® Permanent Strips Refillable Dispenser and added them to the layout using Crafty Foam Tape White. Add the bow border strip up the left hand side of the layout.
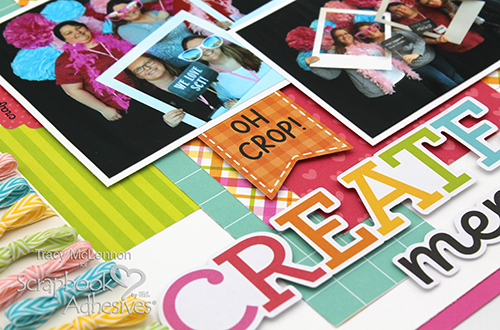
Begin adding the other paper embellishments. I used a combination of Thin 3D Foam Squares White Mix and 3D Foam Squares White Mix to add dimension and depth to the embellishments.
Thanks so much for stopping by!
Tracy
Creative Time: 45 minutes
Skill Level: Intermediate
Materials needed:
Scrapbook Adhesives by 3L®
E-Z Runner® Permanent Strips Refillable Dispenser
3D Foam Squares White Mix
Thin 3D Foam Squares White Mix
Crafty Foam Tape White
Extreme Double Sided Tape 1/4in by HomeHobby™ by 3L
Other
Cardstock (Pink; White); Doodlebug Designs- Cut & Crafty Collection (patterned paper; chit chat; cardstock stickers); May Arts Ribbon
Save to Pinterest!
Visit our Website and Blog!
Sign up for our Newsletter so you never miss a contest or giveaway!


