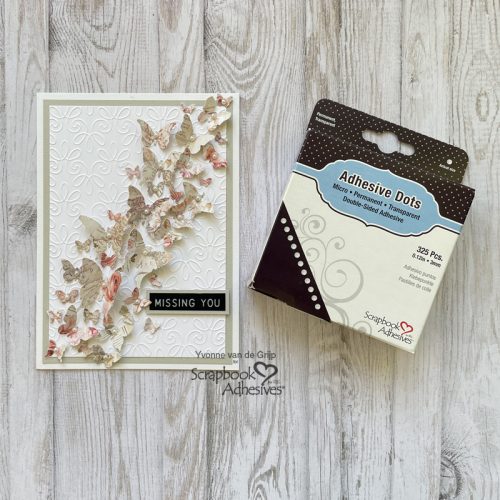
Hi everyone, Yvonne here with a Butterfly card. With Adhesive Dots, it’s super easy to adhere small items onto your card, such as tiny butterflies. This card is super easy to make so also suitable for beginner cardmakers. Wanna join me in making the card?
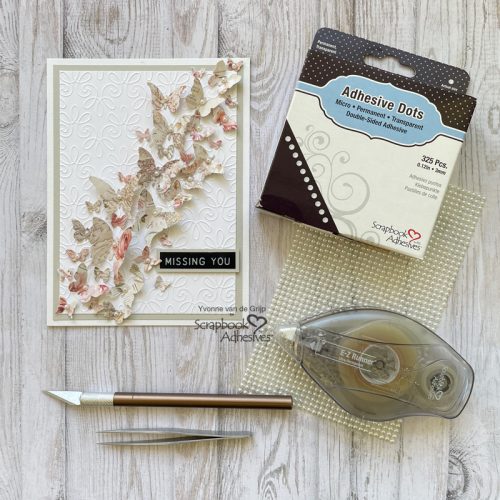
Making the Card Base
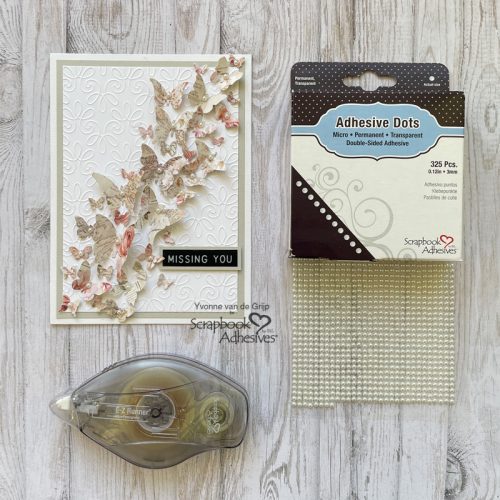
First, emboss a piece of white cardstock. Place a piece of white cardstock in an embossing folder and run through your die-cutting (follow the embossing sandwich recommended by its manufacturer). Trim the cardstock to the desired size. Next, adhere it to a soft grey card panel using the E-Z Runner® Ultra Strong Refillable Dispenser and then to a white card base.
Making the Butterflies
For my card, I die-cut the butterflies. Designer’s Tip: if you do not own a butterfly die, you could also use a butterfly punch. Next, place Adhesive Dots Micro to the back of the butterflies. Remove the liner and adhere to the card base.
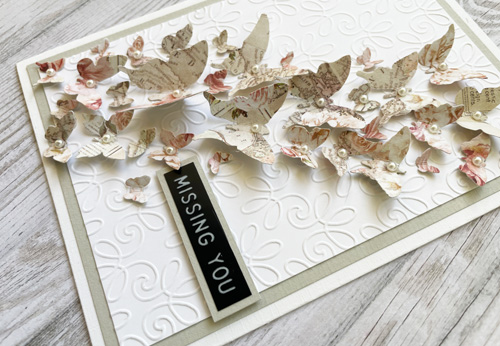
Add as many butterflies as you like.
Embellishing the Card
To add an extra element to the butterflies, I add a pearl to the butterflies. Then I adhered a Missing You sentiment sticker onto a piece of soft grey cardstock. Lastly, adhere to the card using Thin 3D Foam Squares White Mix for dimension.
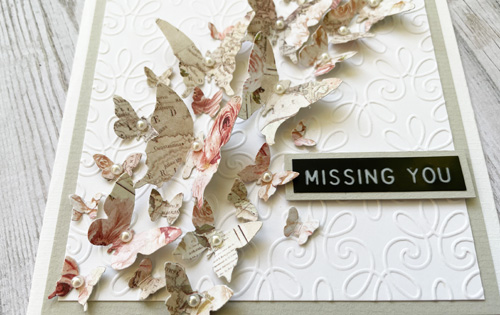
And voilá your butterfly card is ready. Wasn’t that super easy to make?
Wishing you lots of crafting fun.
Yvonne van de Grijp
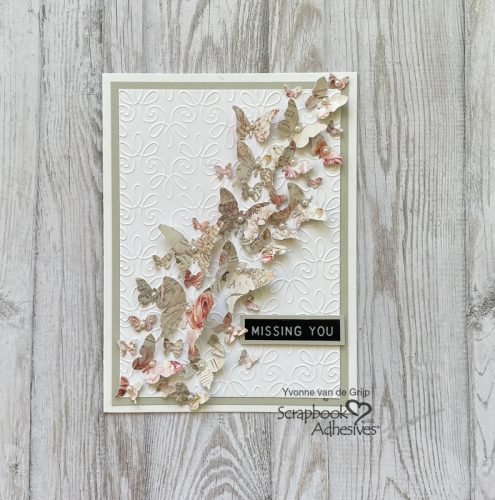
Creative Time: 30 minutes
Skill Level: Intermediate
Materials needed:
Scrapbook Adhesives by 3L®
E-Z Runner® Ultra Strong Refillable Dispenser
Thin 3D Foam Squares White Mix
Other: Cardstock (White, Soft Grey); Die-Cutting and Embossing Machine (Spellbinders® Platinum 6); Metal Cutting Dies (Sizzix: Tim Holtz: Butterfly Frenzy); Self-adhesive Pearls; Sentiment Sticker (Tim Holtz: Label Stickers Sentiments); Craft Knife; Scissors; Paper Trimmer
Save to Pinterest!
Visit our Website and Blog!
Sign up for our Newsletter so you never miss a contest or giveaway!


