
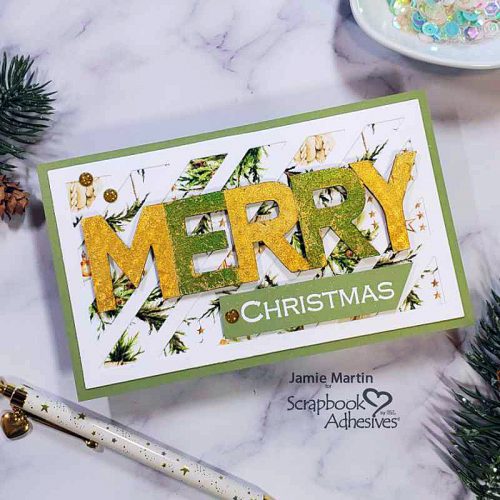
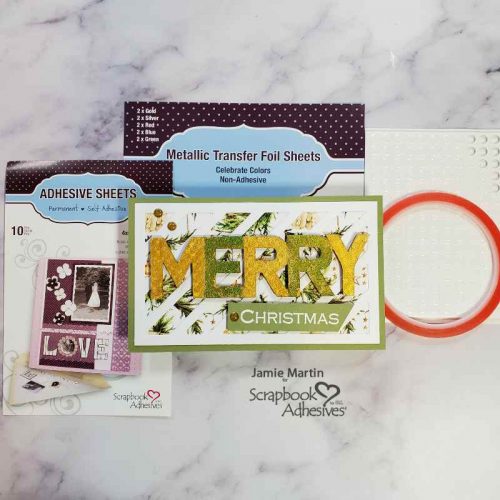
Hi, Jamie here with you today with a vintage-style slimline foil Merry Christmas card that uses Metallic Transfer Foil, pigment ink, and embossing powder.
Slimline Foil Greeting Steps
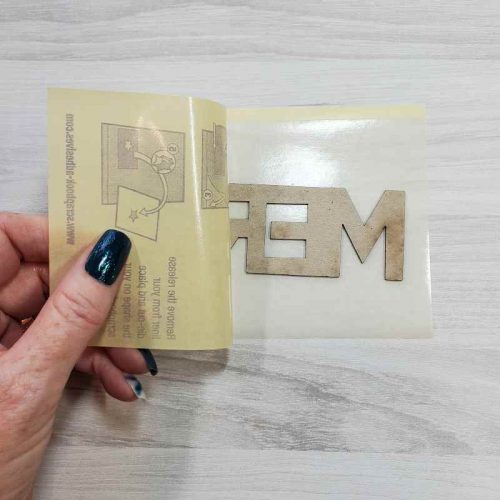
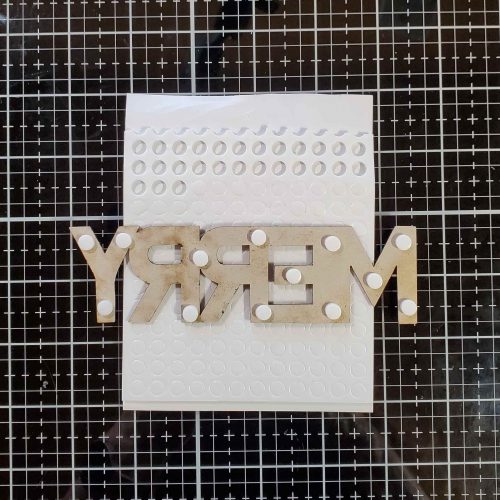
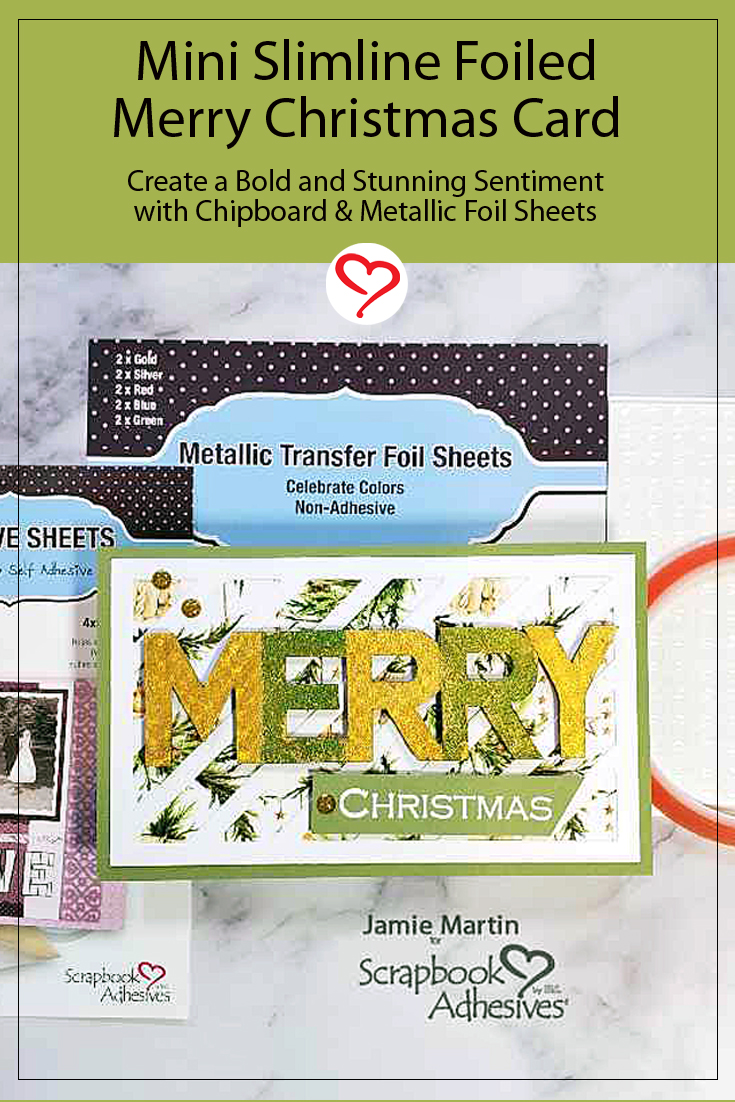
Place a Merry Chippie face down on a sheet of Adhesive Sheets 4 x 6in., rub to transfer the adhesive, and then remove the Chippie. The Adhesive Sheet is a thin adhesive and will give edge-to-edge coverage to the Chippie. Any extra adhesive that’s between the letters simply rubs off with your finger.
Wear Your Adhesive on the Outside with Adhesive Sheets
Remove the yellow liner from the Adhesive Sheet and use it as a mask to cover the letters by leaving one letter at a time visible.
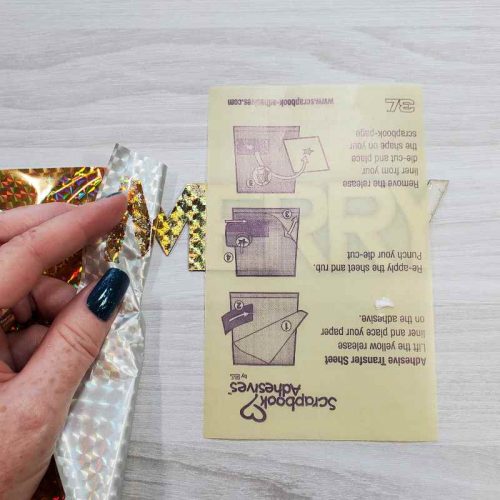
Take the gold foil sheet from the Metallic Transfer Foil Sheet in Celebrate Colors pack and place it on the “M” with the pretty side of the foil up so you can see it. Give it a good rub to transfer the color and peel off the carrier sheet.
Now move the yellow sheet to reveal the next letter but still keep the rest of the letters covered and apply the green Foil from the same pack. Keep alternating between the two colors of Foil until all of the letters are done.
Distress the Sentiment
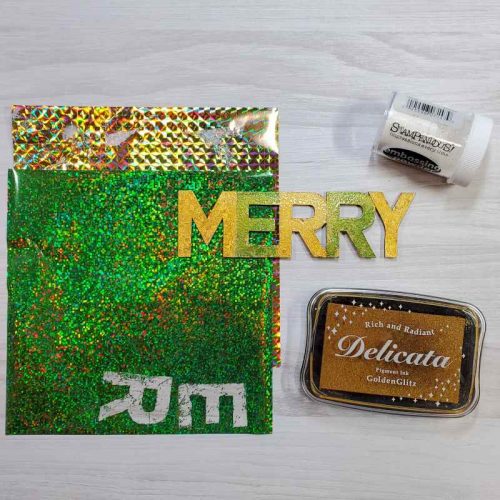
I wanted to give the “Merry” an aged look, so I rubbed it with Golden Glitz Delicata Pigment Ink by rubbing the pad directly on the word. It was then covered with clear embossing powder and heat embossed.
Here’s a closer look at the completed word. In person, it’s super sparkly and shiny.

Slimline Foil Merry Christmas Card Background
A mini slimline cover plate was die-cut from white cardstock and Extreme Double-Sided Tape 1/8″ was used around the border of the cover plate piece.
The cover plate was placed on the same size sheet of decorative paper.
Card Assembly
Pop up the “Merry” Chippie on the center of the panel using 3D Foam Circles. Place the stamped and heat embossed “Christmas” sentiment below and off the right side of “Merry” with the 3D Foam Circles.
Lift the word up by applying 3D Foam Circles White Mix on the back. I used enough 3D Foam Circles to ensure no sagging of the word once mounted to the card. Attach the panel to a green card with Extreme Double-Sided Tape 1/8in
Skill Level: Advanced
Creative Time: 45 minutes
Materials Needed:
Scrapbook Adhesives by 3L®
Adhesive Sheets 4×6
Metallic Transfer Foil Sheets Celebrate Colors
3D Foam Circles White Mix
HomeHobby™ by 3L
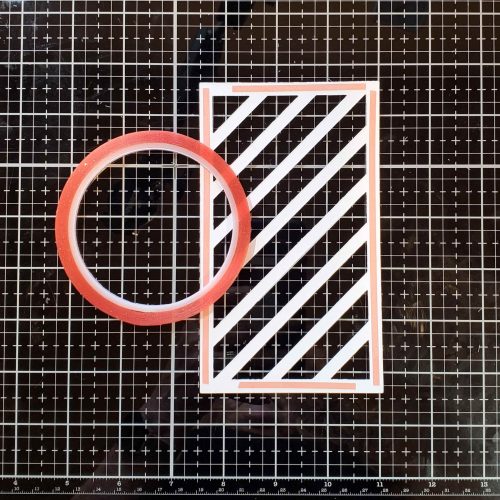
Extreme Double-Sided Tape 1/8″
Plus
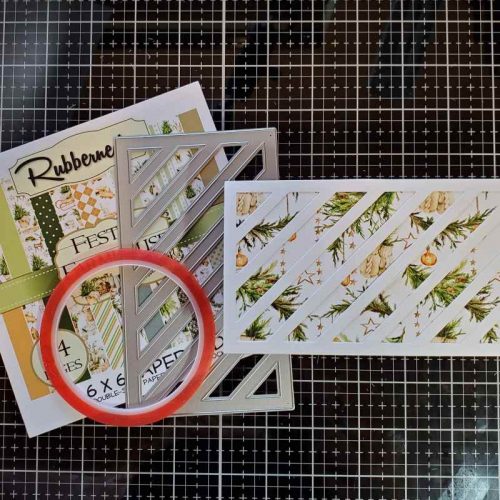
Ranger Ink- Wendy Vecchi Statement Chippies
Rubbernecker Stamps- Dies, Stamps, Decorative Paper
PrintWorks Specialty Paper- Cardstock
Save to Pinterest!
Visit our Website and Blog!
Sign up for our Newsletter so you never miss a contest or giveaway!


By Karen L K October 4, 2022 - 12:35 am
I had to come over here and see how those letters were done. Such a cool technique!