
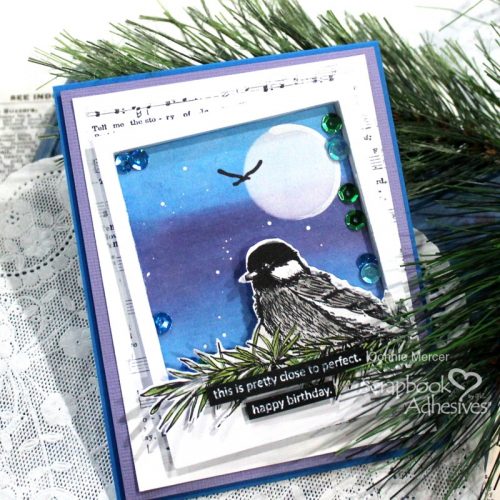
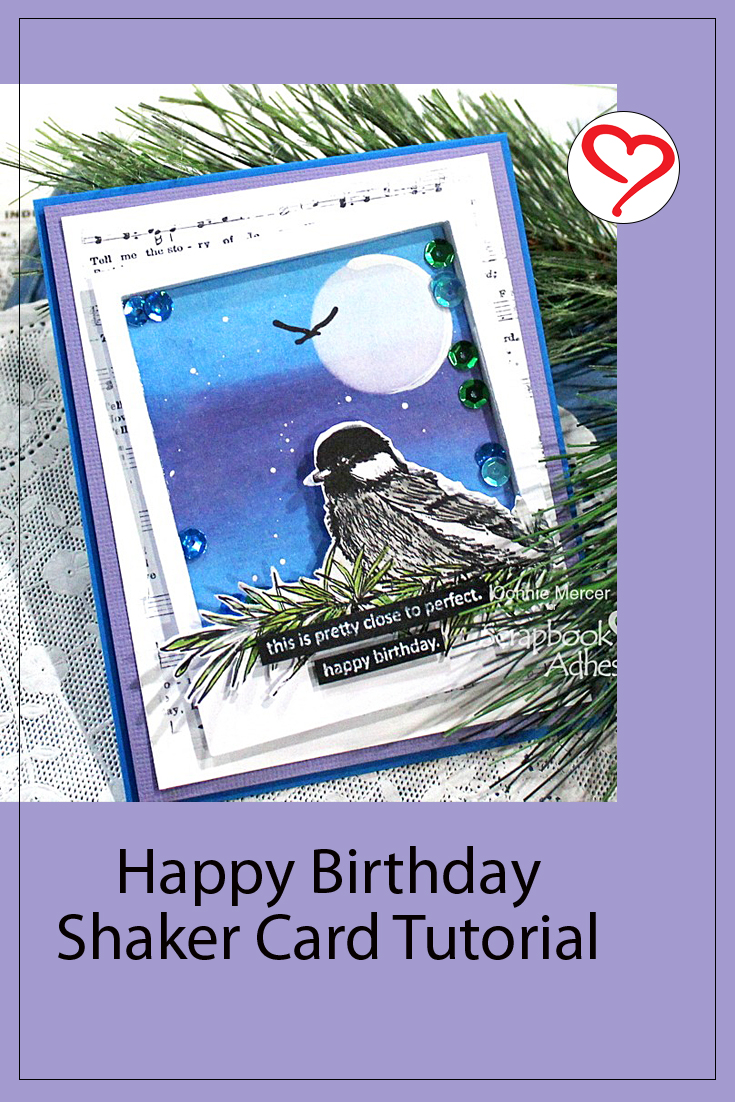
Hi, Connie here with my first post for 2023!! I created a sweet Birthday Shaker Card using the Crafty Foam Tape White 54″ and the 3D Foam Strips. They are the same thickness (at 2mm or 1/16″), so together, they are perfect for constructing the shaker part of a card.
Setting Up the Birthday Shaker Feature
Before we can put this card together there are a few steps to get ready.
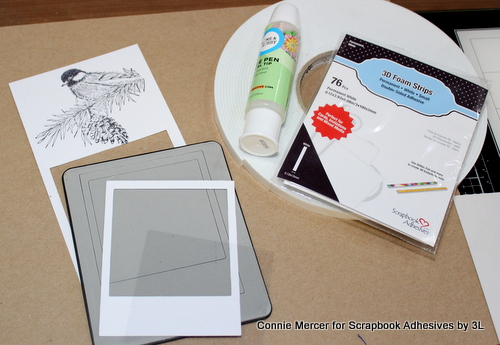
I’m using the Sizzix Die called Instant Photo as my shaker. Run the die through the
die-cutting machine with white cardstock. Cut a piece of acetate (clear film) for the frame cover.
Stamp image on white cardstock for card front embellishment.
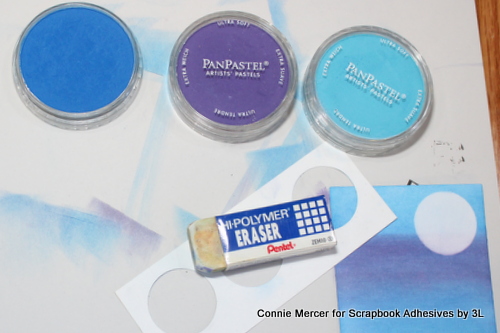
Using the inside piece from the Instant Photo die, add in a sky. I use PanPastels
and layer the colors in a row. Then take a circle stencil (or punch a circle out of cardstock)
works great, lay it over the sky and erase out the center. When using PanPastels it will remove the color.
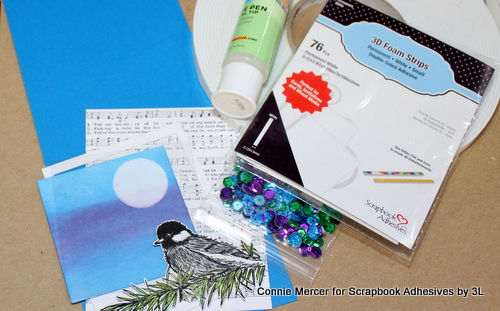
Color your focal image, in my case, the bird, and cut it out. Gather some sequins for the inside of the
Instant Photo frame and the EZ Runner Permanent Strips Refillable Dispenser will get you started.
Constructing the Birthday Shaker
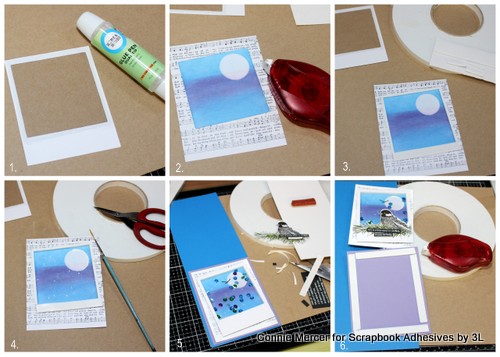
- 1. Using the Dual Tip Glue Pen glue the acetate sheet to the back of the photo frame.
2. Cut a sheet of pattern paper or stamped paper, for the mat, that will hold the 4 x 4 sky
background for the shaker. Use the EZ Runner Permanent Strips Refillable Dispenser to
adhere it to the mat.
3. Place the Crafty Foam Tape White 54″ at the bottom of the sky piece and the 3D Foam Tape Strips on the top and both sides. By doing it this way, you have a straight edge that keeps the adhesive in alignment. I did this step twice so the sequins would have lots of room to move about.
4. Before I could add the top to the shaker I wanted to stamp a bird and speckle with acrylic white paint. Dry with a heat tool before adding the sequins.
5. Peel off the liner to the adhesive tapes and place the photo frame over the shaker bottom.
6. Use Crafty Foam Tape White 54′ to adhere to the card base. Then using the EZ Runner Permanent Strips Refillable Dispenser adhere to the card front.

To complete the card add the bird embellishment to the front of the card with 3D Foam Circle White Mix and the sentiment with 3D Foam Strips. Now give it a good shake :):)
Thanks for stopping by~
Connie Mercer
Creative Time: 90 minutes
Skill Level: Advanced
Materials Needed:
Scrapbook Adhesives by 3L®
E-Z Runner Permanent Strips Refillable Dispenser
E-Z Runner Permanent Strips Refill
3D Foam Strips
3D Foam Circle White Mix
Crafty Foam Tape 54″
HomeHobby™ by 3L
Dual Tip Glue Pen
Other: Stamps: Blue Knight Rubber Stamps (Chickadee and Lucky You One Line Sentiments); PanPastels; Sequins
Save to Pinterest!
Visit our Website and Blog!
Sign up for our Newsletter so you never miss a contest or giveaway!


