
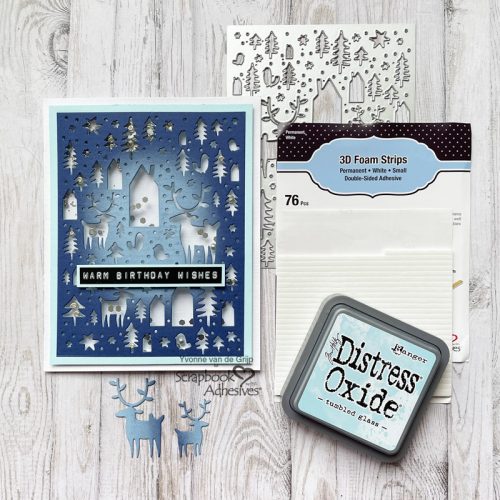
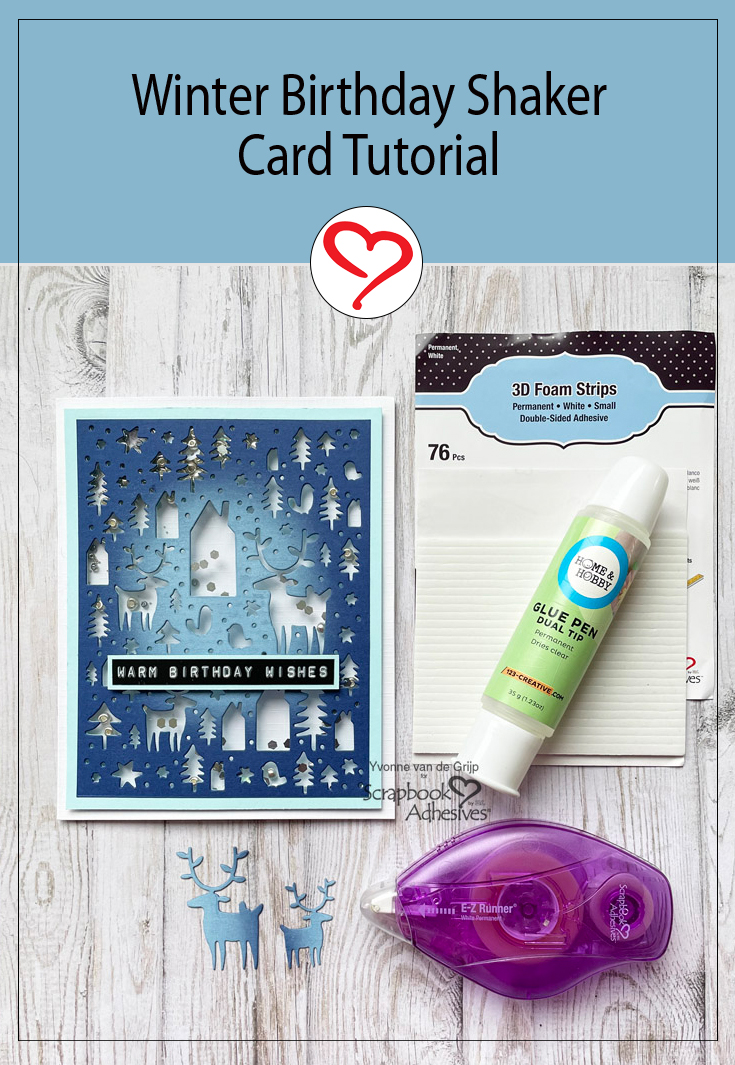
Hi everyone, Yvonne here with a winter birthday card. Winter birthdays are great to keep on using Christmas designs… simply give them a twist! And… 3D Foam Strips are great for making a frame to create a shaker card.
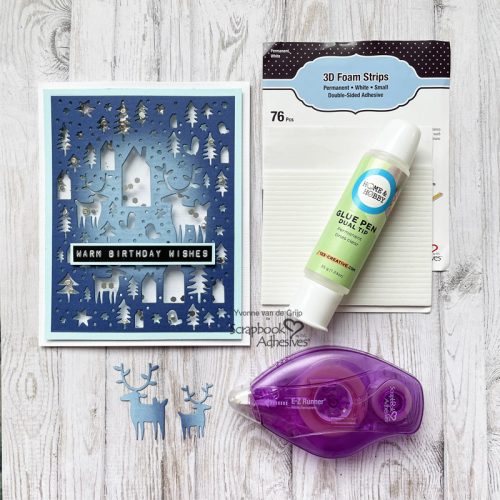
This winter scenery shaker card is not hard at all to create when you follow the instructions. Shall we get started?
Making the Top Card Panel
Start by inking a soft blue circle onto a piece of dark blue cardstock. To create the circle I used chalk ink and an ink blending tool. Gently dab the ink onto the cardstock and by adding layers of ink you can create a circle shape.
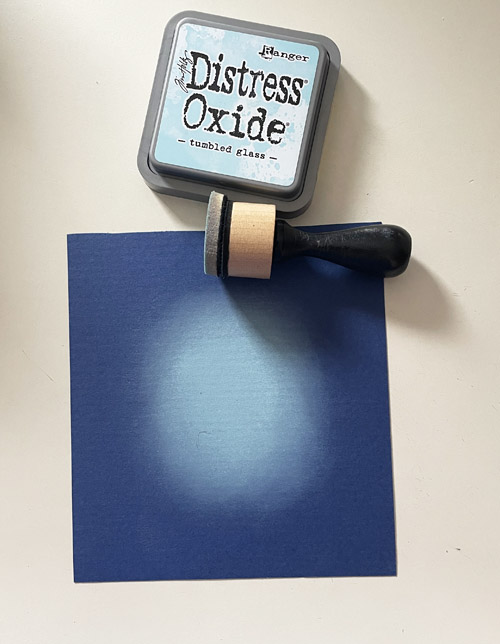
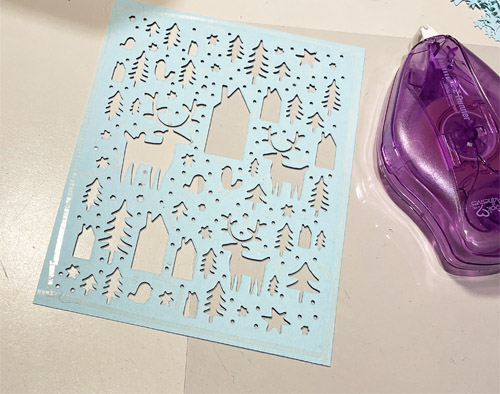
Now let the ink dry. Then put the winter scenery die on top of the inked card panel and run through your die-cutting and embossing machine using the plates as recommended by its manufacturer. Gently remove the die and trim the cardstock to the desired size. Next, make another die-cut from a slightly larger piece of soft blue cardstock. Use the Dual Tip Glue Pen to adhere both layers: the dark blue inked panel on top of the larger soft blue card panel.
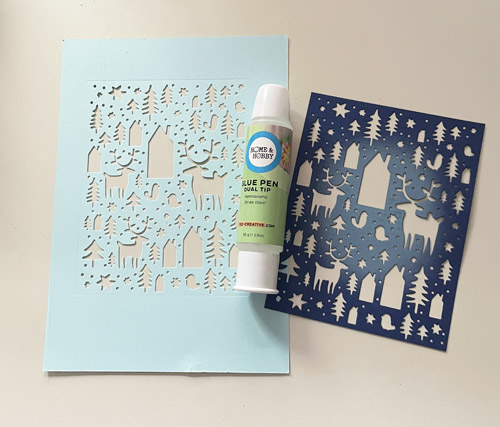
Then Trim the soft blue layer to the desired size.
Making the Shaker Element
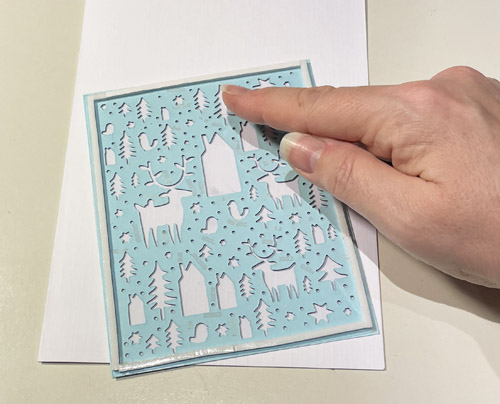
First, run the E-Z Runner® Micro Refillable Dispenser over the back of the stacked Card panel. I chose the E-Z Runner® Micro Refillable Dispenser because of the thin line of adhesive it produces…this makes it possible to cover detailed die-cuts with adhesive without the adhesive showing through.
Then adhere a piece of transparent sheet to the back.
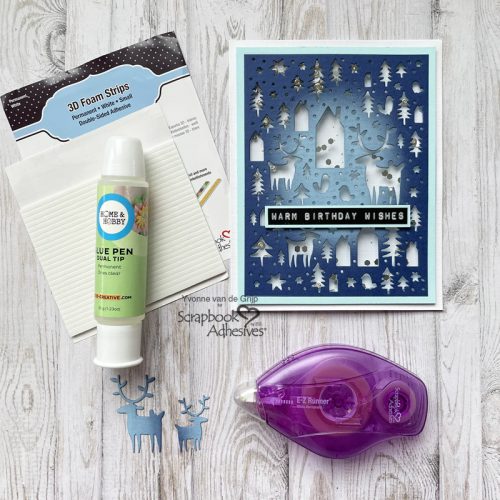
To create a tray for the shaker material I used 3D Foam Strips to create a rectangular tray on the back of the top card panel of the winter birthday card. Peel off the liner on only 3 sides of the 3D Foam. So leave the liner on one side.
Then adhere to a white card base. Now it’s time to fill the shaker with sequins, micro beads, seed beads etc.
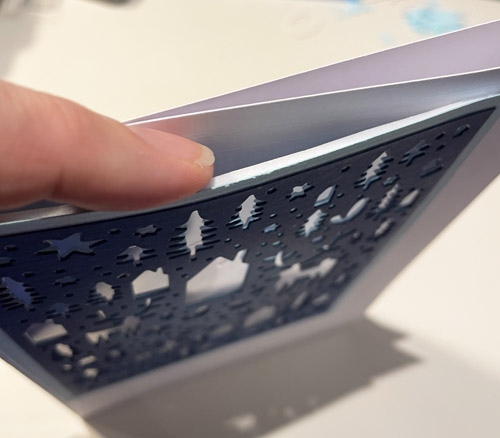
Then remove the liner from the 4th side of the 3D Foam Strips tray and thus you will close the shaker dome.
Finishing the Card
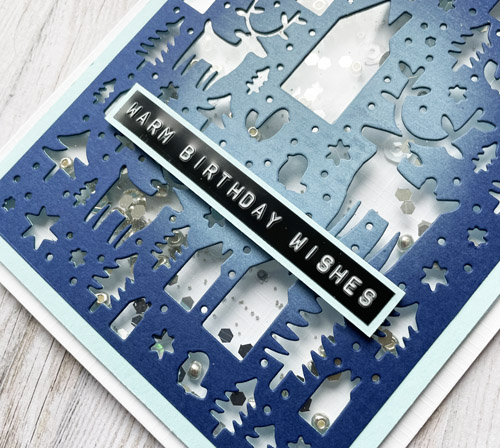
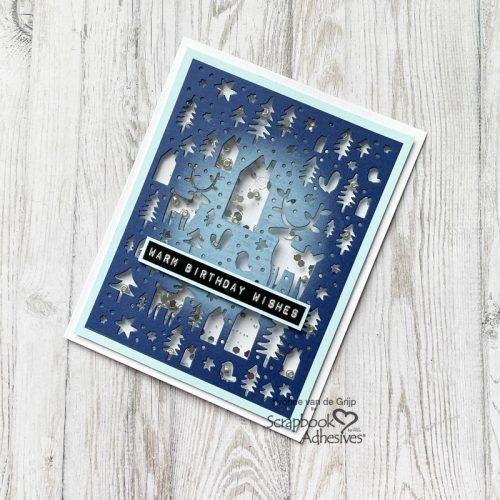
Since it’s a winter birthday card, I made a matching text strip “warm birthday wishes” which I adhered to a soft blue banner. Then adhere the banner onto the card using 3D Foam Strips.
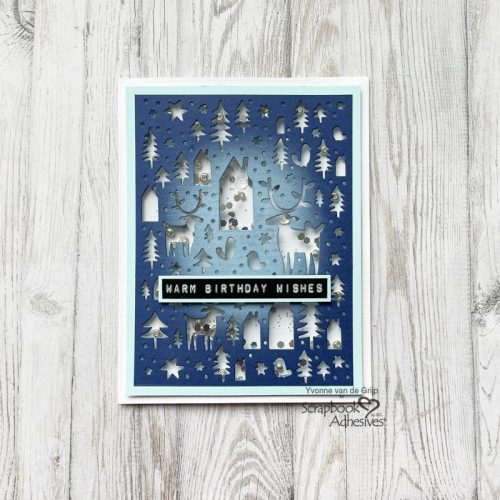
And voilá, your Winter birthday card is ready to give someone a very warm feeling!
I hope you enjoyed this tutorial and wish you happy crafting.
Creative Time: 40 minutes
Skill Level: Intermediate
Materials needed:
Scrapbook Adhesives by 3L®
E-Z Runner® Micro Refillable Dispenser
HomeHobby™ by 3L
Other:
Cardstock (White, Dark Blue, Soft Blue); Etched dies (Sizzix: Tim Holtz Thinlits™ Nordic Winter); Die-Cutting and Embossing Machine (Spellbinders Paper Arts®: Platinum 6 Machine); Sentiment Sticker (Dymo); Shaker material (Sequins, Micro Beads, Seed Beads, Glitter); Tweezers; Scissors; Paper Trimmer
Save to Pinterest!
Visit our Website and Blog!
Sign up for our Newsletter so you never miss a contest or giveaway!


