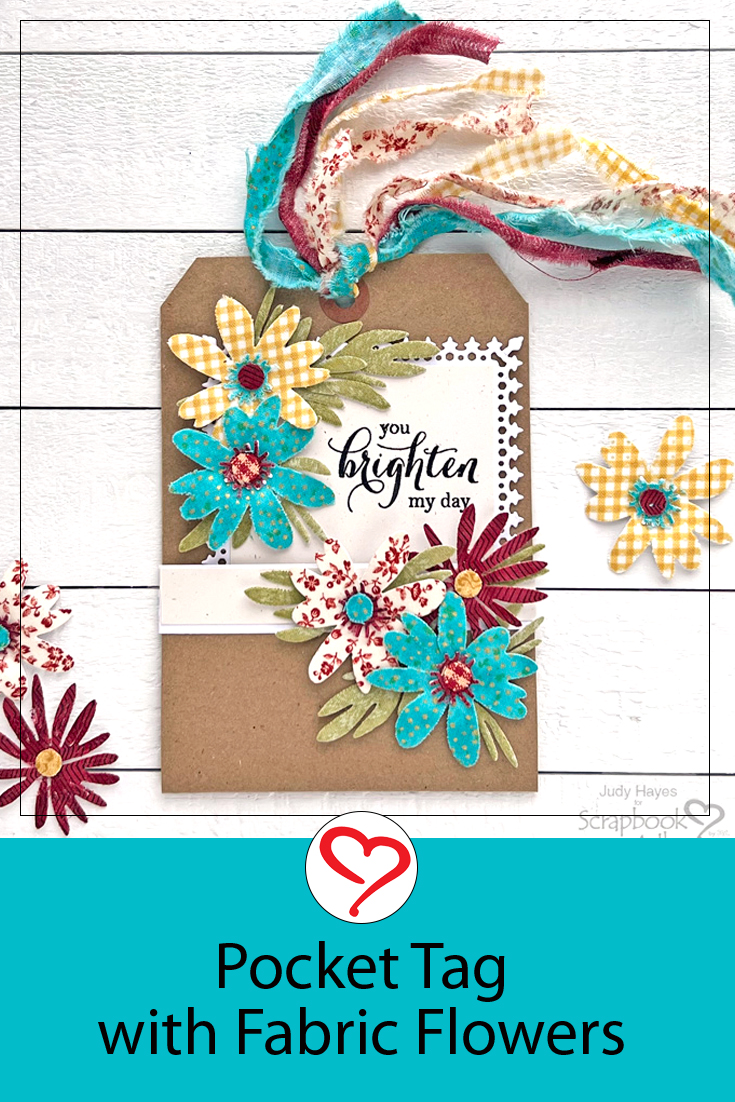
Today, I’m trying to think of spring with bright flowers on a pocket tag. Just for fun, I used cotton fabrics fastened to cardstock that I used to die-cut the flowers. It’s important to use all cotton fabric as synthetic fabrics will not cut well.
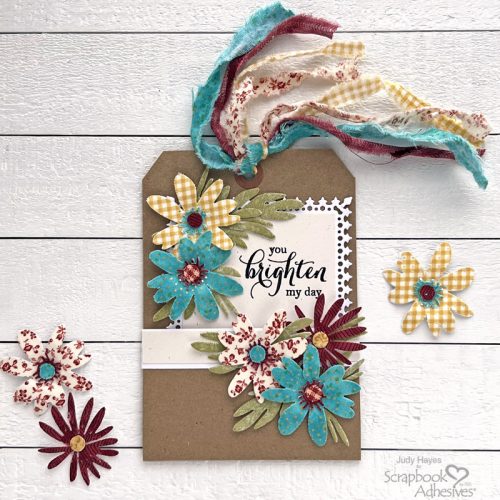
Make Flowers
Apply Adhesive Sheets 6×12 inch to 6 x 12-inch cardstock, rub with a bone folder, and cut in half ( or size desired).
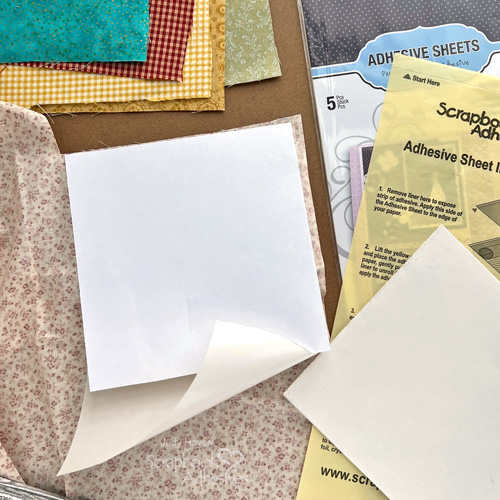
Place the fabric right side down on the work surface, and smooth out any folds. Peel the liner from the cardstock and press the sticky side onto the fabric. Trim away the excess fabric around the cardstock. Smooth out any wrinkles as needed and then place it between cutting mats and run through die cutting machine. This will press the fabric into adhesive to secure it well.
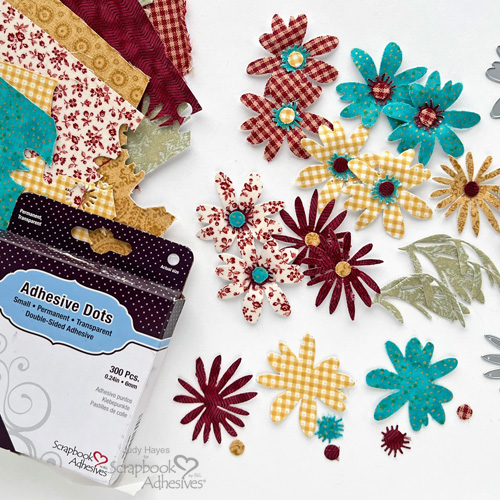
Choose a flower die, place the fabric on the cutting mat the same as for paper, complete the cutting sandwich, and pass through the die-cutting machine 4 times. Remove the die and snip any threads to remove the flower. Cut 5 flowers and centers and 3-4 leaves. Use Adhesive Dots Small to fasten centers to each flower.
Make Insert
Use a cutting die and die cutting machine to cut decorative edge rectangles (about 3.625 x 4.75-inch) out of white cardstock. From birch cardstock, cut a 3 x 4.25-inch rectangle.
Stamp greeting with black ink and heat emboss with clear embossing powder. Designer Tip: Leave space for flowers along the left edge.
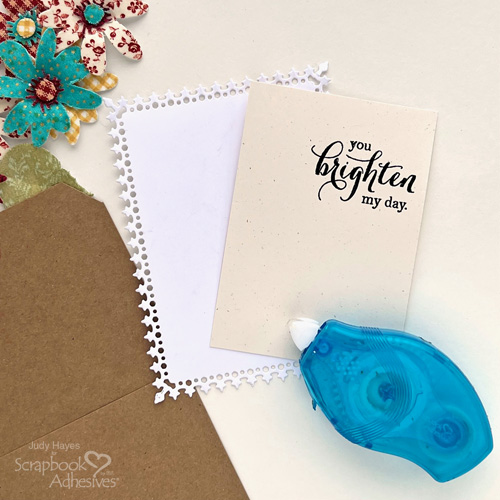
Use E-Z Runner® Petite Permanent Dots Refillable Dispenser to apply adhesive to the back of birch cardstock and fasten it to the decorative edge rectangle.
Form Pocket on Tag
Measure 2.5 inches from the bottom of the #10 tag, score, and fold up.
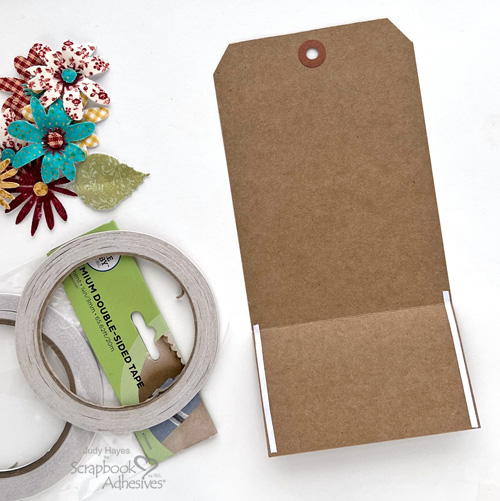
Place a piece of Premium Double-Sided Tape 1/8in along each inside pocket edge, peel liners and press the pocket in place.
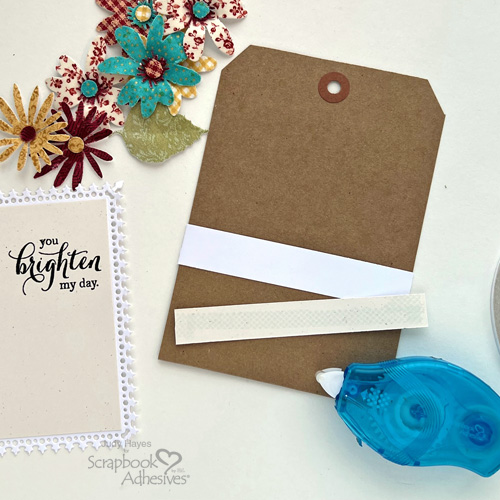
Cut a 4.25 x 0.75-inch strip of white cardstock and a 0.625 x 4.25-inch piece of birch cardstock. Apply adhesive to the back of the white strip with E-Z Runner® Petite Permanent Dots Refillable Dispenser and fasten across the top of the pocket. Repeat with birch strip.
Add Flowers
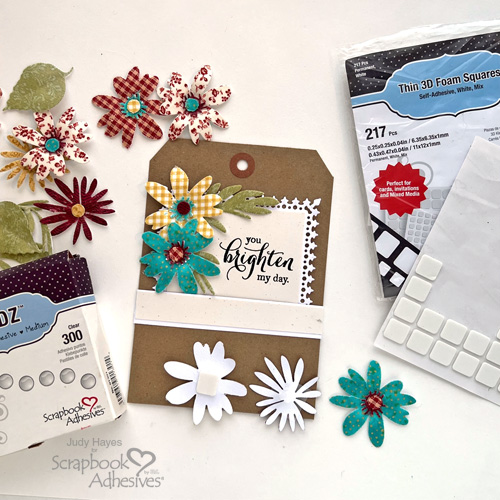
Tuck insert in tag pocket and arrange flowers on insert and pocket. To secure the flowers, use Adhesive Dots Medium and Thin 3D Foam Squares White Mix. Use Adhesive Dots Small or Adhesive Dots Medium on the stems of leaves, tuck them under flowers, and attach them in place. Adhesive Dots can be folded to fit stems as needed.
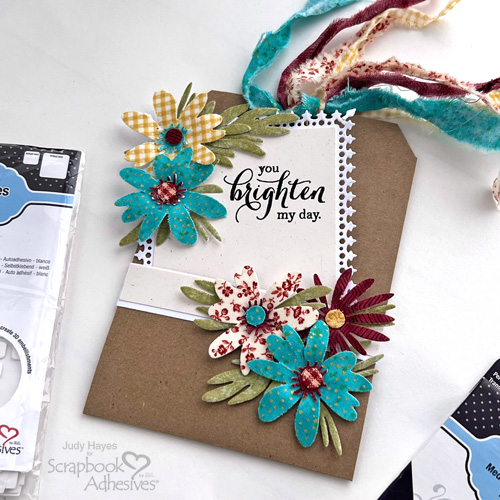
Cut or tear 3 narrow strips of fabric and tie them to the tag.
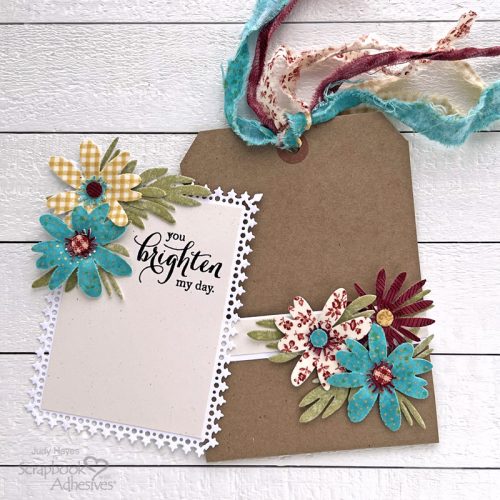
It’s ready to write a note at bottom of the insert, tuck it in the pocket, and send it to someone special!
Thanks for Visiting!
Judy Hayes
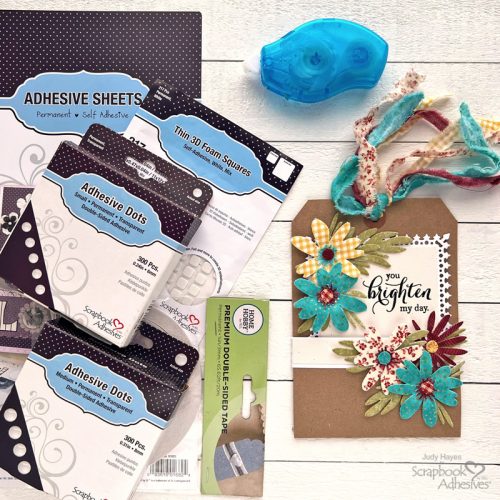
Creative Time: 40 mins
Skill Level: Intermediate
Materials Needed:
Scrapbook Adhesives by 3L®
Adhesive Dots Small and Adhesive Dots Medium
Thin 3D Foam Squares White Mix
E-Z Runner® Petite Permanent Dots Refillable Dispenser
Home Hobby by 3L®
Premium Double-Sided Tape 1/8in
Other
Tsukineko (Versafine Onyx Black Ink), Our Daily Bread Designs (Lavish Layers Die), Penny Black Stamp (Special Thoughts Set), Ranger Ink (#10 Kraft Tag, Clear Embossing Powder), Sizzix Tim Holtz (Funky Floral, Large), Cotton Fabrics, Cardstock (White, Birch)
Save to Pinterest!
Visit our Website and Blog!
Sign up for our Newsletter so you never miss a contest or giveaway!


