
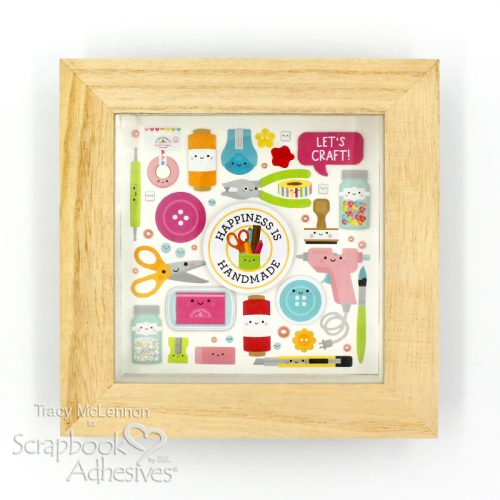
Hello scrappy friends! Tracy here, and today I have a fun and easy little project to share. Here are the steps on how I created this Simple Crafty Shadowbox for my craft room.
Let’s Get Started!
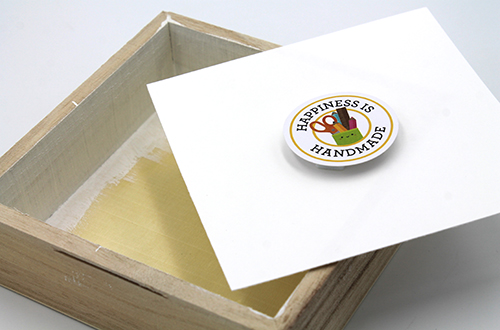
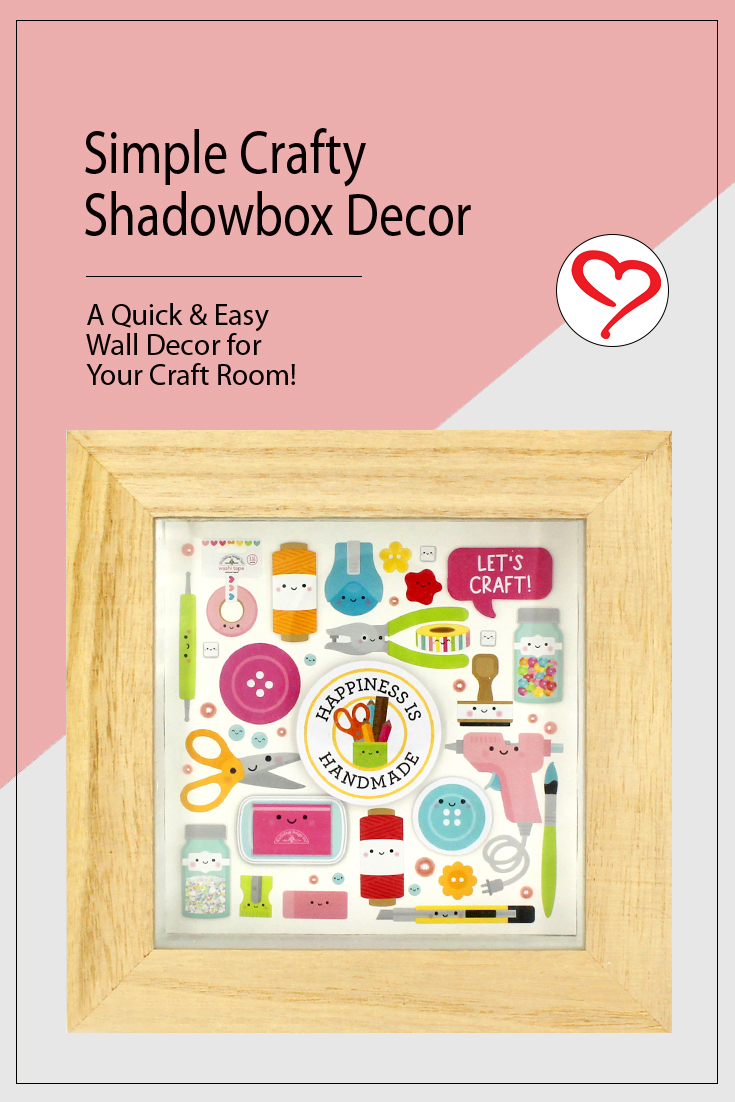
My first step in creating this Simple Crafty Shadowbox, was to paint the inside of the shadowbox using white paint. Then I cut the white cardstock base to fit inside the box. This shadowbox is about 5.5 x 5.5-inch. I added my focus sentiment piece to the middle of the white cardstock using 3 layers of 3D Foam Squares White Small Size.
Next came the fun part. Add stickers and die cut pieces one by one filling the entire white cardstock background. I wanted lots of dimension in this Simple Crafty Shadowbox, so I used different thicknesses of 3D Foam Squares White Small Size. I kept the middle sentiment piece the highest.
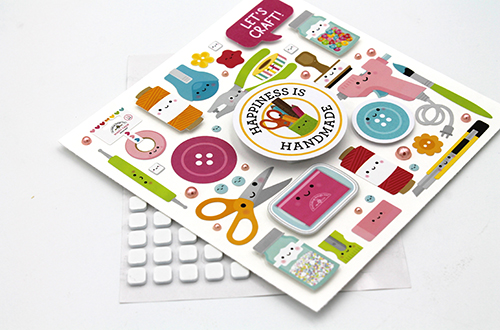
Fill in any remaining areas on the white cardstock background using pink pearls. This also gives that perfect bit of shine to the Simple Crafty Shadowbox.
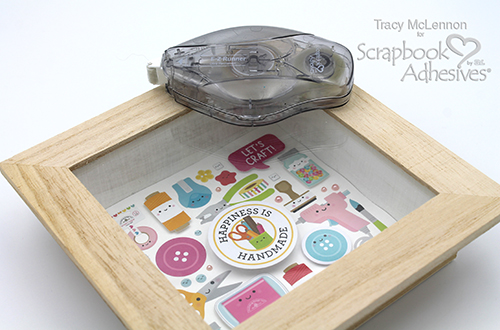
Adhere the white cardstock base to the shadowbox using E-Z Runner® Ultra Strong Refillable Dispenser. This strong adhesive will ensure this piece will stay together over time while on display in my craft room.
Thanks so much for stopping by!
Tracy
Creative Time: 50 Minutes
Skill Level: Beginner
Materials Needed
Scrapbook Adhesives by 3L®
3D Foam Squares White Small Size
E-Z Runner® Ultra Strong Refillable Dispenser
Other
Small Shadowbox Frame; DecoArt Acrylic Paint- White; Doodlebug Stickers and Die Cuts; White Cardstock; Pink Pearls
Save to Pinterest!
Visit our Website and Blog!
Sign up for our Newsletter so you never miss a contest or giveaway!


