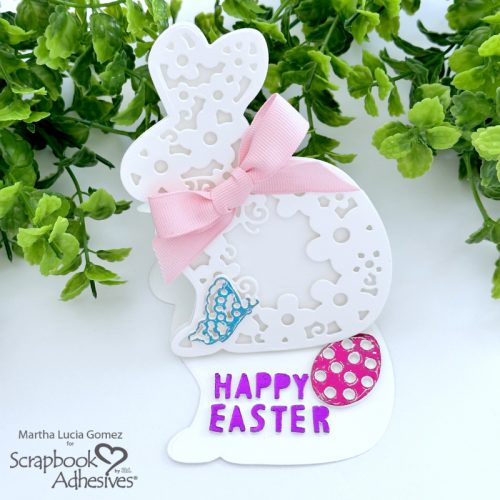
Hi everyone, Martha Lucia here with a sweet Bunny Shaped Easel Card for Easter. Easel cards are very simple to make and you only have to create a beautiful top layer. For a twist, my card is a bunny-shaped card too.
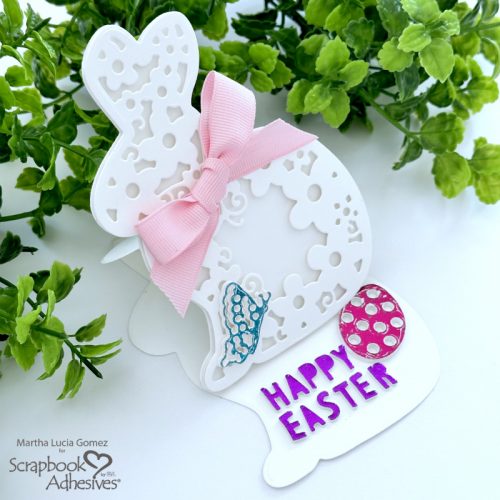
Bunny Shaped Easel Card Base
Start by cutting a regular 4-1/4″ x 11″ card base and score at 5-1/2″. Fold your card to accommodate the largest shaped die from the Rabbit Shaped Die Set. Die-cut into the card base with the top of the die protruding slightly over the card base fold. This will create a hinged card base. Then, cut another bunny from the largest die and the decorative bunny-shaped die using the same color of cardstock.
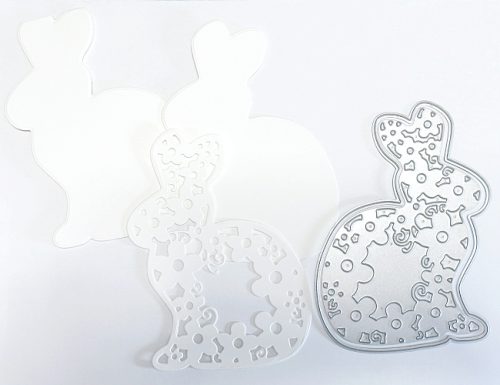
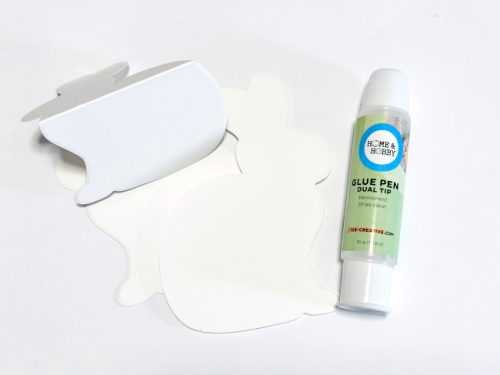
Let’s start with the hinged card base. First, score the card front horizontally through the middle. Then, apply the Dual Tip Glue Pen to the bottom half of the scored area and place the solid bunny shape on top to form one bunny. Now you have a bunny shaped easel card!
Top Card Panel Layer
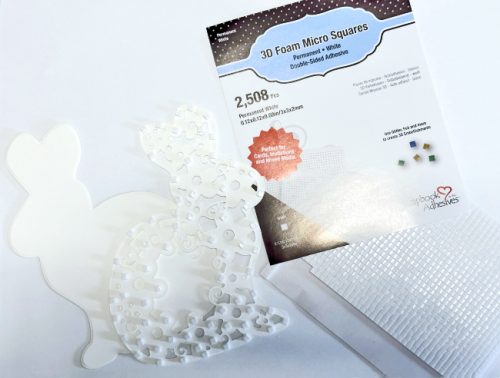
To give texture and interest to the card front, add the decorative bunny layer by securing it with 3D Foam Squares Micro White. These squares are 1/8-inch small and are perfect to go behind intricate designs like this one.
Wear Your Adhesive on the Outside with Foils
Now to add sparkle and a function, the stopper for the easel front. First, I adhered a piece from the Adhesive Sheets 4×6 in. onto white smooth cardstock. My plan is to die-cut an egg and a butterfly, making sure the front of them has adhesive on the front side.
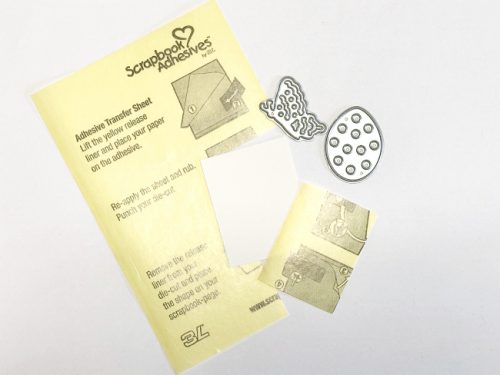
But I wanted to stack them (egg and butterfly) with two more layers so I die-cut two more times and layered them with the Dual Tip Glue Pen. I made sure the top die cut shapes had the Adhesive on top.
Now remove the top liners from the egg and butterfly, place the foil color side up, and rub gently with your fingertips to transfer the color to the shapes. I use a combination of magenta and turquoise foils from the Metallic Transfer Foil Sheets Variety.
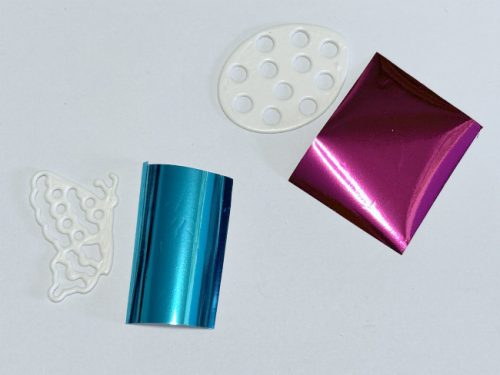
Adhere the stopper, the foiled egg, to the card base with 3D Foam Squares Micro White, so that the decorated panel can stand up.
Embellishing the Easel Shaped Card
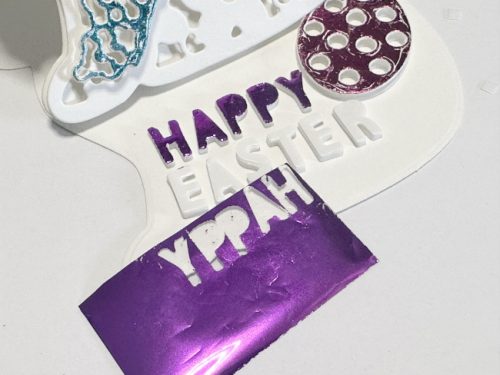
To embellish the easel shaped card for Easter, I pasted the foiled butterfly to the body of the rabbit with 3D Foam Squares Micro White. Additionally, I foiled the HAPPY EASTER letters included on the 3D Foam Easter Shapes Kit to complete the idea. I used a piece of Purple Foil from the Metallic Transfer Foil Sheets Variety Package colors.
Finishing Touches
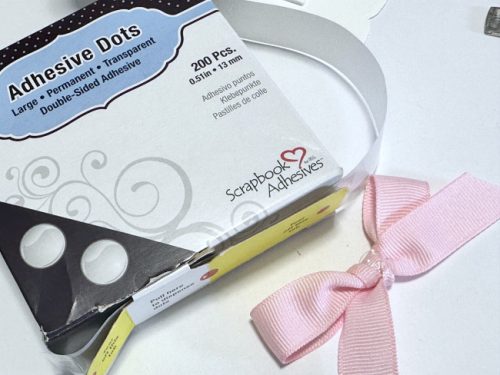
Place a pink ribbon bow on the bunny’s neck using an Adhesive Dot Large. It is flexible to let me position the bow the way I like.
Thanks for Visiting!
Martha Lucia
Creative Time: 60 mins
Skill Level: Intermediate
Materials Needed:
Scrapbook Adhesives by 3L®
3D Foam Squares Micro White
3D Foam Easter Shapes
Metallic Transfer Foil Sheets Variety
Adhesive Sheets 4×6 in
Adhesive Dots Large
Dual Tip Glue Pen by HomeHobby™ by 3L
Other
White Smooth Cardstock, Rabbit Shaped Card by Gemini
Save to Pinterest!
Visit our Website and Blog!
Sign up for our Newsletter so you never miss a contest or giveaway!


