
Hello crafty friends! Tracy here, and today I have a layout to share packed with lots of layers. Here are all of the dimensional details.
Let’s Get Started
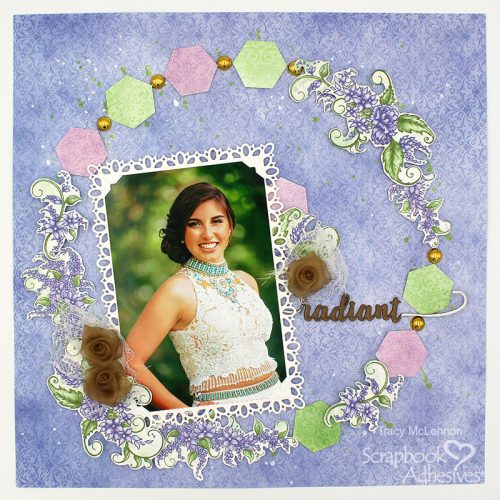
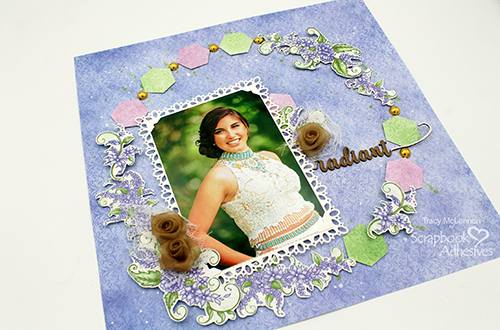
The very first steps on creating this lots of layers layout is to trace the circular outline for the wreath onto the background patterned paper. This is when I also splattered the misters around that circle. Set aside to let dry.
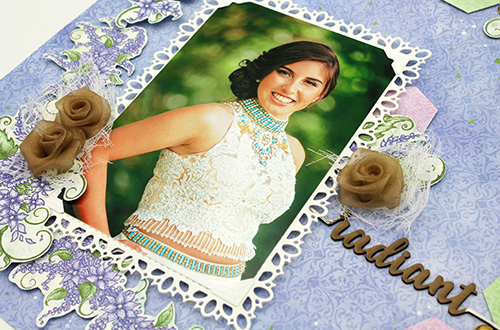
Die cut the photo frame from white cardstock. Adhere the 4×6 photo to the die cut from using Creative Photo Corners White. I like lots of dimension around my focal photo. So I adhered the matted photo to the background using 2 layers of Crafty Foam Tape White. This leaves lots of room around the photo for different levels of dimension.
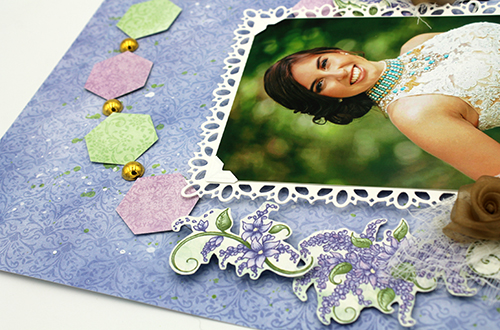
Begin adhering the fussy cut flower clusters in the bottom left hand corner, and top right hand corner of the wreath using a combination of 3D Foam Squares White Mix and Thin 3D Foam Squares White Mix. The punched out hexagons get adhered around the wreath using Thin 3D Foam Squares White Mix with gold pearls in between them. This completes the lots of layers wreath.
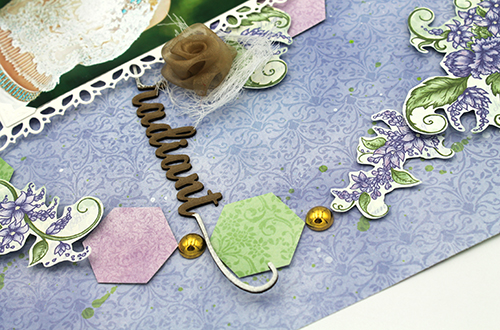
Attach the chipboard title to the layout using the Dual Top Glue Pen, just to the right of the matted photo. I added the ribbon flowers and cheesecloth using Adhesive Dots Large.
Thanks so much for stopping by!
Tracy
Creative Time: 60 mins
Skill Level: Intermediate
Materials Needed:
Scrapbook Adhesives by 3L®
Adhesive Dots Large
Dual Top Glue Pen by HomeHobby™ by 3L
Crafty Foam Tape White 13ft.
Creative Photo Corners White
Thin 3D Foam Squares White Mix
3D Foam Squares White Mix
Other: Heartfelt Creations (patterned paper, frame die); Hexagon Punch; Gold Pearls; Media Gloss Spray (White, Lime); Cardstock- White; Cheesecloth; Ribbon Rosettes; Creative Embellishments Chipboard
Save to Pinterest!

Visit our Website and Blog!
Sign up for our Newsletter so you never miss a contest or giveaway!


