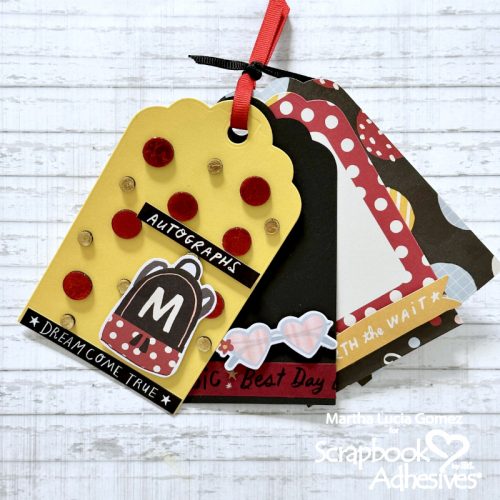
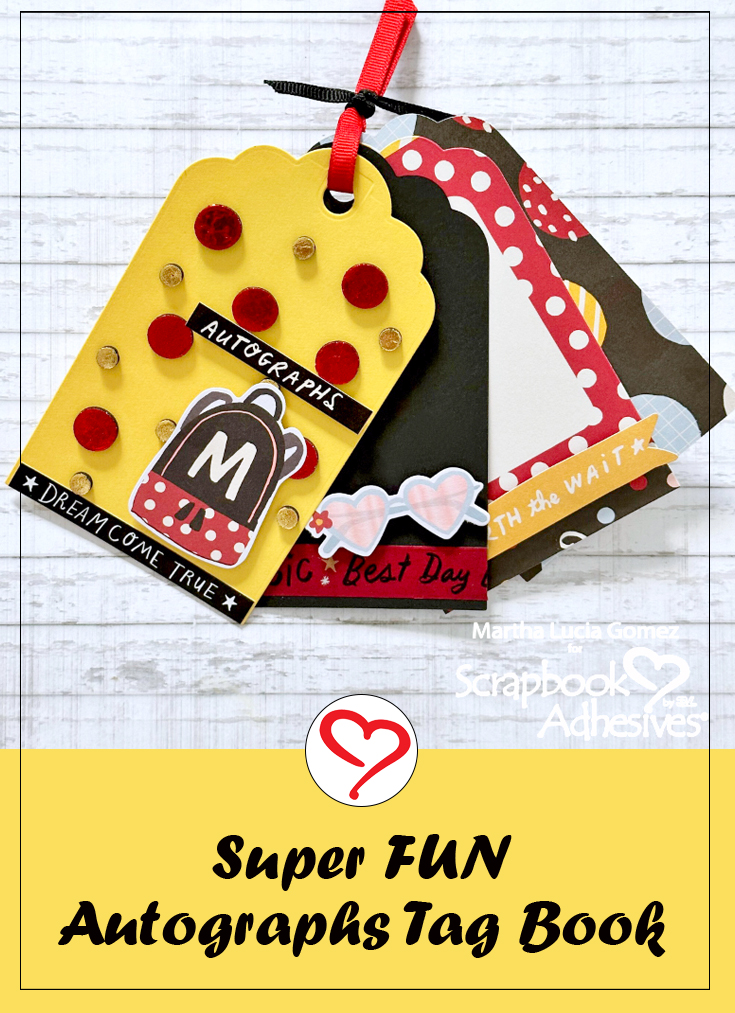
Hi crafty friends, Martha Lucia here today! I want to share an autographs tag book that I created featuring the Metallic Transfer Foil Sheets Variety and 3D Foam Circles Black Mix. These products are versatile and easy to use in all your papercraft projects. Let me show you.
Create Tag Pages
To make this fabulous autographs tag book, die-cut as many tags as you want as pages. Note that you can use different shapes and mix cardstock with heavy-weight patterned paper.
To decorate the cardstock pages, I use the Wear Your Adhesive on the Outside technique. Randomly place 3D Foam Circles Black Mix on the tags. Remove one top liner from a foam circle and place a piece of red foil from the Metallic Transfer Foil Sheets Variety. Make sure the color is facing you and rub to transfer the color to the circle. Repeat the foiling step for the rest of the circles.
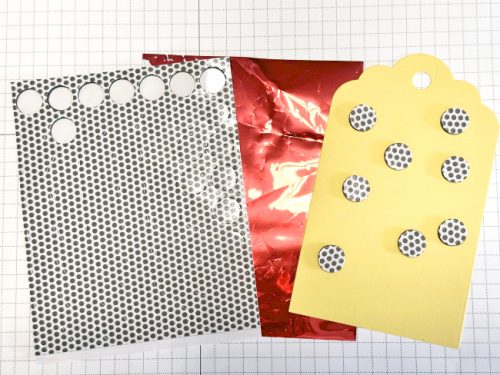
Foiling Accent on Cover
For a fun accent, I placed a mix of regular and small sizes of the 3D Foam Circles Black Mix on the autographs tag book cover. With a combination of red and gold foil sheets from the Metallic Transfer Foil Sheets Variety, repeat the foiling steps mentioned above. Missed a spot? No problem, simply reapply the foil. Done!
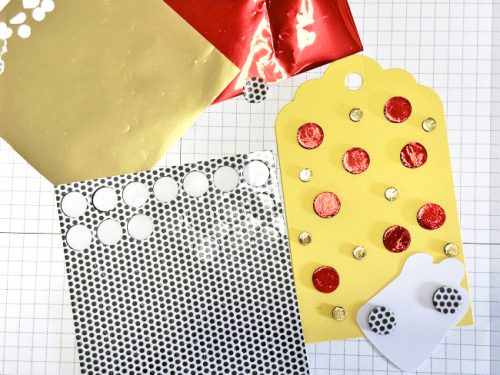
Autographs Tag Book Assembly
Let’s assemble and embellish the tag book. Use ephemera to personalize each page. All the small special details are adhered with 3D Foam Circles Black Mix for interest and dimension. Bind the tag book with a ribbon.
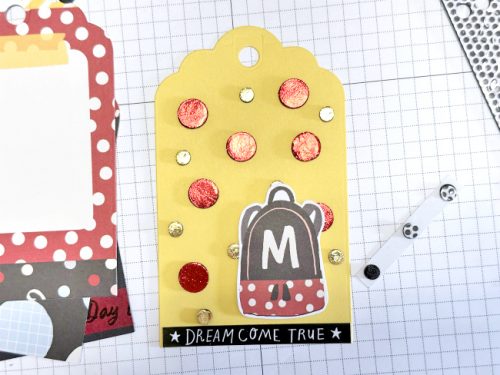
Thank you so much for stopping by and checking out my Autographs Tag Book. See you soon with more inspiration!
Martha Lucia Gomez
Creative Time: 60 mins
Skill Level: Beginner
Materials Needed:
Scrapbook Adhesives by 3L®
E-Z Runner® Grand Permanent Strips Refillable Dispenser
3D Foam Circles Black Mix
Metallic Transfer Foil Sheets Variety
Other: Papers, Stickers + Ephemera: Simple Stories (Say Cheese Main Street); Basic Black and Daffodil Cardstock
Save to Pinterest!
Visit our Website and Blog!
Sign up for our Newsletter so you never miss a contest or giveaway!


