Hello crafty friends! Tracy here, and today I have this fun little Celebrate Shaker Slimline Card to share. Create this statement card with a whole lot of pizazz in under an hour. Here are all of the details.
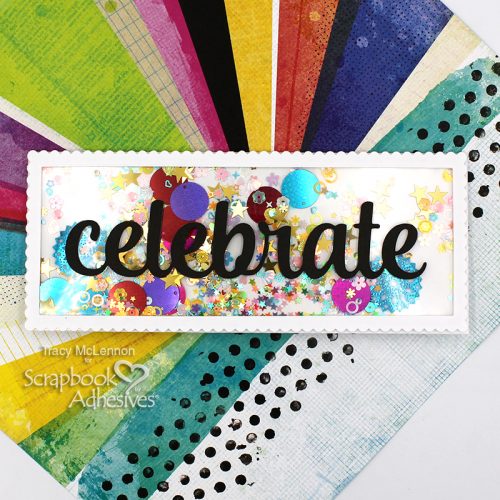
Create the Celebrate Shaker Card Front
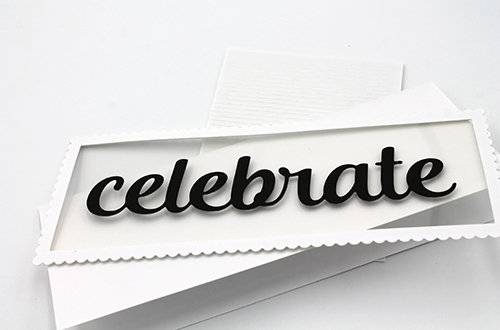
Firstly, I cut the slimline card base, and the die cut pieces from white and black cardstock. I also cut a piece of acetate to fit behind the die cut frame.
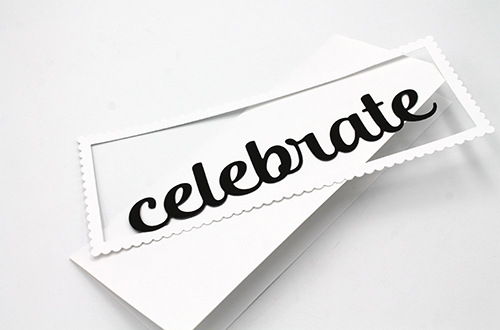
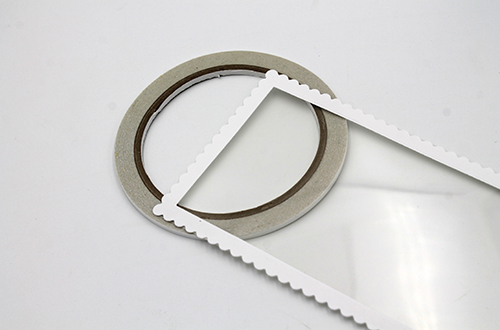
Secondly, using Premium Double-Sided Tape 1/8in I adhered the acetate to the white cardstock die cut frame. This created the top of the Shaker Front for the Slimline Card.
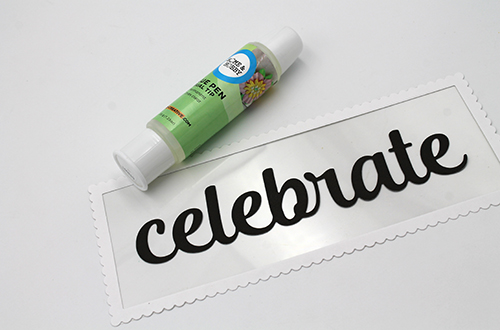
The “Celebrate” black cardstock die cut piece gets added to the shaker top using the Dual Tip Glue Pen.
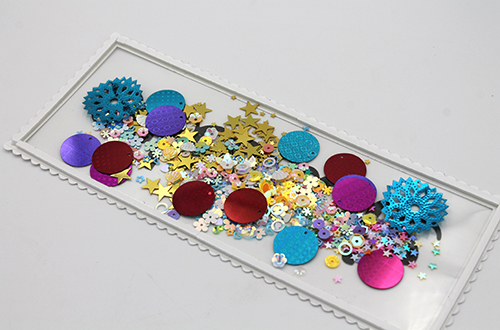
To create the pocket for the shaker bits I used 3D Foam Strips around the entire perimeter of the back of the Shaker Front Slimline Card.
Fill the shaker front slimline card with whatever sparkly bits you like. I took the opportunity to use some of the largest sequins I had to really fill up the space.
Once filled, remove the 3D Foam Strips backing, and place the white cardstock card base onto the shaker front. Make sure the 3D Foam Strips are sealed completely to ensure no sequins can spill out.

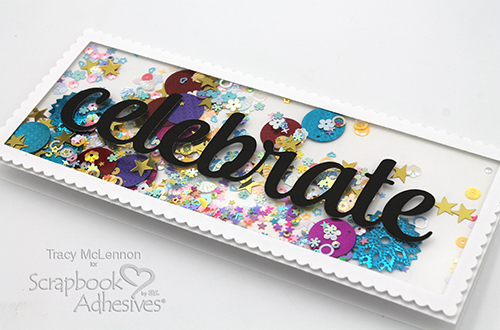
Thanks so much for stopping by!
Tracy
Creative Time: 45 minutes
Skill Level: Easy
Materials Needed:
Scrapbook Adhesives by 3L®
3D Foam Strips
HomeHobby™ by 3L
Dual Tip Glue Pen
Premium Double-Sided Tape 1/8in
Click Preferred Retailers List
Save to Pinterest!
Visit our Website and Blog!
Sign up for our Newsletter so you never miss a contest or giveaway!


