
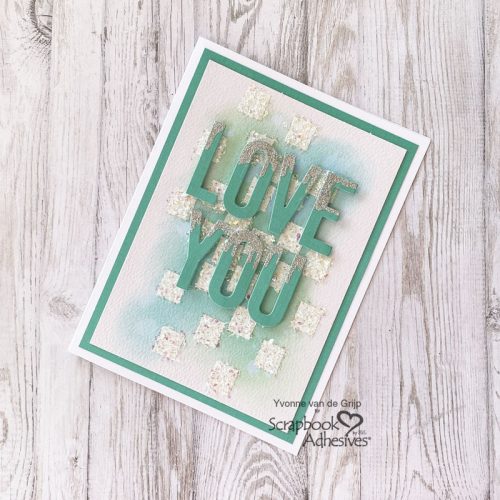
Hi everyone, Yvonne here with a gorgeous Uplifted Love You Card. 3D Foam Strips is a great adhesive to lift up detailed effects to your card!
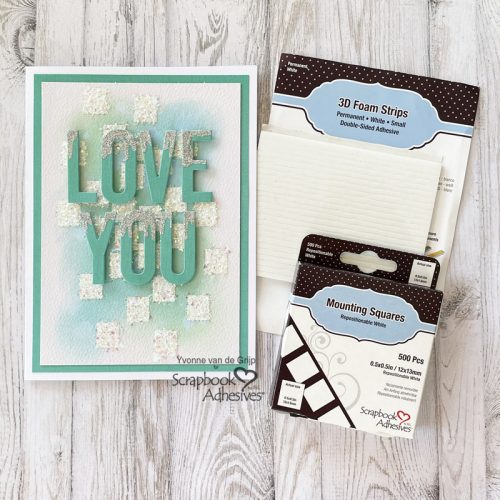
With the help of a technique called Wear Your Adhesive on the Outside, I created the fuzzy squares on the card. I would love to show you how I made my card. Shall we get crafty?
Top Card Panel
Start by trimming a piece of white cardstock to a rectangular size. Then use blue and green ink along with an ink blending tool to create a background color on your Uplifted Love You Card. Sprinkle some water upon it and dab using a paper towel to add a little effect to the card panel.
Wear Your Adhesive on the Outside with Mounting Squares
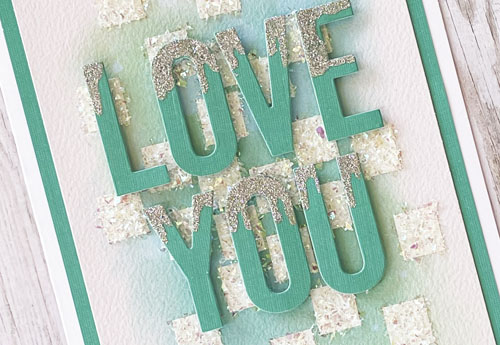
To create the fuzzy little squares on the Uplifted Love You Card I used a technique called Wear Your Adhsive on the Outside. Adhere Mounting Squares 500 White Initially Repositionable all over the inked card panel.
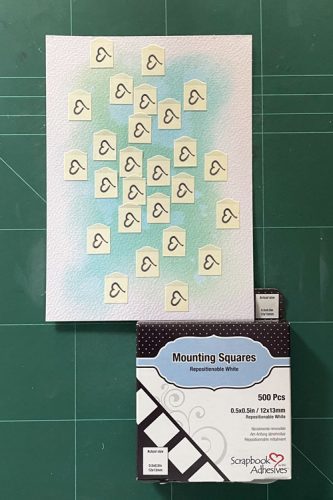
Now carefully remove the liners. Then sprinkle holographic flakes over the squares and rub to adhere securely. Tap off any excess flakes.
Card Base
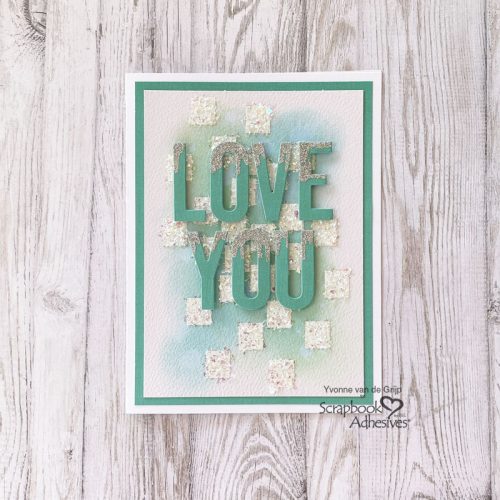
Adhere the inked card panel onto a green card panel. Use the E-Z Runner® Grand Refillable Dispenser to adhere the panel quickly and easily…of course, it’s stainless. Then place it on a white card base.
Embellish the Love You Sentiment
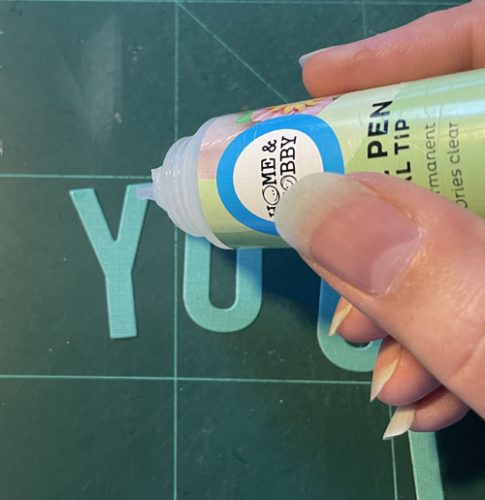
Die-cut the sentiment. Add a glitter effect on the Uplifted Love You Card. Simply apply glue from the Dual Tip Glue Pen on the die-cut letters with the fine tip side. Then sprinkle some silver micro glitter upon them. Let dry thoroughly.
Sentiment Placement Tip
To adhere the letters exactly as the die-template, put the letters back into the negative die-cut and use some washi tape to temporarily keep the letters in place.
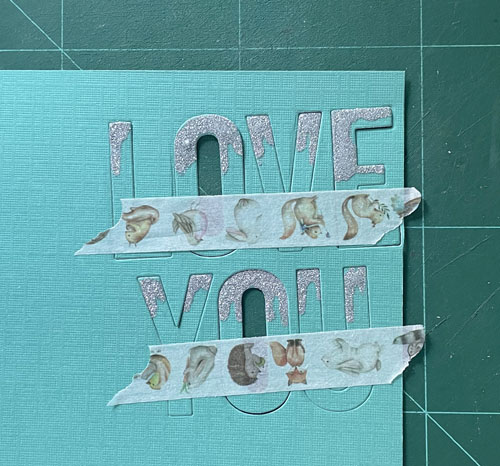
Then turn over and adhere 3D Foam Strips to the back of the letters.
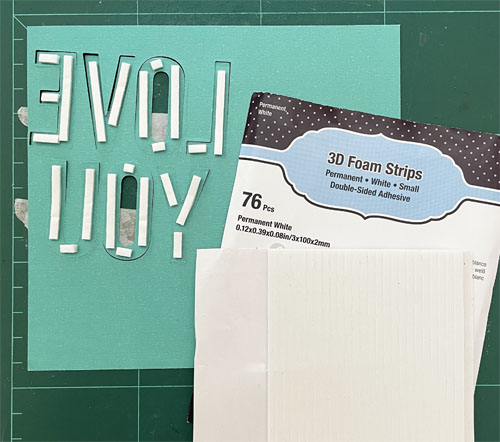
Now remove the liners and adhere to the top card panel. Then remove the washi tape and your sentiment is perfectly lined on your card. I used 3D Foam Strips to add that lovely uplifting effect.
Voilá your Uplifted Love Card is ready! I hope you enjoyed this tutorial and wish you happy crafting.
Creative Time: 90 minutes (including drying time)
Skill Level: Intermediate
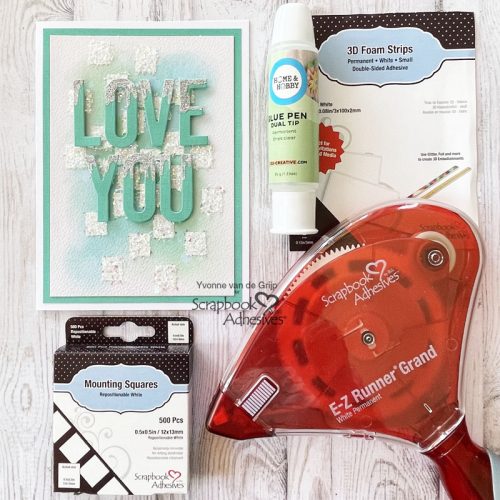
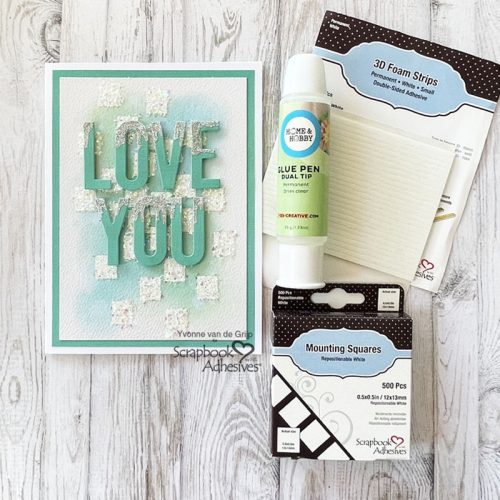
Materials needed:
Scrapbook Adhesives by 3L®
E-Z Runner® Grand Refillable Dispenser
Mounting Squares 500 White Initially Repositionable
HomeHobby™ by 3L:
Other
Etched Dies and Die-Cutting and Embossing Machine (Spellbinders Paper Arts®: Platinum 6 Machine; My Favorite Things: Love You); Cardstock (White, Green,); Inkpads (Rangerink: Distress Oxide ink: Salvaged Patina, Tumbled Glass); Ink Blending Tool; Flakes (Stampendous®: Fran-tage Shaved Ice); Glitter (Micro Glitter Silver); Washi Tape; Scissors; Craft Knife; Paper Trimmer
Save to Pinterest!

Visit our Website and Blog!
Sign up for our Newsletter so you never miss a contest or giveaway!


Visit our Website and Blog!
Sign up for our Newsletter so you never miss a contest or giveaway!