Hello, it’s me, Lara. Since the temperatures around me have been in the 80s/90s. I am in the mood to plant all the seeds I purchased over the winter, but it is still a little early. Inspired by this thought, I created a Seed Packet Card. Let me show you!
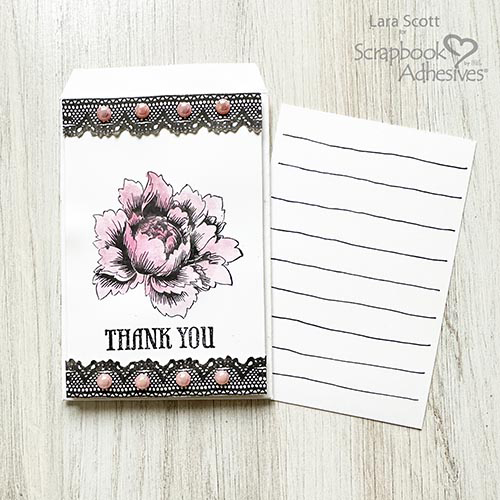
Seed Packet Card Template
I thought it would be a great idea to create these seed packets to organize my seeds. What a fun gift to make for anyone who enjoys gardening. Just put seeds in it and add to a little terra cotta pot with gloves or garden tools. etc.
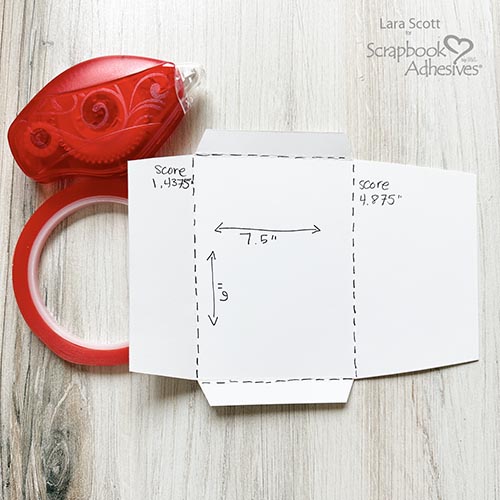
Score a piece of 6 x 7.5″ white cardstock at 1.4375” and 4.875” with the 7.5″ side up. Next, flip the cardstock (making the 6″ side facing up) and score each end at 0.50″. Referring to the above image, trim off the 0.50″ scored sections on the top and bottom, slightly angled. You can use either the Extreme Double-Sided Tape 1/4″ or the E-Z Runner® Permanent Strips Refillable Dispenser. If you are sending this as a card I would say to use the E-Z Runner® Permanent Strips.
Since I am a gardener and have a lot of seeds, I use these seed packets to hold my seeds instead of the original packaging (they don’t reseal). For my use, I assemble with the Extreme Double-Sided Tape 1/4″ as they are more durable as I am opening and closing the packets, and taking it outside. But I don’t seal the tops.
Stamped Seed Packet Front
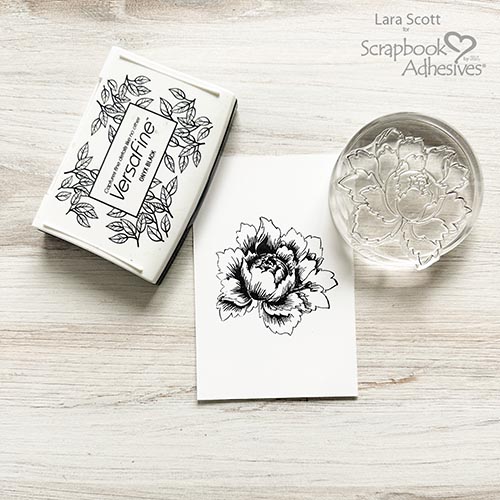
Let’s make the Seed Packets pretty! Stamp a flower image in the center on a piece of 3.0625 x 4.625” white cardstock with Versafine Onyx Black ink. Watercolor it with several colors of pink.
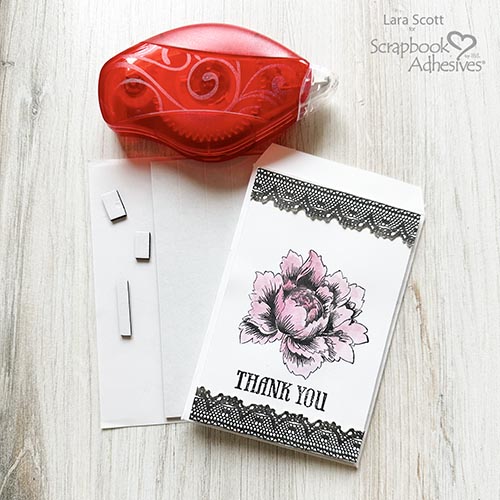
Stamp a lace border design on white cardstock twice and fussy cut them. Place them on top and bottom of the flower card panel with the E-Z Runner® Permanent Strips Refillable Dispenser. Next, I popped up the panel with 3D Foam Strips Large in Black for extra dimension and depth.
Seed Packet Insert and Last Touches
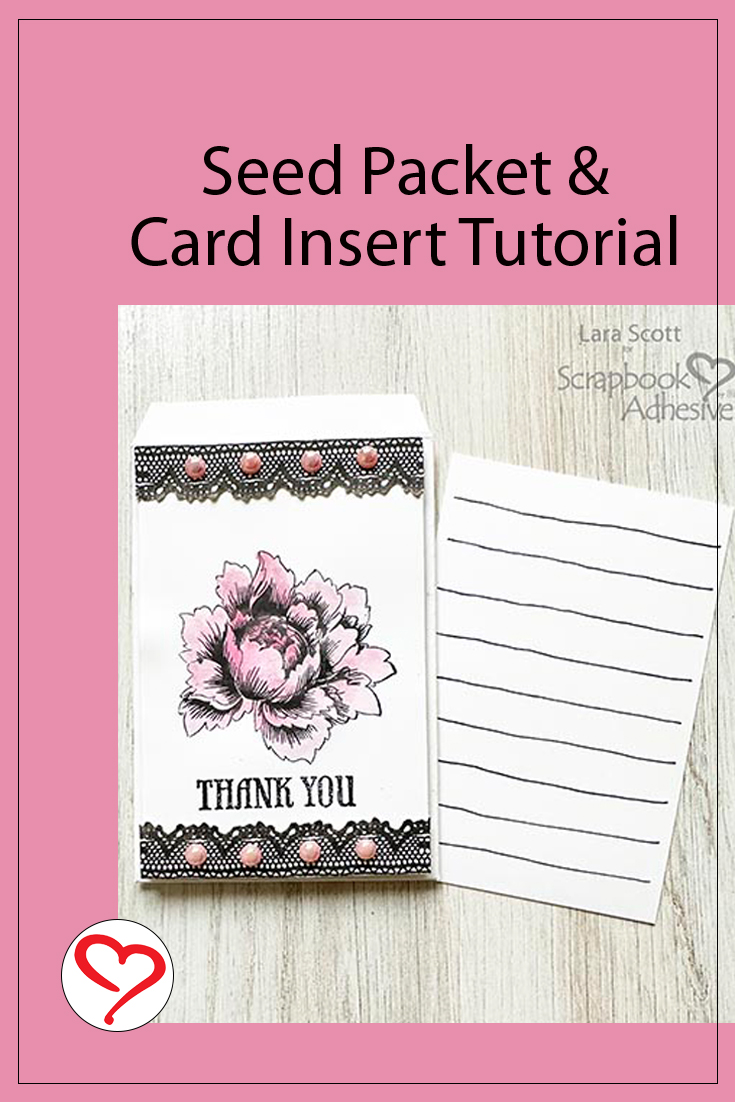
Since I was making this to show as a card or journaling pocket, I created a 3.1875 x 4.75” white cardstock insert with a few lines in black pen. Other options are stamping, using stickers, die cuts, etc. to decorate but keep it flat so it can slide out of the packet with ease. Lastly, add a little bit of bling on the card front with pearls using the Dual Tip Glue Pen.
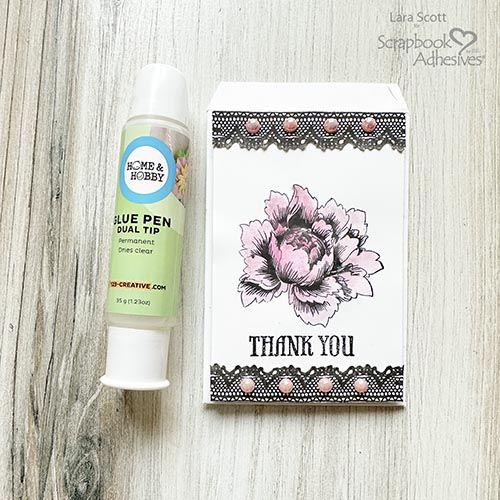
I love how this turned out and I hope you enjoy creating your version of my Seed Packet Card Template!
Thanks for visiting!
Lara Scott
Creative Time: 30 mins
Skill Level: Intermediate
Materials Needed:
Scrapbook Adhesives by 3L®
E-Z Runner® Permanent Strips Refillable Dispenser
HomeHobby™ by 3L
Extreme Double-Sided Tape 1/4in.
Other: Stamps: Hero Arts (Thank You/Produce Labels Stamp & Cut XL) and Lara Scott (Lace Border); Ink: Tsukineko (Versafine in Onyx Black); White Cardstock; Flower Stamp; Watercolors; Waterbrush
Click Preferred Retailers List
Save to Pinterest!
Visit our Website and Blog!
Sign up for our Newsletter so you never miss a contest or giveaway!


