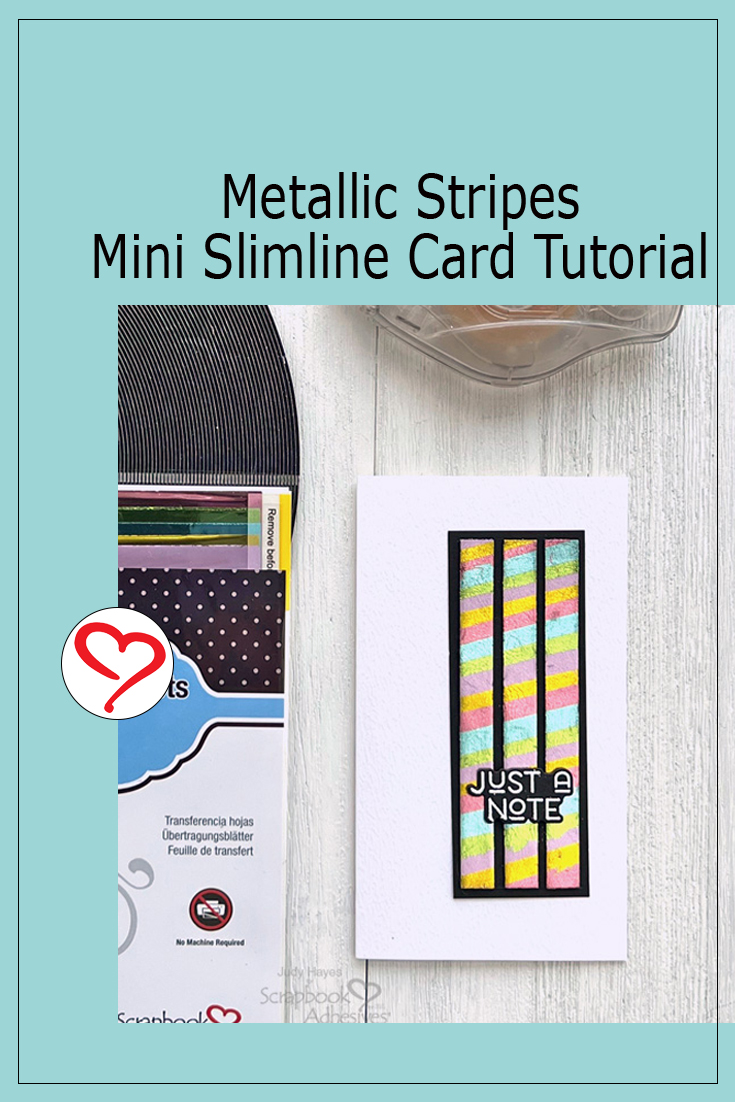
Hi, Judy here today! Here’s a shiny Metallic Stripes Card that’s easy to make and easily adaptable to other occasions. It features Metallic Transfer Foil Sheets Pastel Colors with Crafty Foam Tape Black 108ft. to make the shiny stripes. So fun to make!
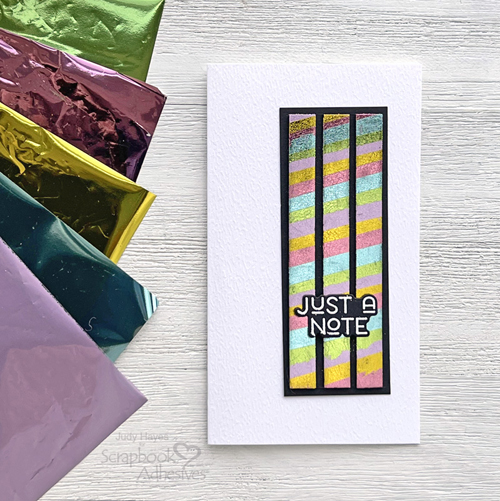
Metallic Stripes Card Base
The card base will be a mini slimline card. First, cut a piece of 5.75 x 6.5-inch white texture cardstock. Next, fold to form a 3.25 x 5.75-inch side fold card base.
Stripes Panel
Cut a piece of 1.375 x 4.125 inches from black cardstock for the metallic stripes’ base. And a piece of 1.625 x 4.375-inch black cardstock for a card mat.
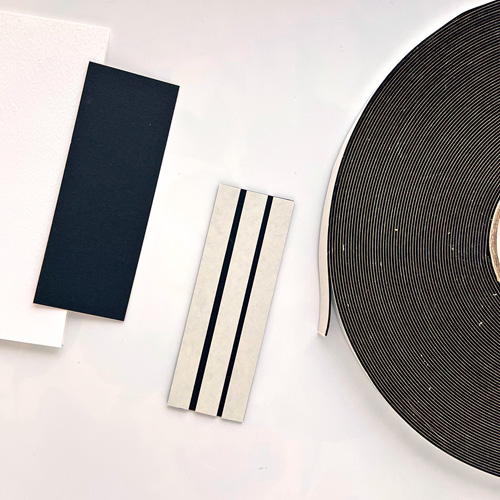
Place three strips of Crafty Foam Tape Black 108ft. on a black cardstock base, along each long edge and one in the center. Trim ends of the foam even with cardstock
At one end of the stripes panel, partially peel back liners. Designer Tip: Start from the bottom of the panel.
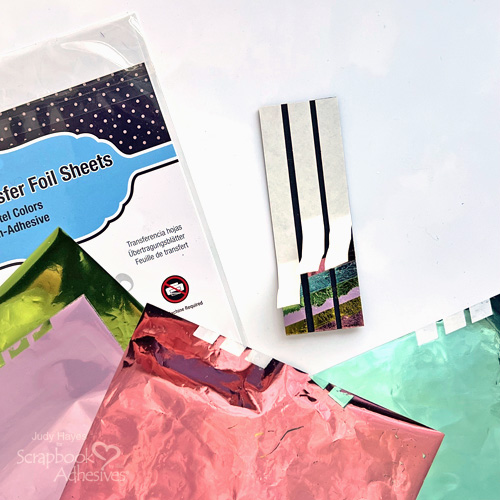
Place the edge of a foil sheet from Metallic Transfer Foil Sheets Pastel Colors at an angle across Crafty Foam Tape Black 108ft. strips. Remember to face the foil color toward you. Return the liners over the foil and press to transfer the color to the stripes. Remove the foil.
Continue this process with alternating colors of foil. The colors I used are pink, yellow, blue, green, and lavender. Designer Tip: To keep the same angle of foil stripes, hold the foil above and align it with the previously applied foil, then move it up and press in place. Repeat.)
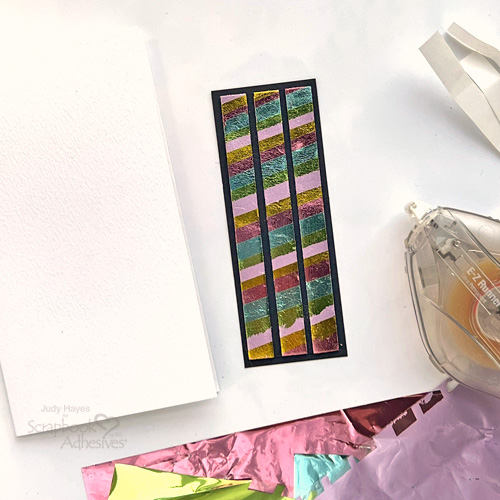
Use E-Z Runner® Ultra Strong Refillable Dispenser to apply adhesive to the back stripe base, and secure it on the black mat. Next, apply the same adhesive to the back of the matted stripes and attach it to the card front.
Prepare Greeting
Stamp the greeting on a piece of black cardstock with Versamark ink and heat emboss with white embossing powder.
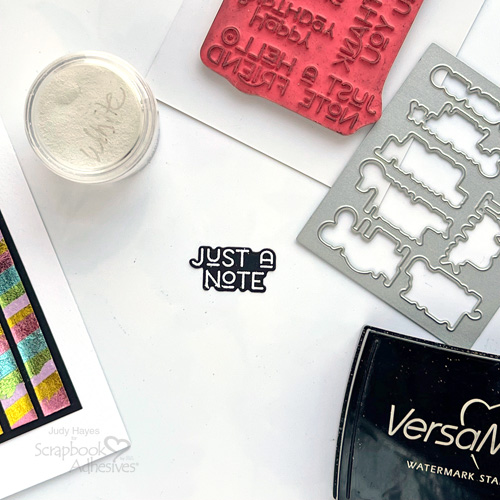
Use the coordinating die and die-cut the greeting.
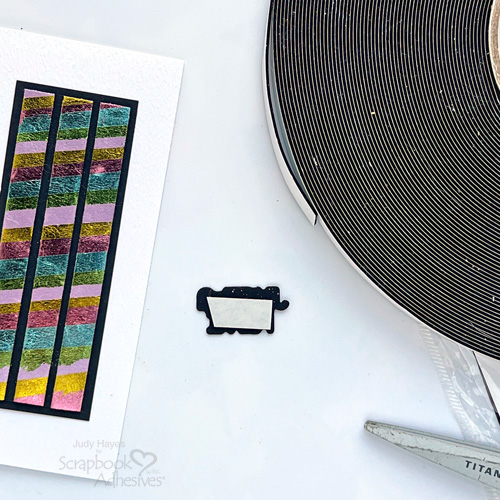
Cut and place a piece of Crafty Foam Tape Black 108ft. to the back of the greeting, peel the liners off, and adhere over the metallic stripes towards the bottom of the card panel of the card front.
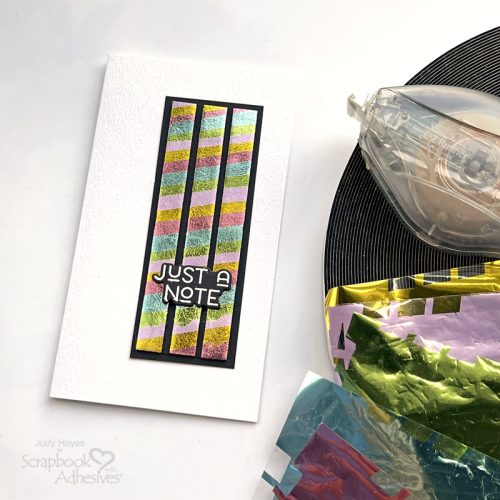
All finished! So easy and fun…give it a try!
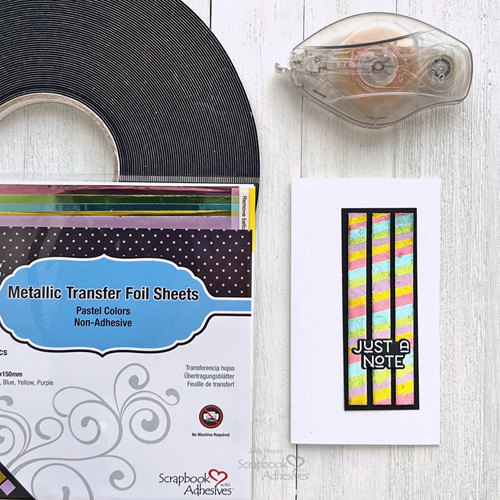
Thanks for stopping by!
Judy Hayes
Creative Time: 20 mins
Skill Level: Beginner
Materials Needed:
Scrapbook Adhesives by 3L®
E-Z Runner® Ultra Strong Refillable Dispenser
Metallic Transfer Foil Sheets Pastel Colors
Other: Taylored Expressions (All Together Occasions); Ink: Imagine Crafts/Tsukineko (Versamark); Embossing Powder: Ranger Ink (White); Craft Dies: Taylored Expressions (All Together Occasions); Black Smooth and White Texture Cardstock
Click Preferred Retailers List
Save to Pinterest!
Visit our Website and Blog!
Sign up for our Newsletter so you never miss a contest or giveaway!


