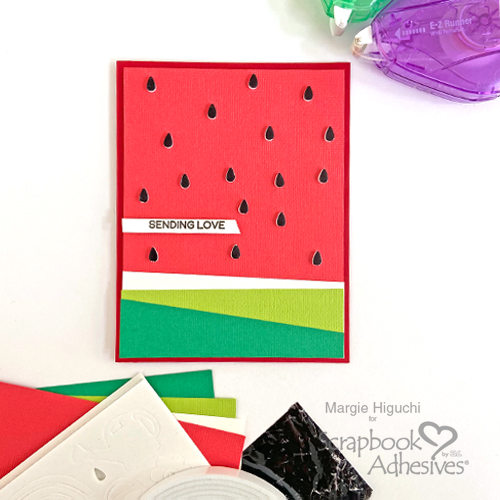
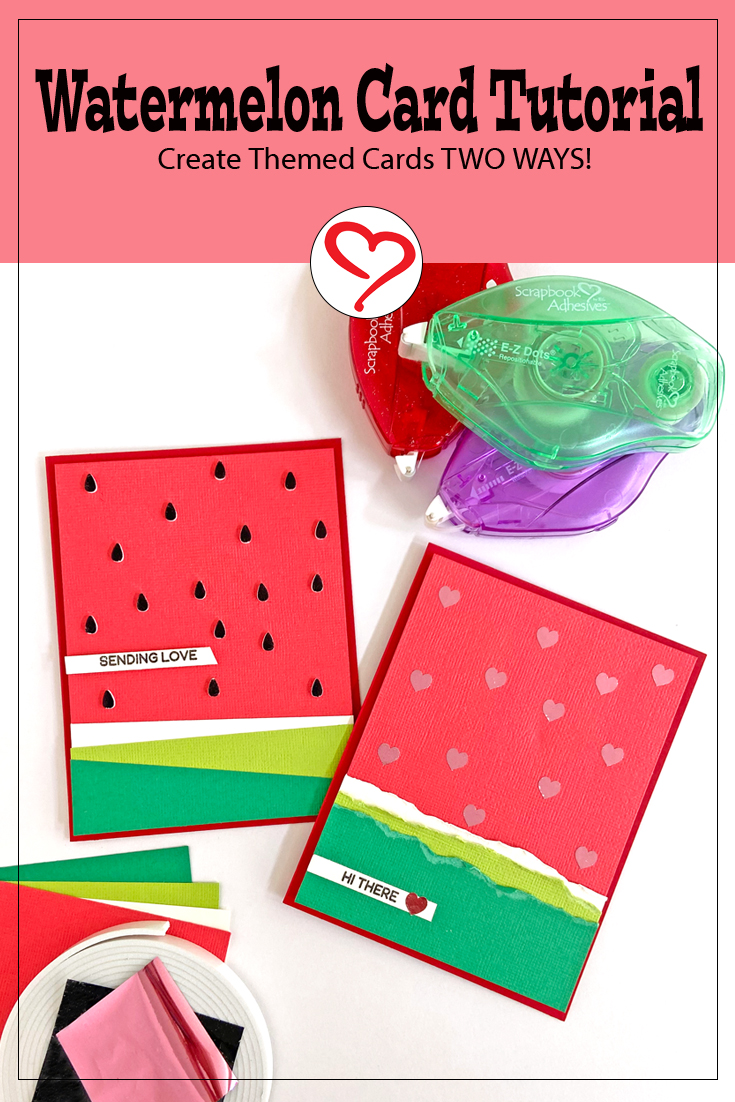
Happy National Watermelon Day! To commemorate, I created a Watermelon Card Duo featuring the Wear Your Adhesive on the Outside concept with the 3D Foam Garden Shapes and the E-Z Runner® Hearts Refillable Dispenser. Hi, Margie here today, and let me show you my process!
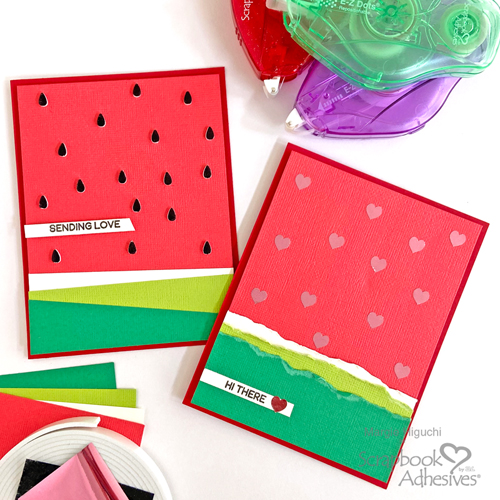
Watermelon Card Design Idea
I used the same color cardstock for both cards, which is a great excuse to use my cardstock stash. LOL! The card front designs are similar in style, but the technique is slightly different. Both card panels were popped up with Crafty Foam Tape White 13ft.
Sending Love Card Panel
This card is a little more of a CAS (clean and simple) style of the two cards. In case, I wanted to change my mind, I used the E-Z Dots® Repositionable Refillable Dispenser. It gives the papers enough adhesive but can be pulled off without damaging the surface…you can rub off the dots and reapply. It ended up being my adhesive of choice to secure both cards.
Starting with the dark green cardstock, I cut it on an angle and secured it with the E-Z Dots® Repositionable Refillable Dispenser on the light green cardstock. Next, I made an angle cut on the light green and the cream cardstock.
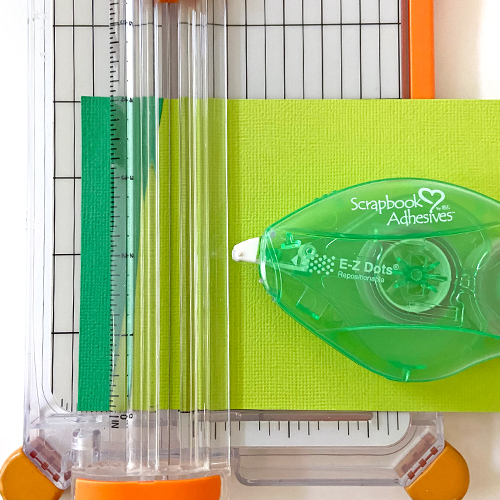
On a 4 x 5.25-inch red cardstock panel, I adhered the cream/green watermelon rind with the E-Z Dots® Repositionable Refillable Dispenser.
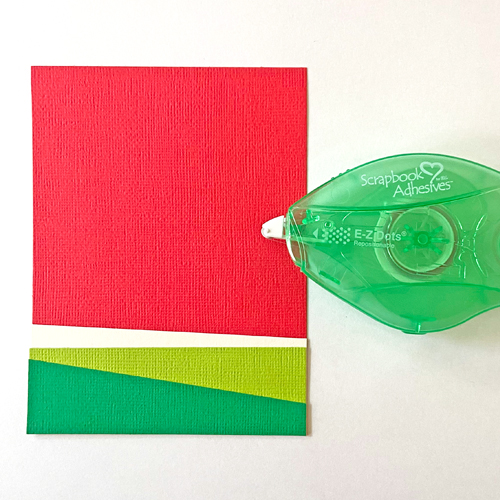
Card Panel Design
Using the raindrops from the 3D Foam Garden Shapes as watermelon seeds, I randomly place them on the red part of the card panel. Make sure to leave enough space for the sentiment strip. I used the 3D Foam Strips to lift the sentiment from the panel.
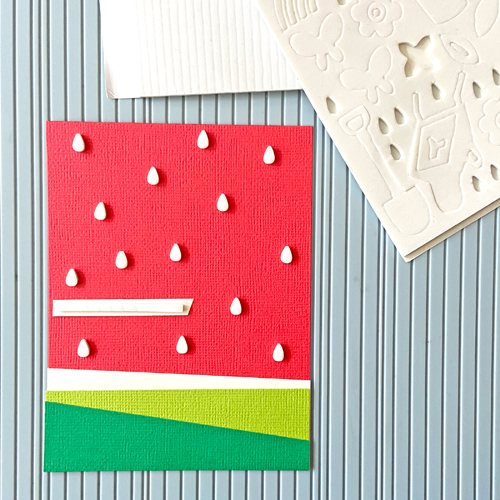
Assemble the Card
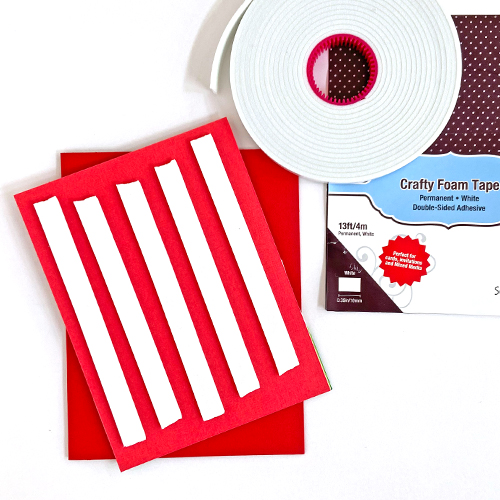
For more pop, I placed several strips of the Crafty Foam Tape White 13ft. on the back of the card panel and centered it on a 4.25 x 5.5-inch dark red card base.
Wear Your Adhesive on the Outside with 3D Foam Garden Shapes
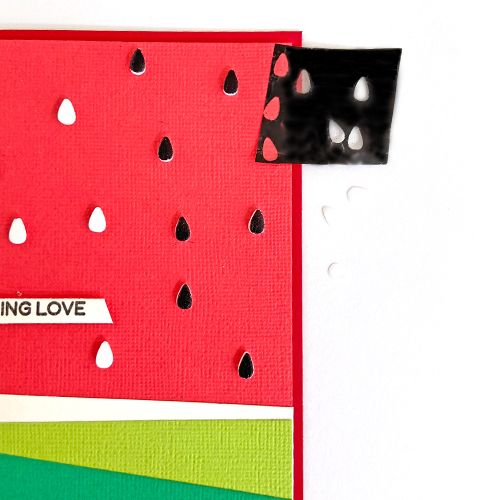
Once the card panel is adhered, I take the top liner off each seed (one at a time) and place a cut piece of black foil from the Metallic Transfer Foil Sheets Nature Colors over the exposed adhesive. Make sure the color side is facing you, gently rub the foil with your fingertip to transfer the color, and peel off the reveal. Any missed areas can be reapplied with foil.
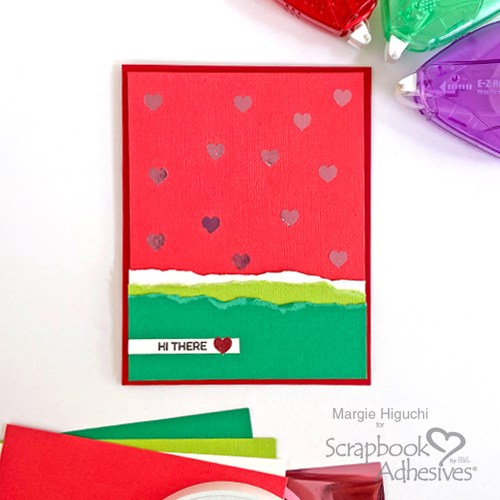
Hi There Card Design
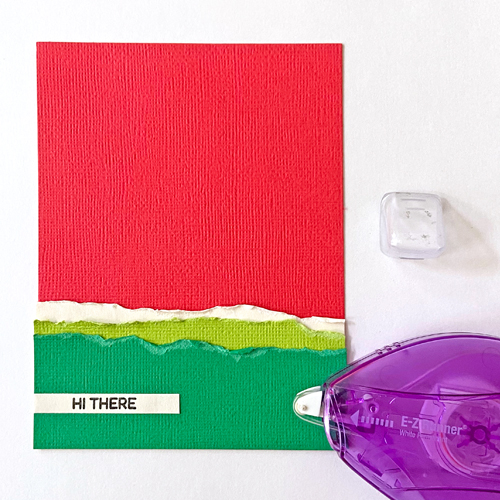
The second one is the same steps with the exception on how to create the watermelon rind. Instead of angle-cutting the layers, I tore each of the edges for a distressed look. The sentiment strip was secured with the E-Z Runner® Micro Refillable Dispenser which is a thin 1/8-inch width white double-sided adhesive. Perfect for narrow areas 🙂
Wear Your Adhesive on the Outside with the E-Z Runner Hearts
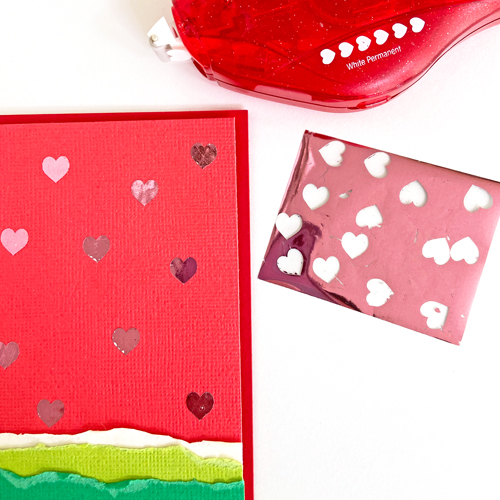
For this card, I used the E-Z Runner® Hearts Refillable Dispenser to create cute seeds 🙂 Randomly apply the double-sided adhesive hearts on the card panel. Next, repeat the foiling steps, using a small piece of pink foil from the Metallic Transfer Foil Sheets Pastel Colors. Couldn’t help myself…I added a heart by the sentiment too! LOL!
More Watermelon Inspiration!
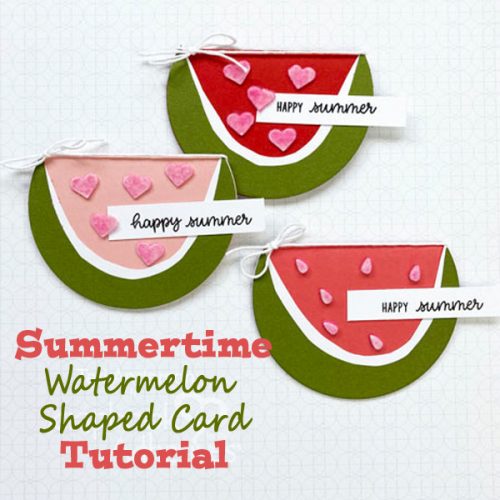
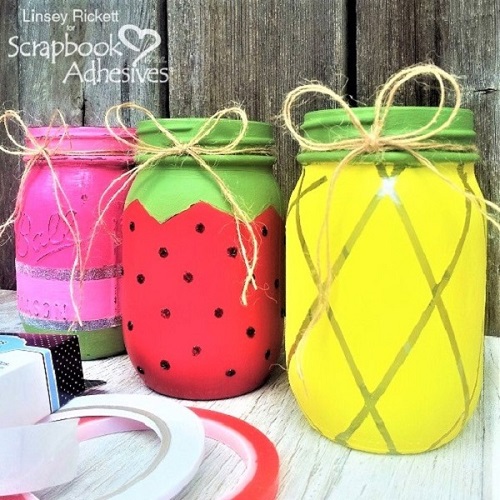
I hope you enjoyed my Watermelon Card Duo tutorial. Need more inspiration? Check out the Summertime Watermelon Shaped Card by Teri Anderson, and Summer Fruity Mason Jars by Linsey Rickett,
Thanks for stopping in!
Margie Higuchi
Creative Time: 45 mins
Skill Level: Beginner
Materials Needed:
Scrapbook Adhesives by 3L®
E-Z Dots® Repositionable Refillable Dispenser, E-Z Runner® Micro Refillable Dispenser, and E-Z Runner® Hearts Refillable Dispenser
3D Foam Strips, and Crafty Foam Tape White 13ft.
Metallic Transfer Foil Sheets Pastel Colors, and Metallic Transfer Foil Sheets Nature Colors
Other: Stamp, Die, and Ink: Hero Arts (Everyday Sentiment Strips Stamp Set, Sentiment Strips Fancy Die and Intense Black Ink); Dark Green, Light Green, Cream, Light Red + Dark Red Cardstock
Click Preferred Retailers List
Save to Pinterest!
Visit our Website and Blog!
Sign up for our Newsletter so you never miss a contest or giveaway!


