Hi, everyone! Do you love the look of dry embossing? Teri here to show you a fun way to pull off the look without using an embossing folder. Check out my Faux Embossed Cards!
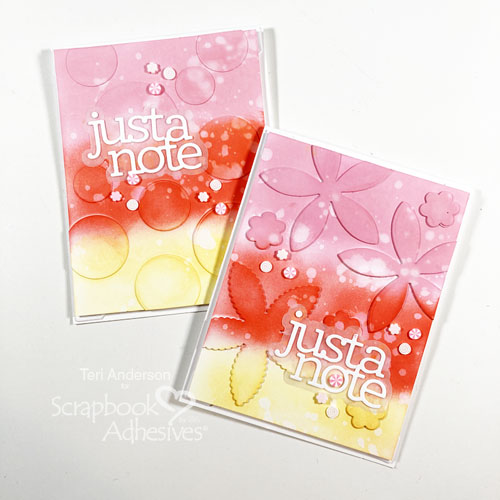
All you need to pull off this fabulous faux embossed look is a cutting die, cardstock, ink, and, of course, adhesive!
Faux Embossed Cards Design
Use a die to cut several shapes from white cardstock. They can be all the same or different. It’s up to you!
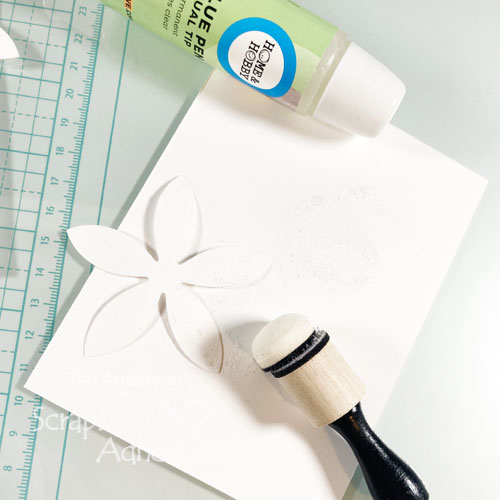
Adhere your shapes onto a panel of cardstock. Stack two shapes on top of each other as you go! You can save time as you go by using a Dual Glue Tip Pen to do the work! Simply squirt some glue on scratch paper and use an ink blending tool with a sponge pad on it or a sponge dauber to apply the glue. You don’t need a lot of glue for this process. Just a tiny amount that fully covers each die-cut. If your panel is warped from using too much glue, let it sit for a while under a book to flatten it out.
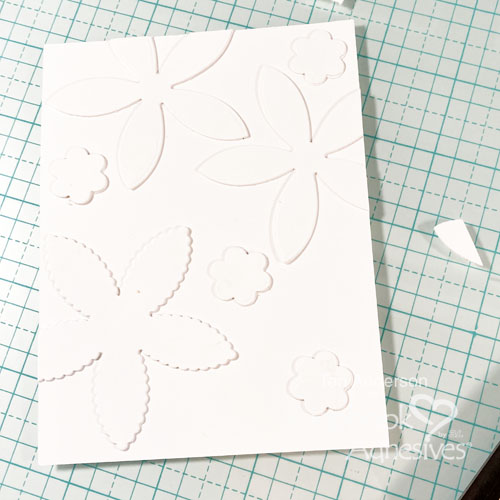
Adding Color
Trim any excess off your cardstock panel and apply ink. Use a water-friendly dye ink to do this. Keep applying ink to your panel until it’s completely covered.
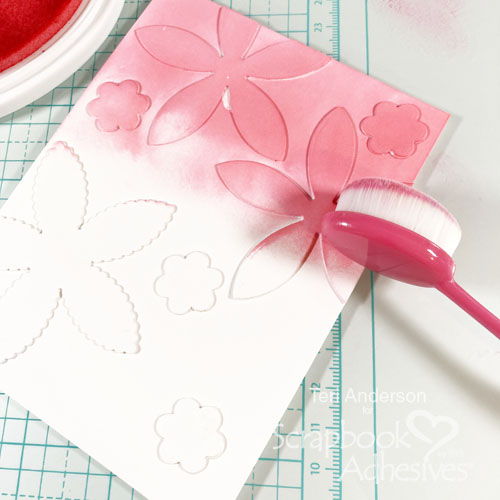
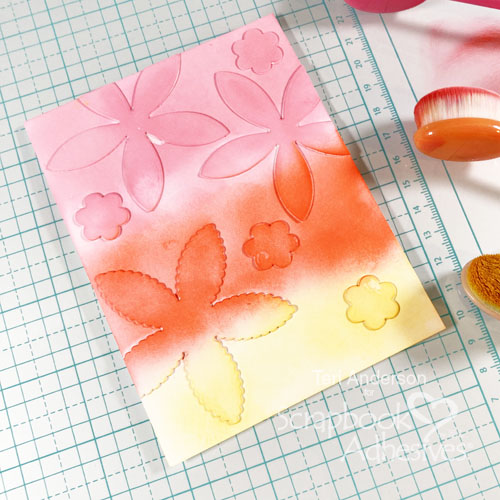
Spritz or splatter some water onto your panel. Use a paper towel to pat off any excess water. Let the panel dry completely. You can let it air dry or speed up the process with a heat gun.
Making Your Card Panel
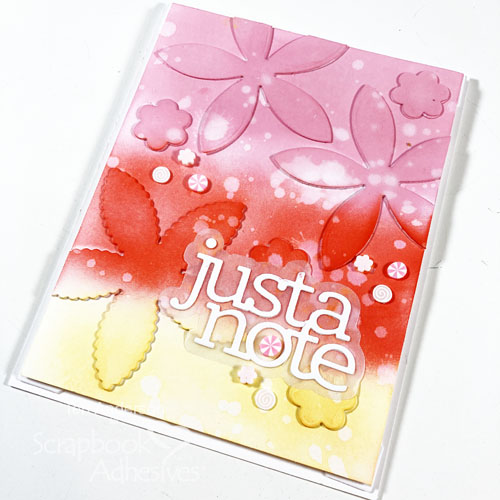
Add a sentiment to your panel and mount it onto your card. Consider placing some white Creative Photo Corners under the panel, allowing them to peek out just a little to give the card some extra visual interest.
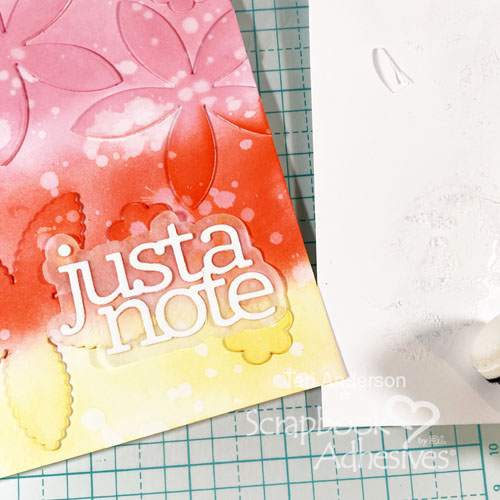
Finish your card by adding a sentiment to it, as well as a few small embellishments.
Final Tips
Remember, if you decide to try this technique out, have fun and play! Try mixing different die-cut shapes to make your faux embossed background! Use fewer or more colors than I did.
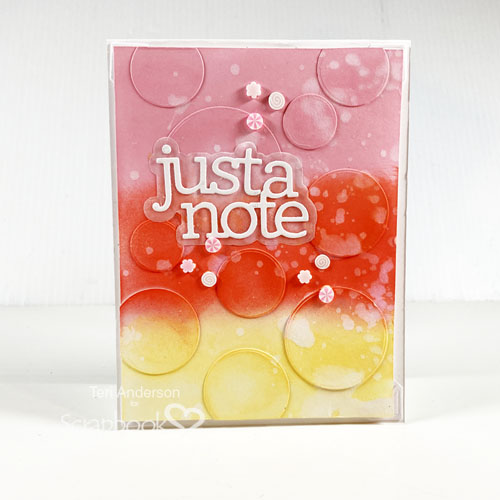
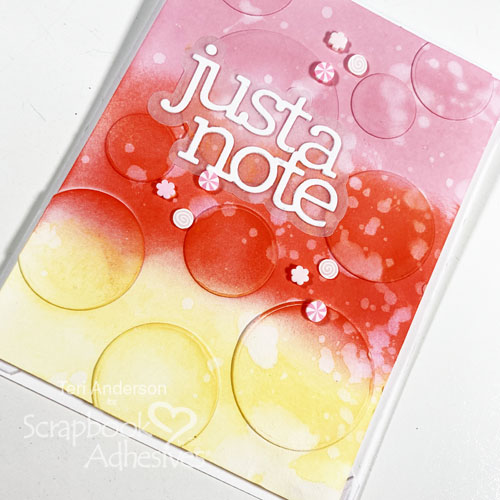
You can also go without stacking any of your die-cuts. That’s right! You can use just one layer’s worth like I did here. The results are just as stunning!
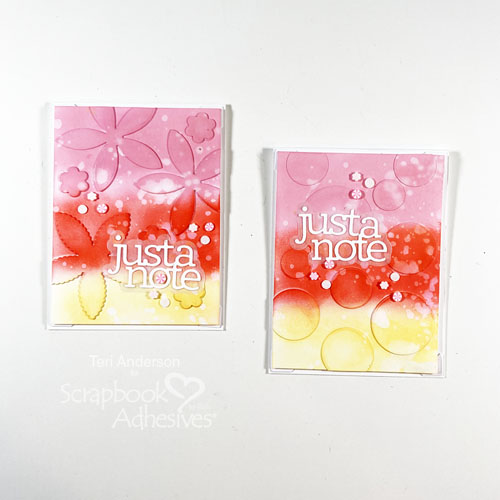
I hope you enjoyed today’s tutorial! Happy Creating!
Teri Anderson
Creative Time: 60 minutes
Skill Level: Intermediate
Materials needed:
Scrapbook Adhesives by 3L®
HomeHobby™ by 3L
Other: Cardstock and Vellum: Neenah; Dies: Simon Says Stamp (Cathy Zielske Just a Note), Waffle Flower (Circles), Scrapbook.com (Scalloped Flower); Inks: Catherine Pooler (Pink, Orange and Yellow); Buttons Galore (Cupcake Sprinkletz); Blending Tools; Water
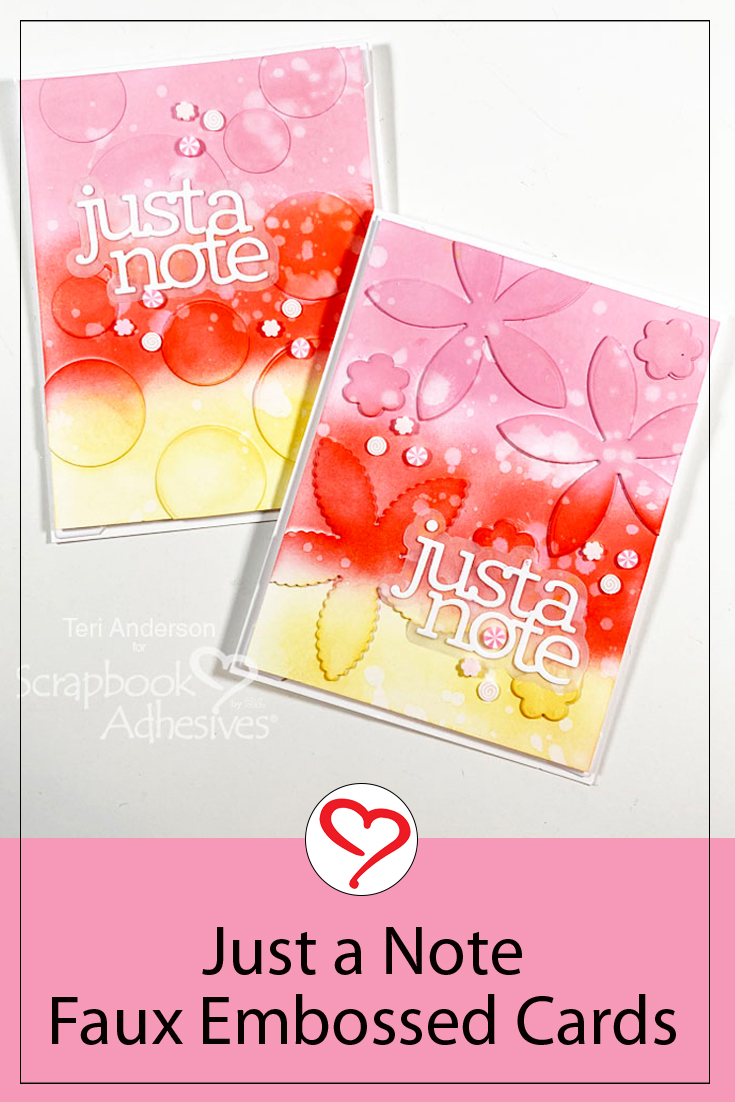
Save to Pinterest!
Visit our Website and Blog!
Sign up for our Newsletter so you never miss a contest or giveaway!


By Cindy Knickerbocker August 7, 2024 - 4:37 pm
omgosh, Teri! I had forgotten all about this technique. I am so making some cards using this now. I love what you’ve done. Thanks for all your great inspiration.