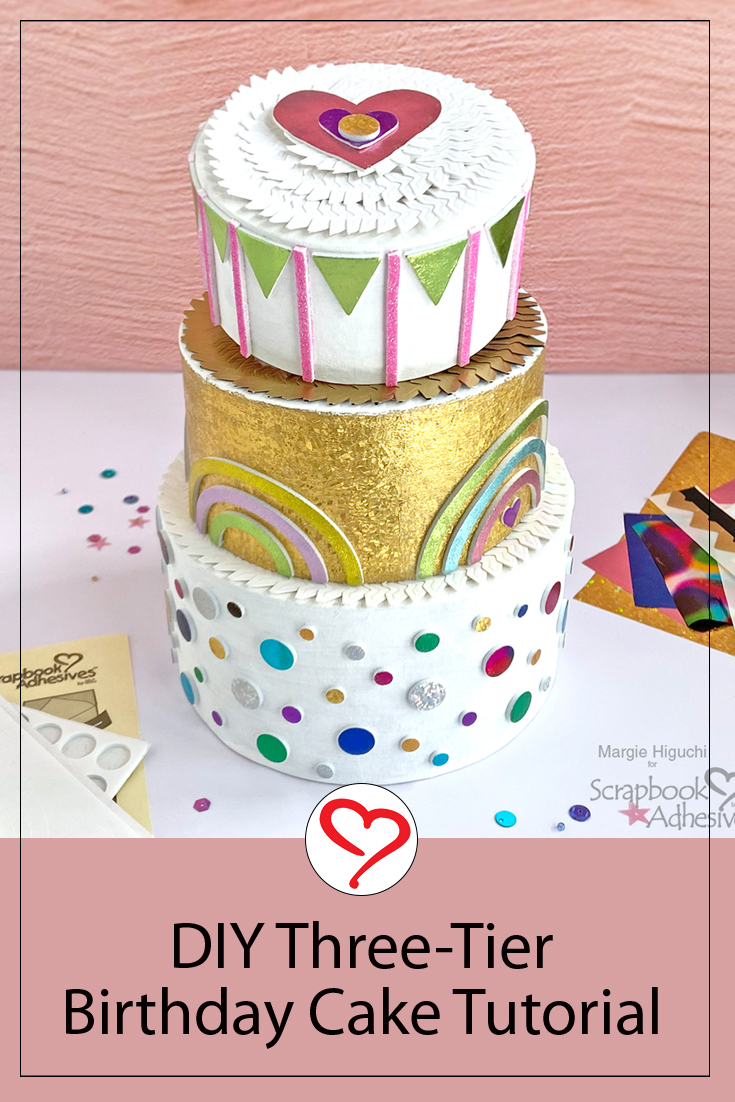
Happy Birthday! Celebrate with a Three-Tier Birthday Cake and the best part? No calories! LOL! Hi, Margie here today and I am sharing a cake embellished full of Scrapbook Adhesives by 3L products. This year marks the company’s 20th year so why not make a cake? Let me show you how!
***** SCT Partner Celebration Giveaway is CLOSED. Thank YOU to those who participated…you all are winners! 💖 Congratulations to Anne B.!! *****
If you are here for the Scrapbook and Cards Today Magazine’s (SCT) Partner Celebration, you are at the right place! After you scroll through this FUN cake project, we will lead you to the SCT’s entry post so stick with us!
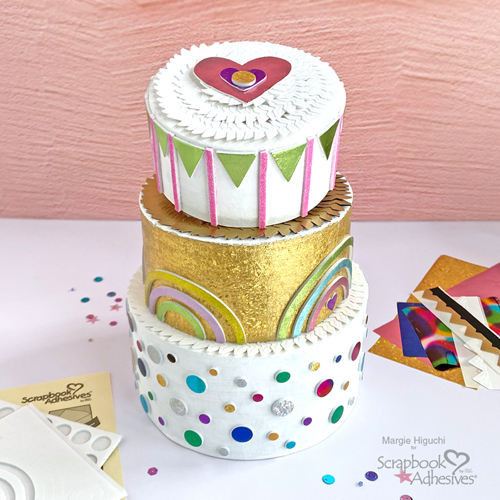
Base Layer Birthday Cake
Using a nesting round paper mache box set, I primed with Gesso and painted all the layers with white acrylic. Let’s start from the bottom layer…
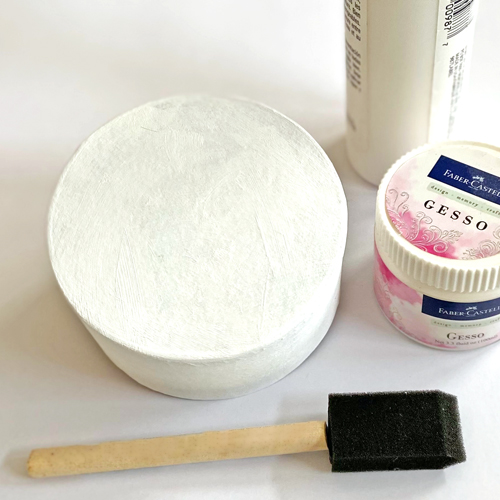
Randomly place both sizes (small and regular) of the 3D Foam Circles White Mix around the bottom layer. Using a combination of the Metallic Transfer Foil Sheets Variety Colors, Metallic Transfer Foil Sheets Holographic Colors, Metallic Transfer Foil Sheets Pastel Colors, and Metallic Transfer Foil Sheets Celebrate Colors, I went around and foiled the foam circles.
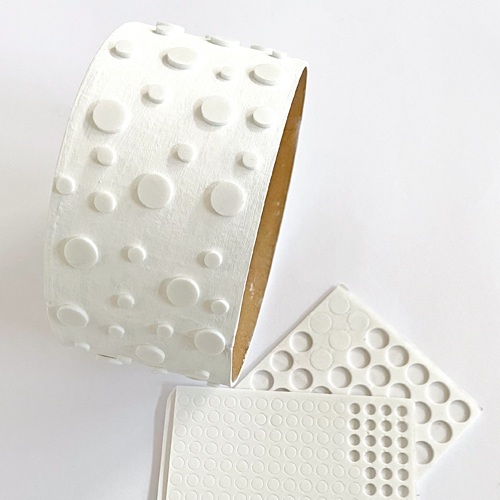
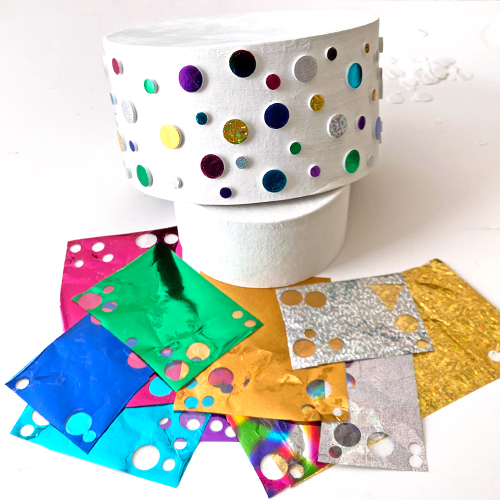
Using the Wear Your Adhesive on the Outside technique, I removed the top liner of a 3D Foam Circle White, took a small piece of foil, placed it over the exposed adhesive, and gently rubbed it to transfer the color to the circle. Do this one by one until you get your desired look.
Creative Photo Corner Cake Border
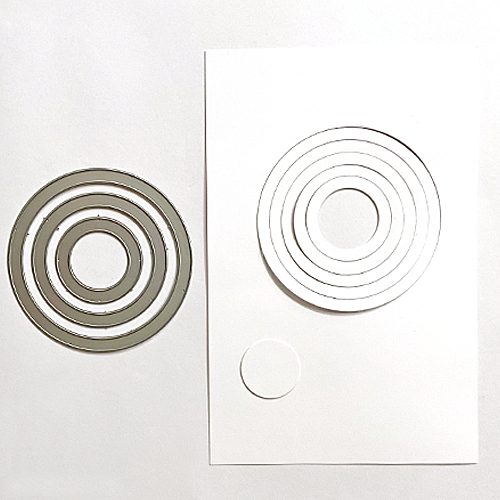
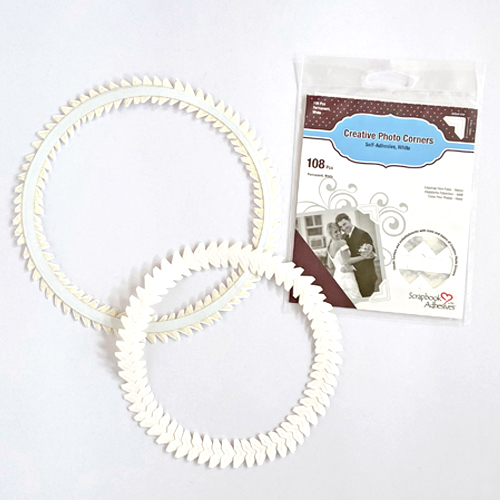
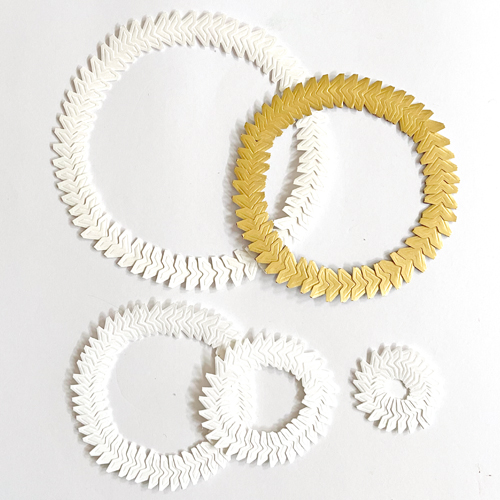
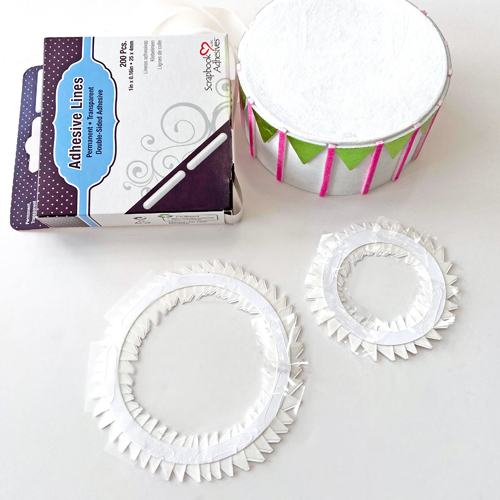
I wanted to add a cake border to each layer to make an elegant accent. So, I created different sizes of wreaths with Creative Photo Corners Gold, and Creative Photo Corners White. I used craft dies to cut rings as bases and tuck photo corners to create a ring. See the Joy Wreath tutorial for details. I placed the largest white corner wreath on the top of the base cake layer, securing it with Adhesive Lines.
Middle Layer Birthday Cake
The sides of the middle layer of the birthday cake were covered with Adhesive Sheets 6 x 12in. Designer’s Note: use the rounded tip of the bone folder to help apply the Adhesive Sheets. Next, use the foiling steps to cover the sides with the chunky gold foil from the Metallic Transfer Foil Sheets Holographic Colors (remember the color side facing you!).
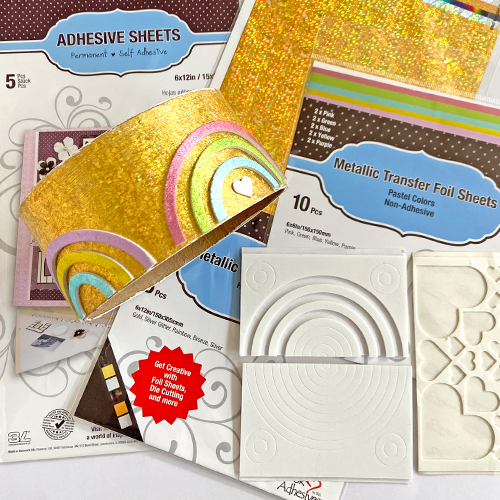
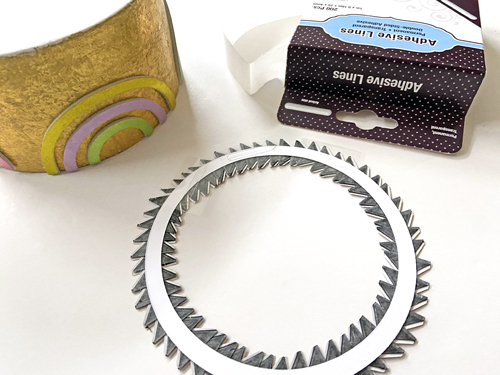
I cut the 3D Foam Circle Frames White in half for the rainbows. Next, I used alternating arches to create my rainbows (you can get two rainbows from a half sheet). Repeat the foiling steps with the Metallic Transfer Foil Sheets Pastel Colors.
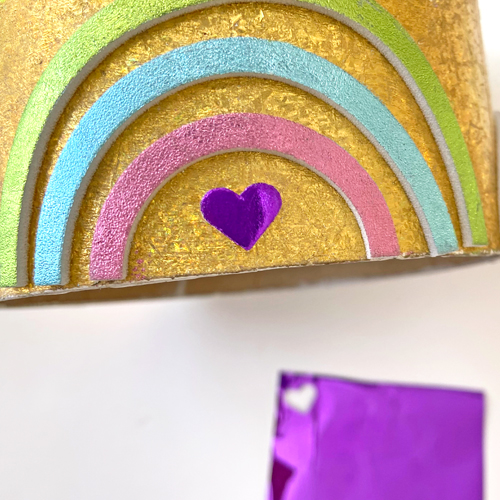
For the larger rainbows, a small heart from the 3D Foam Hearts was centered at the bottom and foiled with the purple foil from the Metallic Transfer Foil Sheets Variety Colors. To finish, I added the gold wreath with Adhesive Lines to the top of the middle layer for its border.
Top Layer
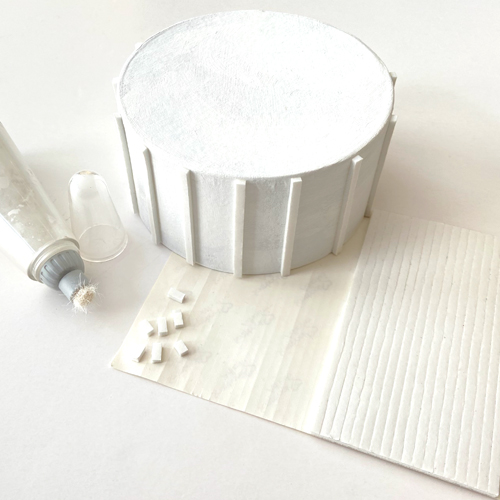
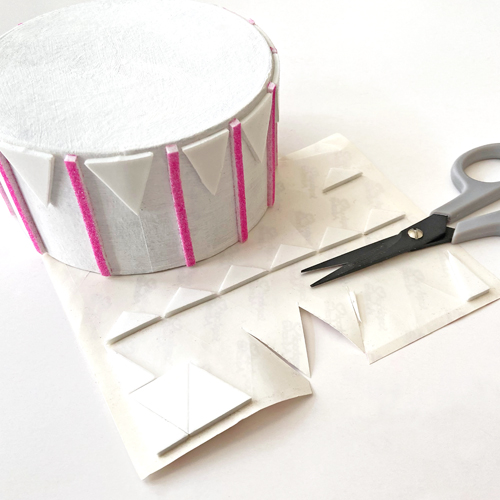
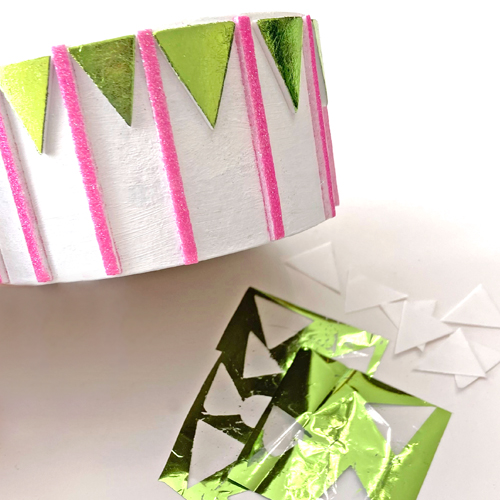
Place 14 3D Foam Strips on the sides of the top layer. First, I placed strips in quarter areas of the layer and then worked my way until I got my desired design. Next, take the liners off and cover them with pink glitter. Press into the foam to secure, and tap off the excess. Designer’s Tip: if the glitter doesn’t want to come off, brush it off with a soft paintbrush.
Add the pennants from the 3D Foam Pennants in between the glittered strips. Trim the sides if it doesn’t fit. Repeat the foiling steps with the green foil from the Metallic Transfer Foil Sheets Pastel Colors.
Secure the smaller white wreaths on the top with Adhesive Lines. Center the small heart from the 3D Foam Hearts on the smallest photo corner wreath. I used a small circle shape to create this wreath. Foil it with purple foil. Add a large foam circle from the 3D Foam Circles White Mix to the foiled heart.
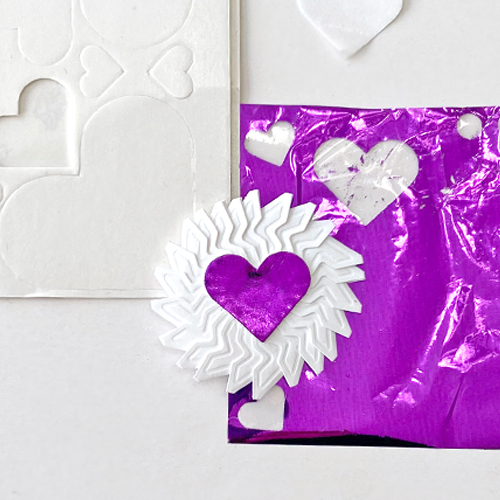
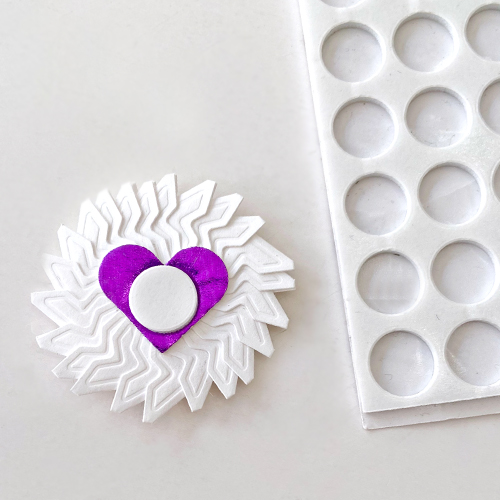
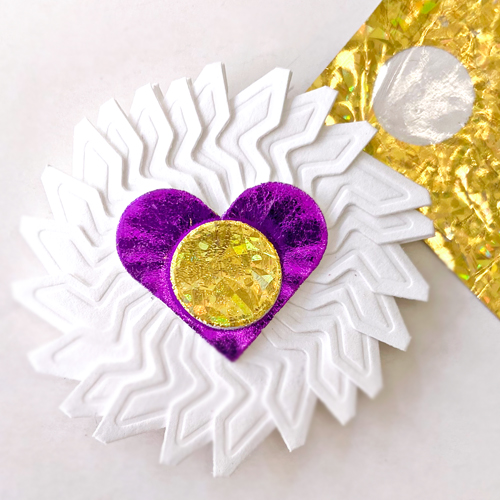
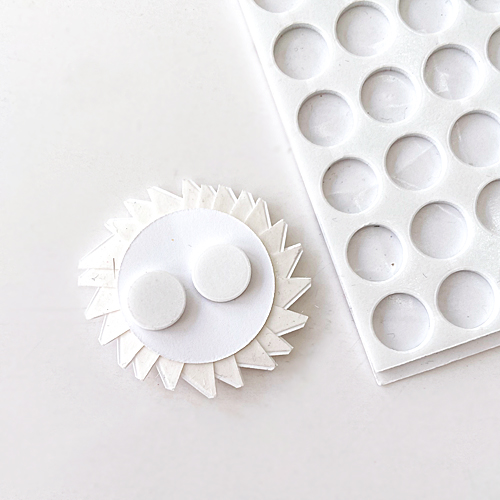
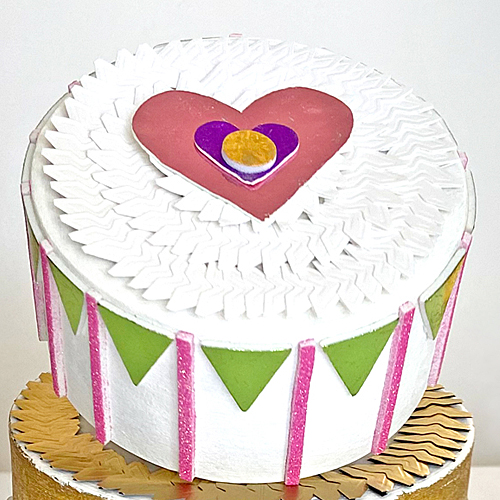
Foil the foam circle with the chunky gold foil. Add two large foam circles on the back of the smallest wreath…but…when I placed the wreath on the top, it looked too small. I replaced it with a large heart from the 3D Foam Hearts. Foiled in pink and added the purple heart. Now it’s done!
I hope you enjoyed my “no calorie” Three-Tier Birthday Cake Tutorial. LOL! Happy 20th, Scrapbook Adhesives by 3L!! Thanks for coming by 🙂
Margie Higuchi
Creative Time: 2 hrs and 15 mins
Skill Level: Intermediate
Materials Needed:
Scrapbook Adhesives by 3L®
3D Foam Circles White Mix, 3D Foam Strips, 3D Foam Hearts, 3D Foam Pennants, and 3D Foam Circle Frames White
Creative Photo Corners Gold, and Creative Photo Corners White
Metallic Transfer Foil Sheets Variety Colors, Metallic Transfer Foil Sheets Holographic Colors, Metallic Transfer Foil Sheets Pastel Colors, and Metallic Transfer Foil Sheets Celebrate Colors,
Other: Gesso: Faber-Castell; White Acrylic Paint; Craft Dies: Lawn Fawn and Spellbinders Paper Arts; Pink Glitter; Paper Mache Nesting Round Box Set; White Cardstock
Click Preferred Retailers List
Save to Pinterest!
SCT Magazine Partner Celebration Giveaway!
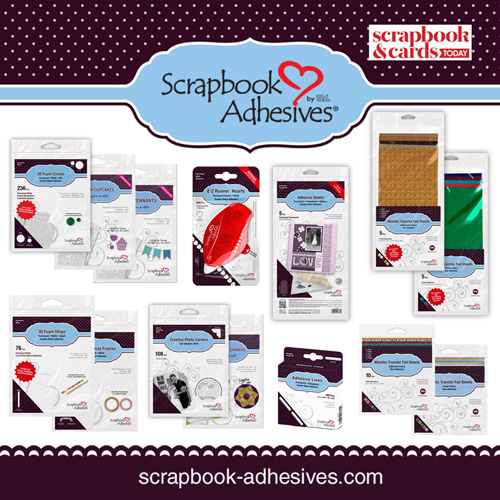
We are thrilled to be featured today (August 6, 2024) for the SCT Magazine Partner Celebration. We are sponsoring a giveaway to commemorate today, including the products used on this Three-Tiered Cake. Click on the image to take you there or here: SCT Partner Celebration with Scrapbook Adhesives by 3L. Good Luck!
Visit our Website and Blog!
Sign up for our Newsletter so you never miss a contest or giveaway!



By Terrie D. (StarSpry) August 6, 2024 - 1:29 pm
Happy 20th birthday! This cake is so fun 🙂
By Margie Higuchi August 6, 2024 - 2:57 pm
Thanks so much for your kind words, Terrie. I hope you enter…good luck! ~MargieH
By Carmen Mobbs August 6, 2024 - 7:01 pm
Happy 20th Birthday! My Birthday was on August 5th. Love the cake! A piece of art! ❤️
By Margie Higuchi August 6, 2024 - 8:26 pm
Happy Belated Birthday, Carmen! I’m so happy that you enjoyed that cake…thank you for the kind words! Hope you have celebrate the whole week!! 🎂