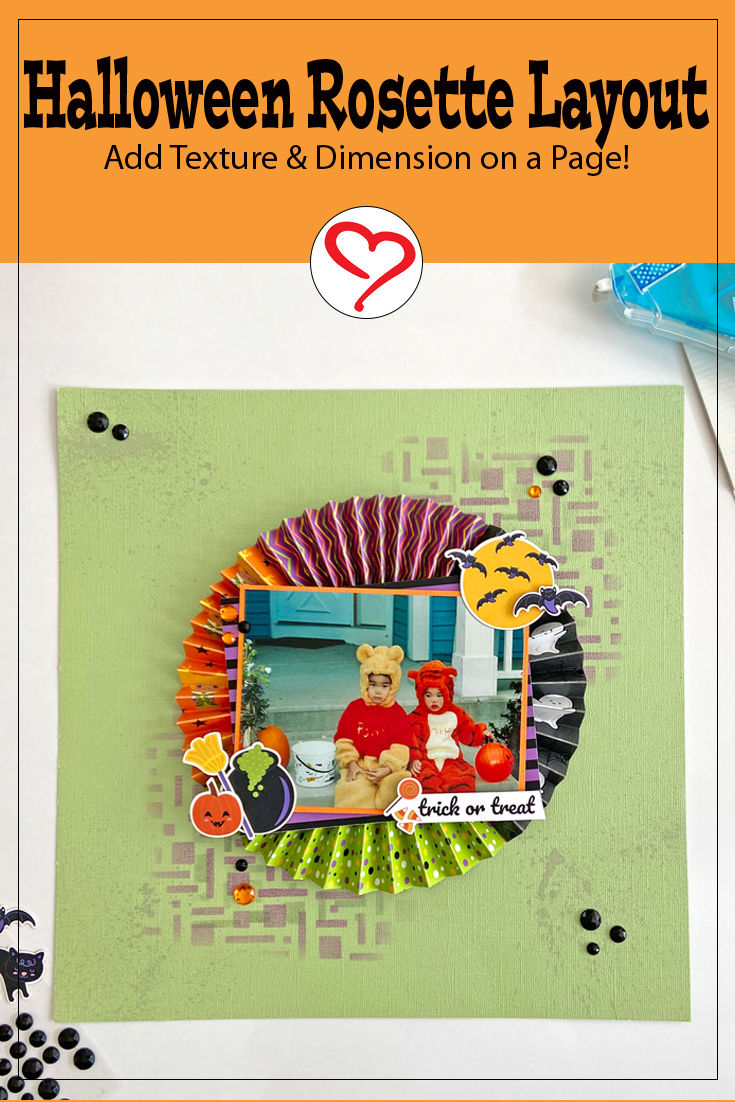
Bring texture and color with this FUN Treat or Treat Halloween Rosette Layout! Hi, Margie here today to show you my process. Try this rosette idea in your next project.
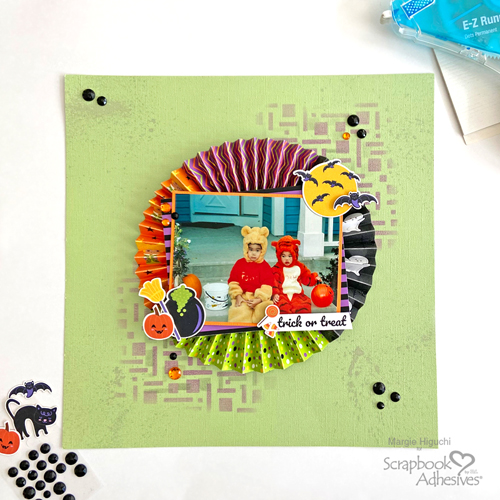
Halloween Rosette
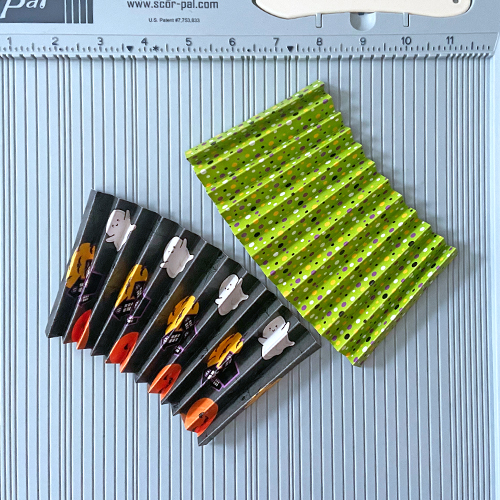
Cut four 3.5 x 12-inch patterned paper strips. With the long side facing up on the scoreboard, score every 0.50-inch and accordion fold (starting with a mountain fold).
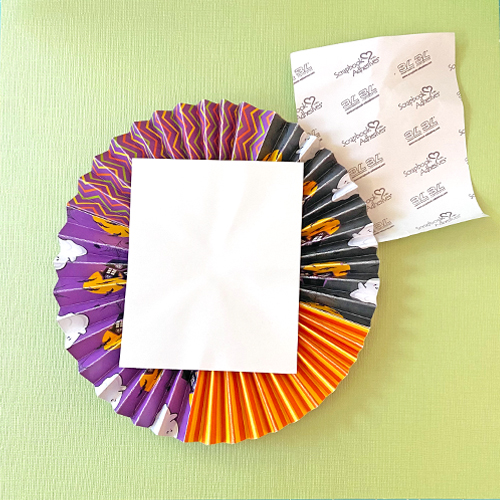
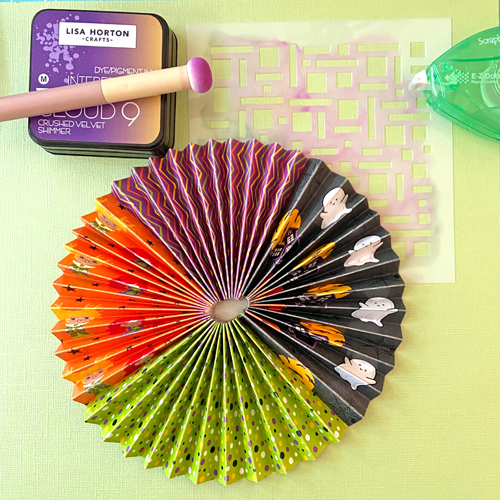
Next, adhere each end with six Adhesive Lines (place three lines on each side of the mountain) to form a ring. To form the rosette, push the sides to create a 7.5-inch circle and secure it with a 3D Foam Creative Sheet Small White on its back. Set it aside.
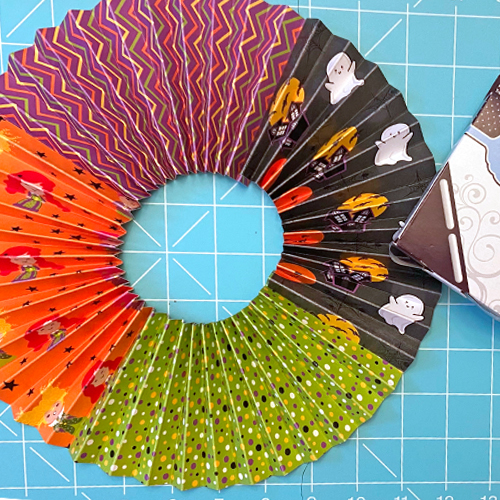
Create the Background on the Layout
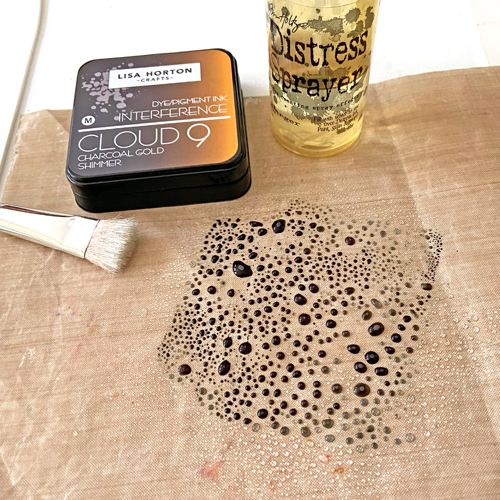
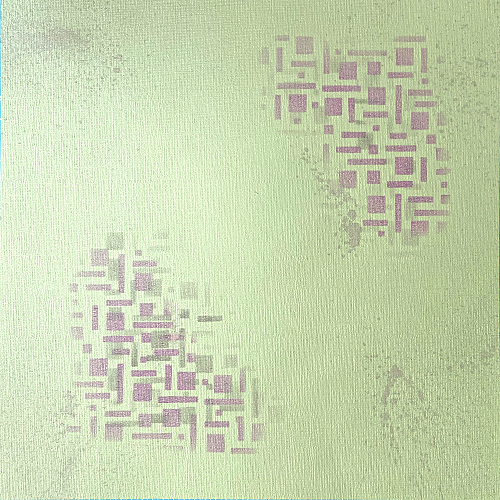
Using the rosette as my guide, I stenciled my background with two different colors of Interference Inks (Crush Velvet Shimmer + Charcoal Gold Shimmer). In case the stencil shifts, I used the E-Z Dots® Repositionable Refillable Dispenser to secure it. When done, I rub off the dots…simple!
I chose a light green shimmer cardstock to match the shimmer inks. I love how it looks.
To add more depth, I smooshed the charcoal ink on a non-stick craft sheet and added water to it. Then I splattered on the layout with the mixture. When dried, remove the 3D Foam Creative Sheets Small White liner from the back of the rosette and center on the layout.
Add the Details
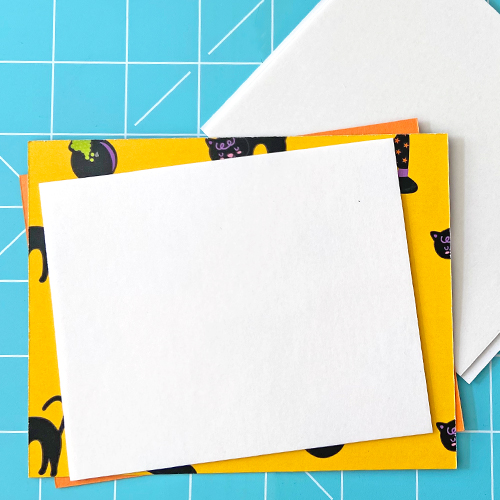
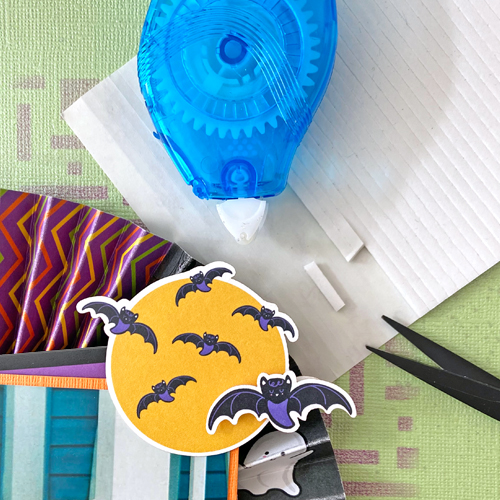
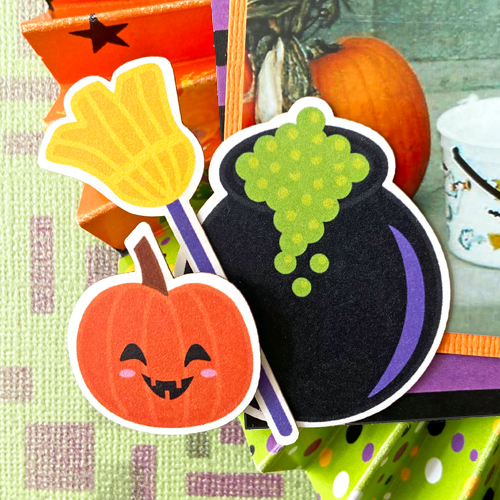
First, I matted the picture with orange cardstock. Then off-set mat with a patterned paper for a cute look. Next, place a 3D Foam Creative Sheet Small White on the matted photo and adhere it to the rosette. Then create a couple of clusters with elements from the ephemera pack using a combination of 3D Foam Strips and E-Z Runner® Petite Permanent Dots Refillable Dispenser.
Finishing with the Title
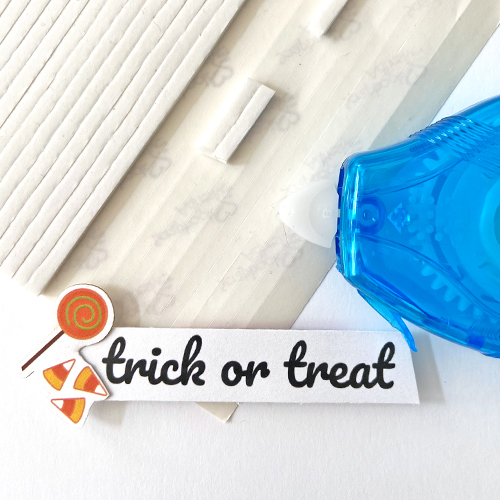
Cut the “trick or treat” title from the cover sheet of the Halloween collection and angle cut the end. Use 3D Foam Strips to pop up the candy element on the title. Secure it onto the layout with the E-Z Runner® Petite Permanent Dots Refillable Dispenser. Lastly, randomly add black and orange rhinestones to the layout.
I hope you enjoyed the Halloween Rosette Layout. Give a rosette element to your next paper crafting project a try.
Happy Creative Day to You!
Margie Higuchi
Creative Time: 45 mins
Skill Level: Intermediate
Materials Needed:
Scrapbook Adhesives by 3L®
E-Z Dots® Repositionable Refillable Dispenser, E-Z Runner® Petite Permanent Dots Refillable Dispenser
E-Z Runner® Grand Permanent Dots Refillable Dispenser
3D Foam Creative Sheets Small White and 3D Foam Strips
Other: Patterned Papers, Ephemera + Stencil: KNC Essentials (Spooky Collection); Embellishment: Doodlebug Design (Black + Orange Rhinestones); Ink: Cloud 9 with Lisa Horton (Interference Inks in Crushed Velvet Shimmer + Charcoal Gold Shimmer); Scoring Board + Paper Creaser; Orange, Black + Light Green Shimmer Cardstock
Click Preferred Retailers List
Save to Pinterest!
Visit our Website and Blog!
Sign up for our Newsletter so you never miss a contest or giveaway!


