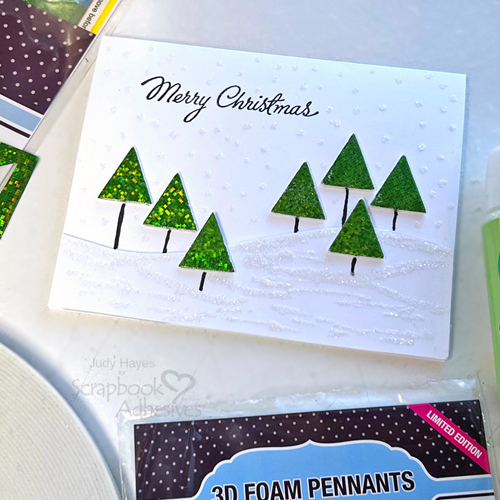
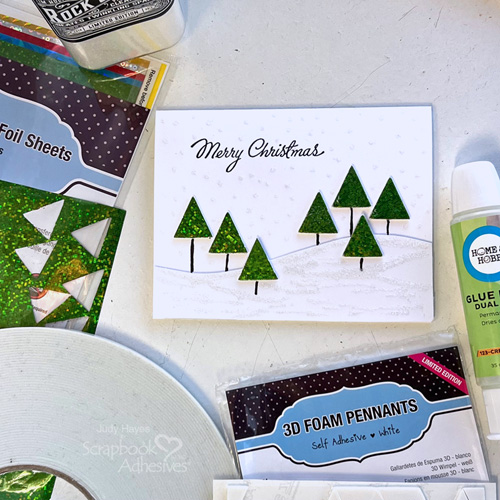
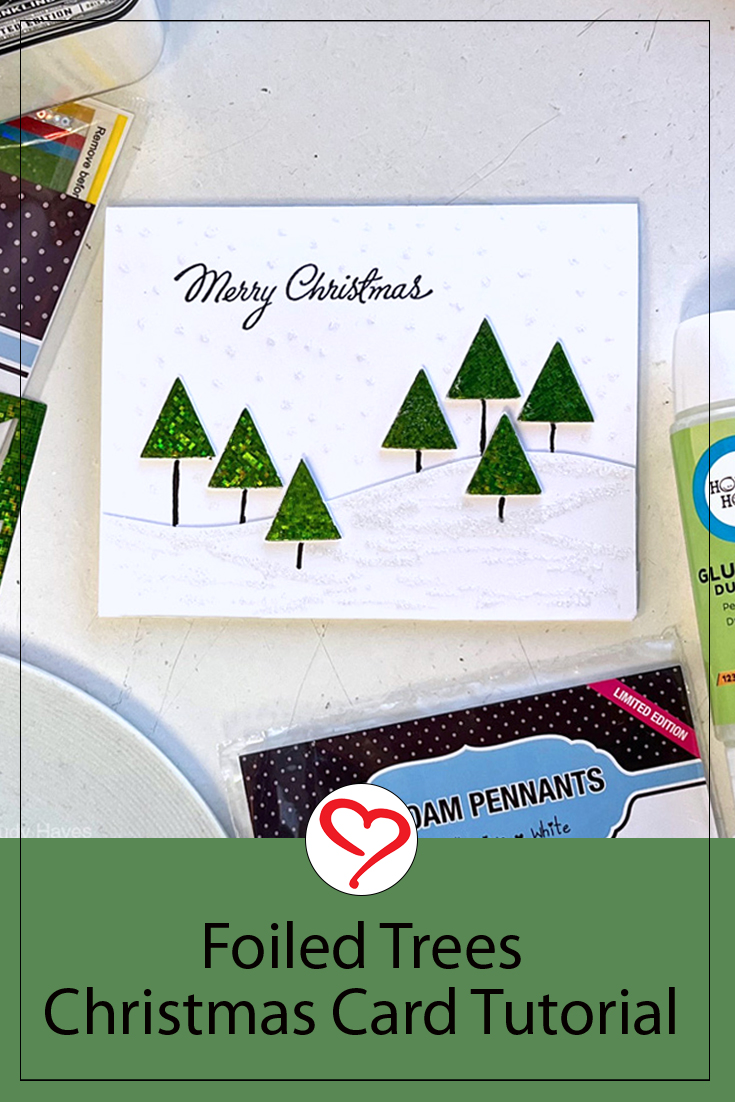
Hi, Judy here today! I made this Foiled Trees Christmas Card that is so festive and easy to make! Use triangles from 3D Foam Pennants and green foil from Metallic Transfer Foil Sheets Celebrate Colors to make such pretty trees! Stamp a greeting and use the Dual Tip Glue Pen with snowy glitter and the card is done.
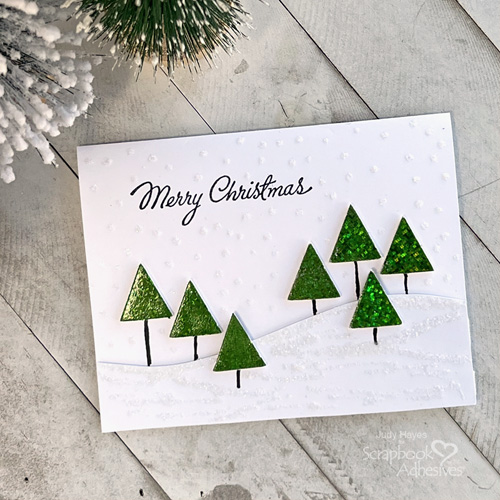
Card Pieces and Design
Score and fold a piece of 5.5 x 8.5-inch white cardstock to make an A2 (4.25 x 5.5-inch) standard card base.
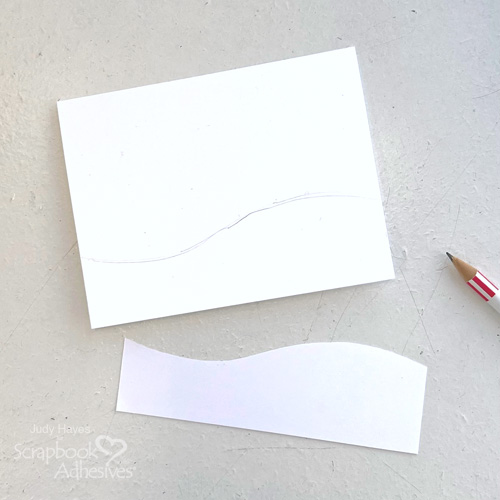
For the snowy hill, I cut a strip of 2 x 5.5-inch white cardstock and cut a curve along the top long edge of the strip.
Position the curved piece along the bottom of the card front and slide it down slightly below edge of card. Lightly trace a curve with a pencil.
Arrange the Pennant Trees
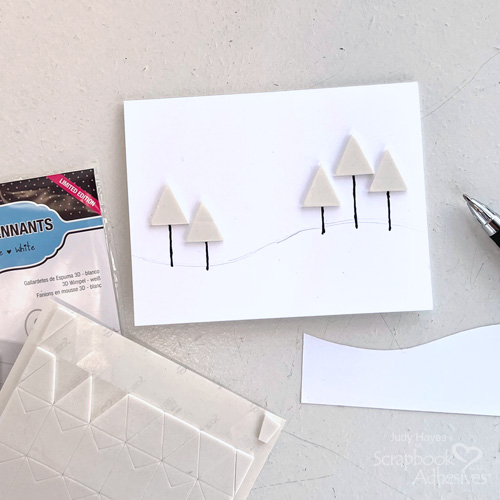
Place five triangle pennant pieces from the 3D Foam Pennants set above the penciled curve to form trees. Use black pen or fine tip marker to draw tree trunks from pennant to penciled line. Erase the penciled curve.
Assemble the Curved Piece
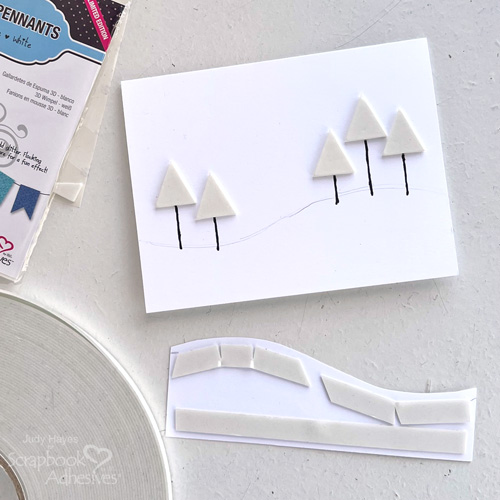
Place pieces of Crafty Foam Tape White 108ft., on the back of the curved piece along top and bottom edges. Remove the liners and secure the curved piece to the bottom of the card.
Add More Trees
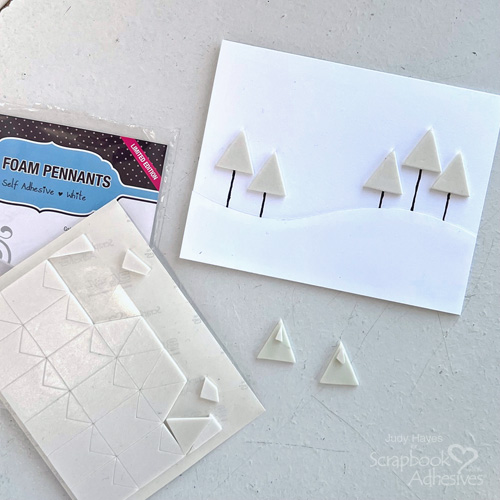
Remove two triangle pennants from the 3D Foam Pennants set and place them on the work surface with the sticky side up. Cut a small piece of foam from excess pieces on the pennant sheet and place at tip of each triangle. This will help even the height of the trees when placing them on the curved hill.
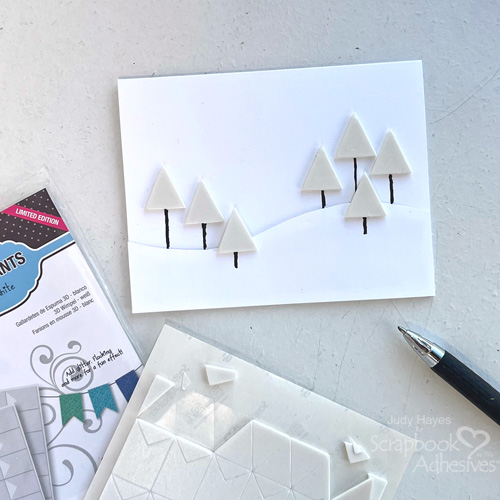
Adhere the two triangles from 3D Foam Pennants set on the curved snow hill with tips extending above edge of curve. Draw trunks on trees with black pen.
Wear Your Adhesive on the Outside with 3D Foam Pennant and Metallic Transfer Foil Sheets
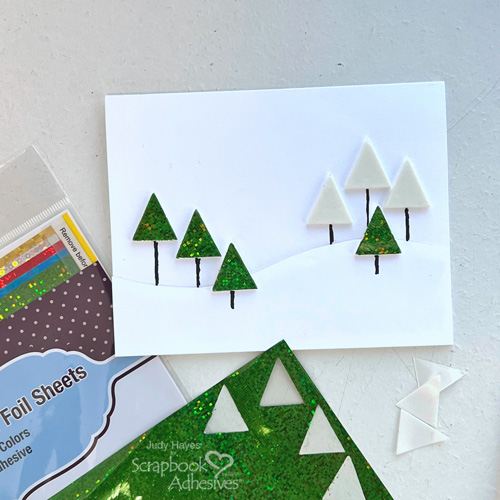
Remove the liners from one or two pennant trees, cover with a piece of green foil from the Metallic Transfer Foil Sheets Celebrate Colors (color side facing you), press in place, and remove the foil. Continue to cover all pennant trees using the same foiling step.
Stamp the Greeting
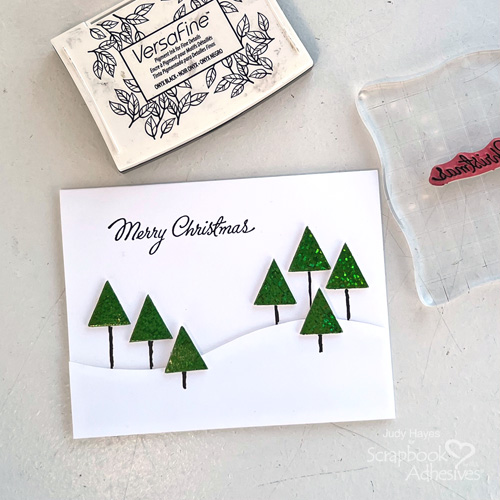
Ink greeting stamp with Versafine Onyx Black ink and stamp at top of the card.
Making it Snow
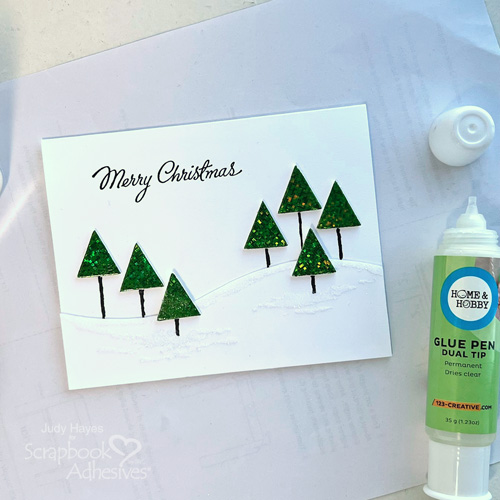
Use fine tip of the Dual Tip Glue Pen to apply glue along the edge of the snow hill, and around the trees below the snow edge. Next, cover with glitter and tap off the excess. Apply more glue across hill and add glitter.
Above trees, use the Dual Tip Glue Pen to make dots for snow, cover with glitter and tap off the excess. Repeat as needed. Allow to dry.
Thanks for visiting!
Judy Hayes
Creative Time: 20 mins
Skill Level: Beginner
Materials Needed:
Scrapbook Adhesives by 3L®
Crafty Foam Tape White 108ft.,
Metallic Transfer Foil Sheets Celebrate Colors
HomeHobby™ by 3L
Other: Stamp: Stampers Anonymous Tim Holtz (Christmastime 3); Ink: Tsukineko (Versafine Onyx Black); White Cardstock; Black Fine Tip Marker or Gel Pen; Glitter: Ranger (Tim Holtz Distress Rock Candy)
Click Preferred Retailers List
Save to Pinterest!
Visit our Website and Blog!
Sign up for our Newsletter so you never miss a contest or giveaway!


