
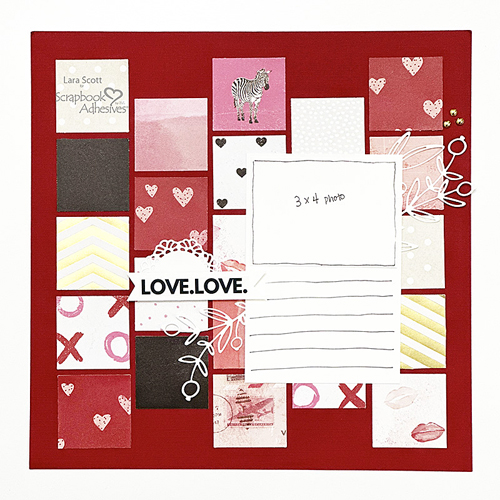
Hi, Lara here, and today I have a great idea to put a small(?) dent in your paper stash. Work ahead to document your Valentine’s event with a Love Grid Valentine’s Page. Although some spacings aren’t perfect, I love how this page turned out. Most people don’t notice but I do…the struggles of a perfectionist. LOL!
Love Grid Design
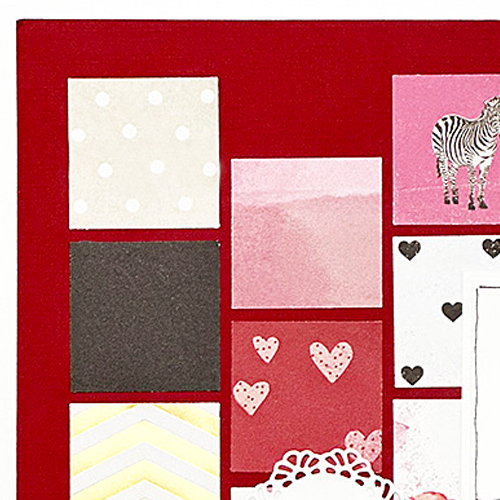
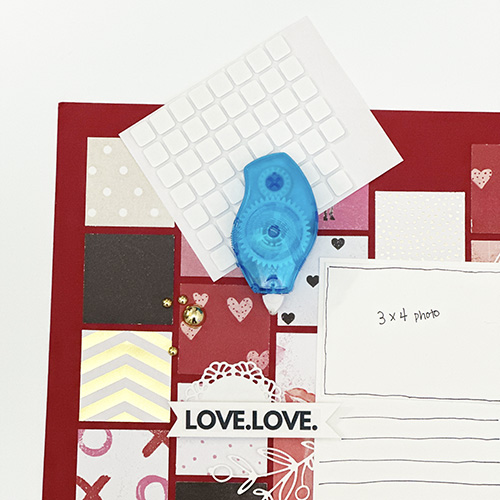
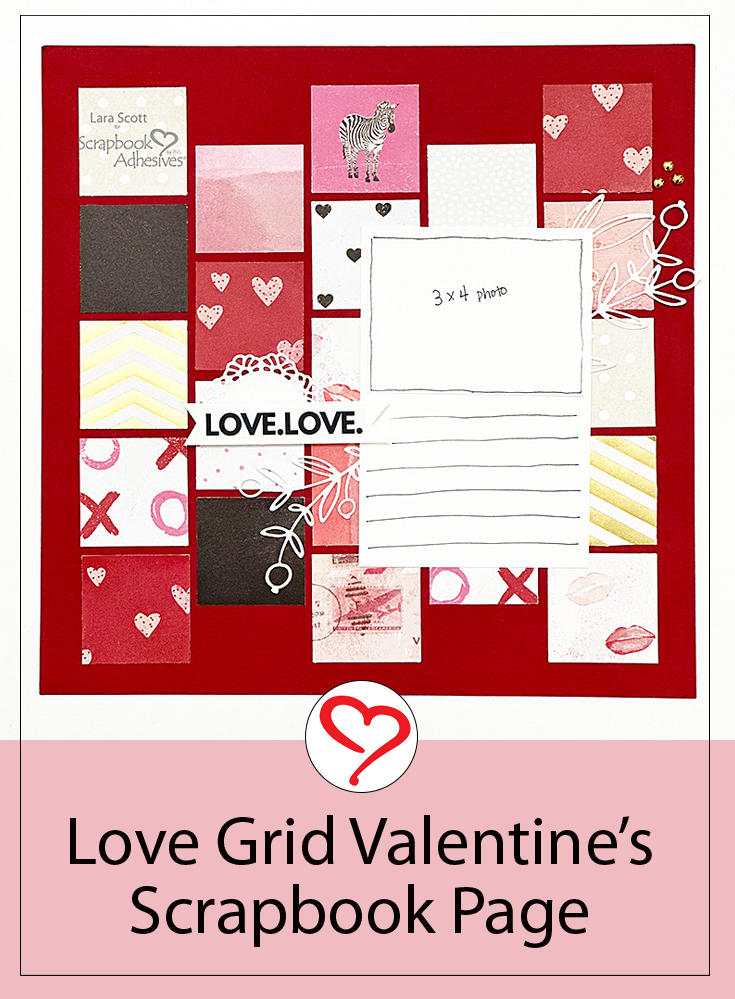
Using a 2-inch square punch, I punched out a whole bunch of squares from multiple patterned papers. Next, I laid out the squares in a grid pattern on a 12 x 12-inch red cardstock. After determining my desired look, I adhere them with the E-Z Runner® Petite Permanent Dots Refillable Dispenser.
Final Touches
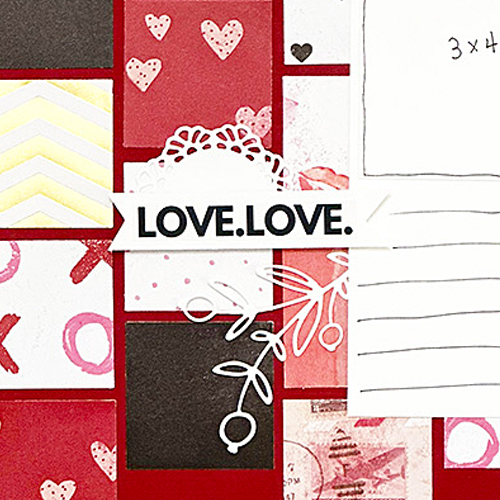
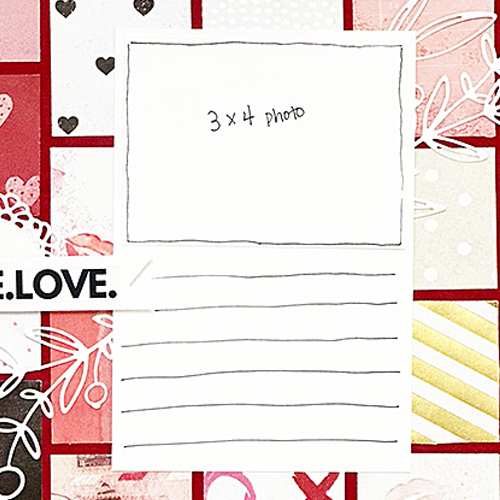
Grab a few die-cut shapes that would be perfect with the theme, in this case, I chose a lacey doily and some delicate floral motifs. I adhered them with the E-Z Runner® Petite Permanent Dots Refillable Dispenser. Add the sentiment strip using 3D Foam Squares White Mix. I drew lines on white cardstock for a photo placeholder and journal spot. I used the Dual Tip Glue Pen to adhere the gold half pearls.
Adhesives Used
Here are the adhesives used to assemble the Love Grid Valentine’s Page. Using the E-Z Runner® Petite Permanent Dots Refillable Dispenser was a nice surprise, I haven’t used it before and it rolls so nicely!
Try this Love Grid Valentine’s Page design for your next page idea. It’s a great way to use up paper scraps in your stash 🙂
Thanks for stopping by!
Lara Scott
Creative Time: 60 mins
Skill Level: Intermediate
Materials Needed:
Scrapbook Adhesives by 3L®
E-Z Runner® Petite Permanent Dots Refillable Dispenser,
HomeHobby™ by 3L
Other: Various Patterned Papers and Die-Cut Shapes; Gold Embellishment: Buttons Galore & More; Two-Inch Square Punch; Red + White Cardstock
Click Preferred Retailers List
Save to Pinterest!
Visit our Website and Blog!
Sign up for our Newsletter so you never miss a contest or giveaway!


