
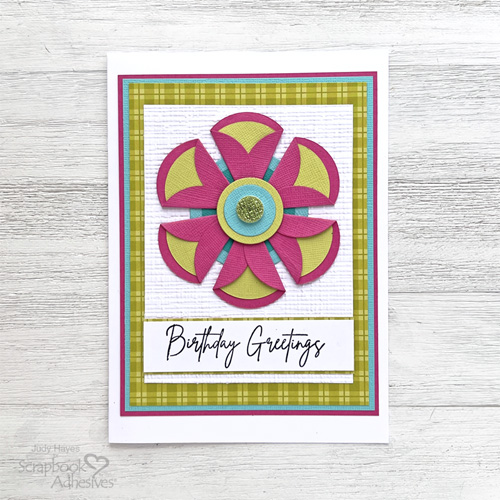
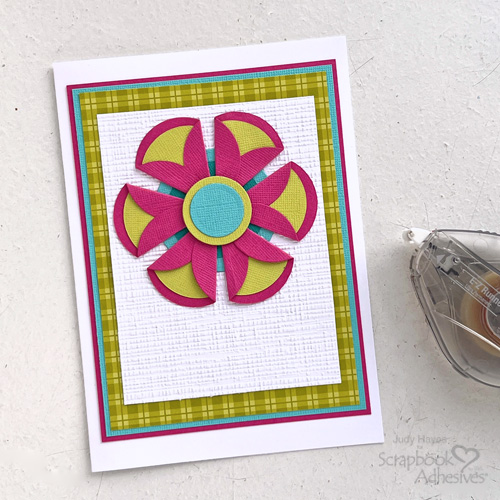
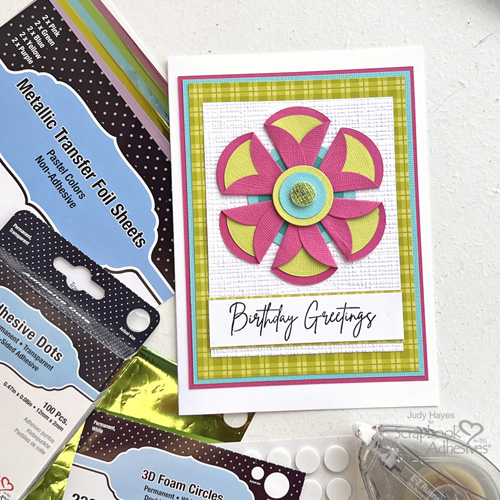
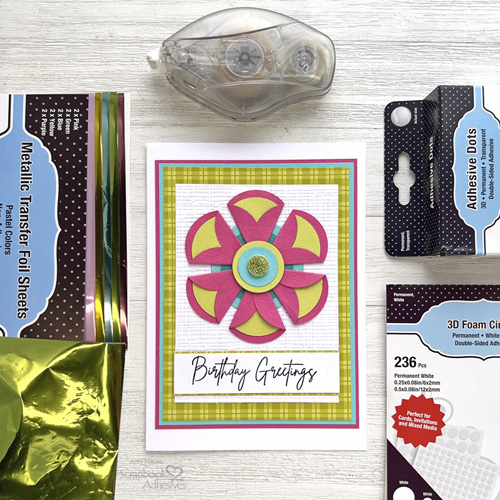
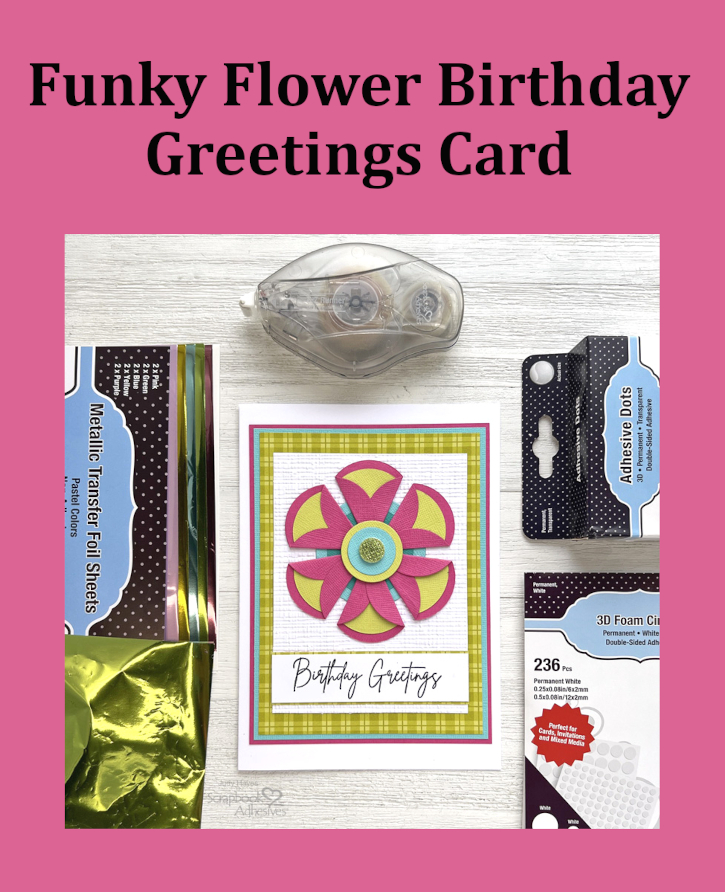
Judy here today with a Funky Flower Birthday Greetings card. I ventured a bit out my comfort zone with this combination of bold colors and I really like it! The flower can also be made with double sided pattern paper especially one with a solid color back. All the directions are below to make the flower and assemble the card.
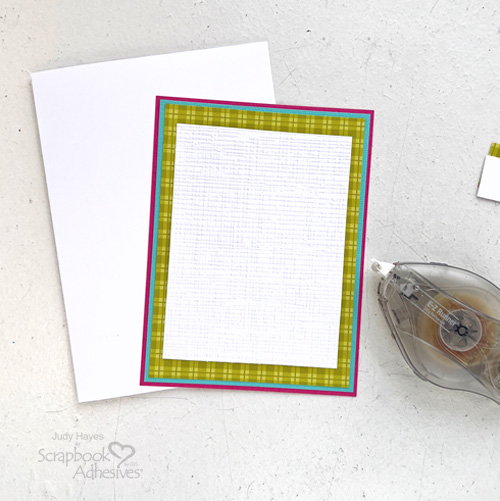
Flower Card Layers
Cut 7 x 10 inch white cardstock, score and fold to create a 5 x 7 inch side fold card. Also from white cardstock, cut 3.75 x 5.25 inch rectangle and .875 x 3.75 strip. Place 3.75 x 5.25 inch rectangle in Burlap embossing folder and emboss using die cutting and embossing machine.
Cut the following rectangles:
- Pink cardstock – cut 4.625 x 6.125 inches
- Aqua cardstock – 4.375 x 6.875 inches
- Green Plaid – 4.25 x 575 inches and .875 x 3.75 inches.
Assemble Card Base
Use E-Z Runner® Ultra Strong Refillable Dispenser to apply adhesive to aqua cardstock and fasten on pink cardstock. Then fasten green plaid paper on top of that again using adhesive from E-Z Runner® Ultra Strong Refillable Dispenser. Fasten to card front with same adhesive. Next apply adhesive to back of embossed panel and fasten over green plaid on card. Set aside.
Cut Flower Parts
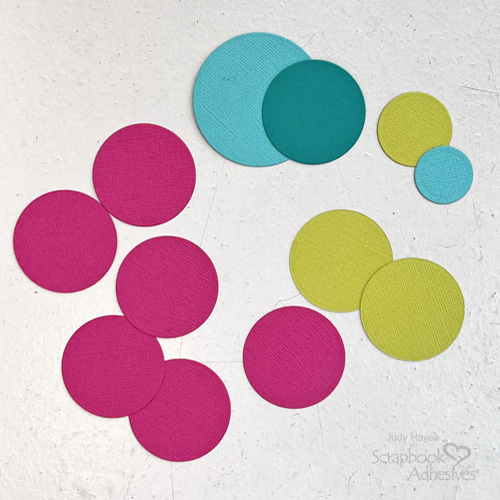
Use circle dies to cut the following circles:
- Pink cardstock – cut 6 – 1.625 inches diameter (flower petals)
- Lime Green cardstock – cut 2 – 1.625 inches diameter (flower petals)
- Aqua cardstock – cut 1 – 2.125 inches diameter (flower background)
- Turquoise cardstock – cut 1 – 1.625 inches diameter (flower background)
- Lime cardstock – cut 1 – 1.125 inch diameter (flower center)
- Aqua cardstock – cut 1 – .875 inches diameter (flower center)
Make Flower Petals
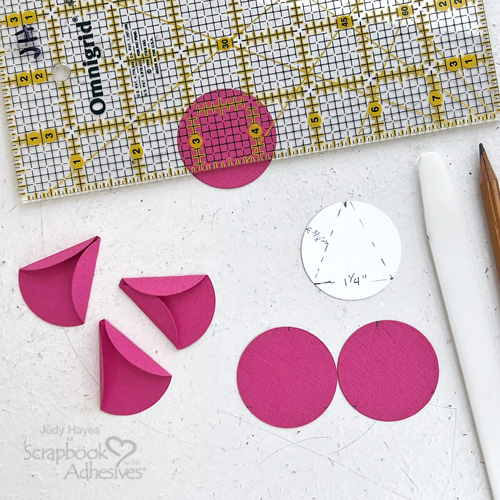
Make a small vertical pencil mark anywhere along edge of pink circle on texture side of paper. Then make pencil marks about 1.25 inches apart at opposite edge of circle equal distance from first pencel mark. See photo for illustration. The amount of the circle that folds is about .375 at widest area. Score slightly away from first pencil mark to each of other pencil marks. Fold along score marks so texture side of paper will be on top. Repeat for all circles to create 6 petals.
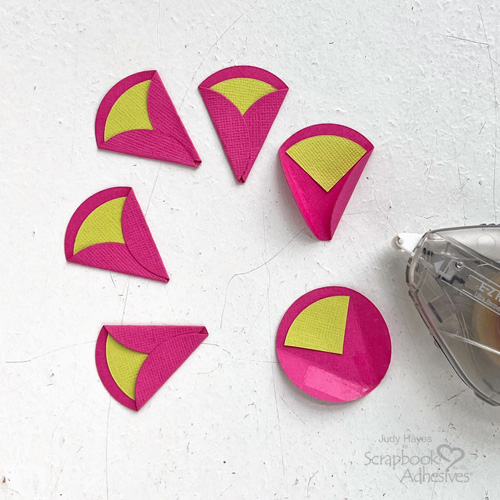
Cut lime green circles in quarters. Keep 6 pieces for flower. Use E-Z Runner® Ultra Strong Refillable Dispenser to apply adhesive to back of a quarter lime circle and fasten on petal between folded edges and about .125 inches from edge of pink petal. Repeat for all 6 petals.
Using E-Z Runner® Ultra Strong Refillable Dispenser to apply adhesive to inside of each folded flap and press in place to form each petal.
Assemble Flower
Fasten turquoise circle to large aqua circle (flower background) with adhesive from E-Z Runner® Ultra Strong Refillable Dispenser. Mark center with pencil.
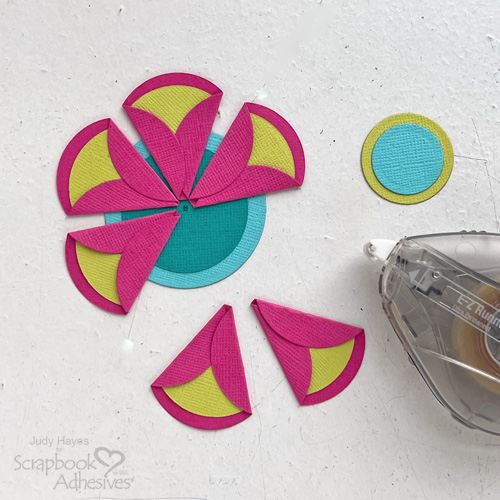
Apply generous adhesive to points of each petal and fasten to turquoise/aqua circles with E-Z Runner® Ultra Strong Refillable Dispenser. Place petals lightly until all are arranged to allow them to be adjusted if needed and then press firmly in place.
Fasten small aqua circle to lime green circle with adhesive from E-Z Runner® Ultra Strong Refillable Dispenser.
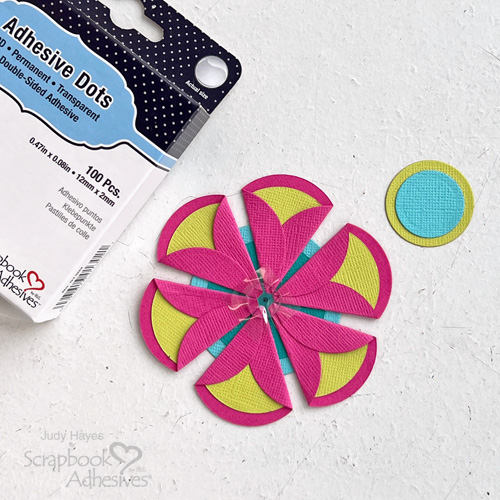
Place one Adhesive Dots 3D in center of flower and press firmly so that Adhesive Dots 3D is somewhat flattened and pressed well between petals. Peel off liner and fasten aqua/lime center on flower.
Fasten Flower on Card
Apply generous adhesive to back of flower and postion on card front towards top of embossed panel.
Greeting
Stamp greeting with black ink on white strip. Fasten to green plaid matt using adhesive from E-Z Runner® Ultra Strong Refillable Dispenser. Then apply generous adhesive to back and fasten below flower on card. (Designer Tip: Generous adhesive is recommended when fastening items to embossed paper)
Foil Center
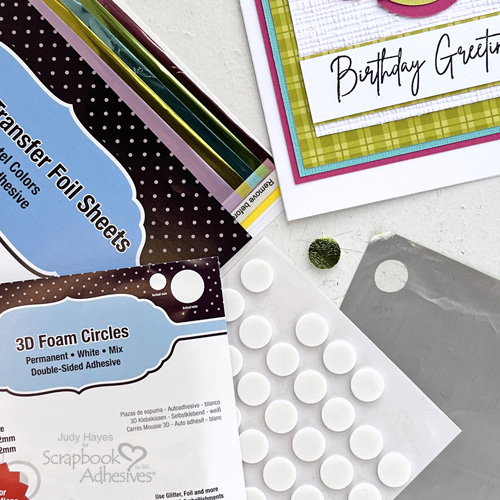
Peel large circle from 3D Foam Circles White Mix and press sticky side to back of green foil from Metallic Transfer Foil Sheets Pastel Colors to cover with foil. Place foil covered 3D Foam Circle in Burlap embossing folder and pass through die cutting and embossing folder to add texture. Reapply foil. Peel off liner and fasten on flower center.
Thanks for stopping by!
Judy Hayes
Creative Time: 40 mins
Skill Level: Intermediate
Materials Needed:
Scrapbook Adhesives by 3L®
E-Z Runner® Ultra Strong Refillable Dispenser
Metallic Transfer Foil Sheets Pastel Colors
Other: Patterned Papers: Doodlebug Design (Farmhouse Country Pumpkins (plaid)); Stamp: Taylored Expressions (Mini Slim Botanical Sentiments); Ink: Tsukineko (Versafine Onyx Black); Craft Dies: Spellbinders (Circles); Embossing Folder: Honey Bee Stamps (Burlap); Cardstock: Doodlebug Design (Summer Fun Paper Pack – Lime, Aqua, Pink, Turquoise), White
Click Preferred Retailers List
Save to Pinterest!
Visit our Website and Blog!
Sign up for our Newsletter so you never miss a contest or giveaway!





