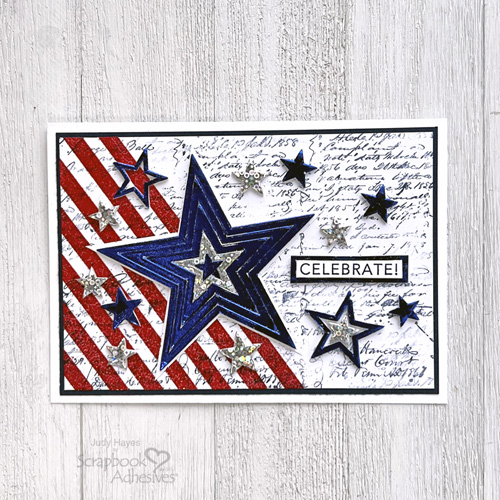
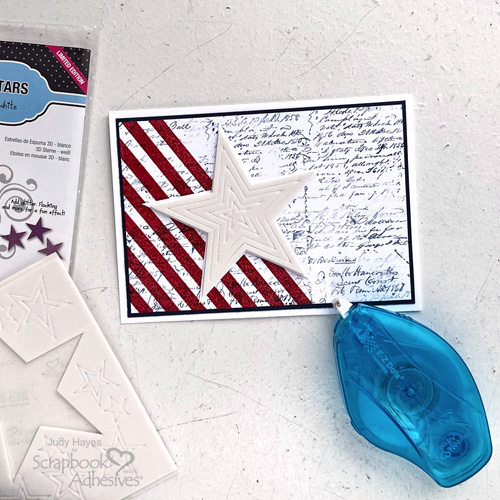
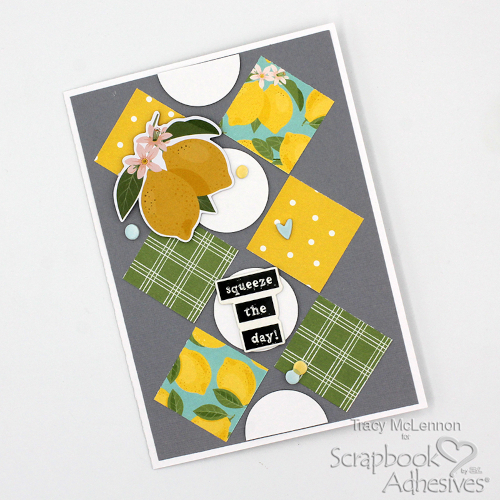
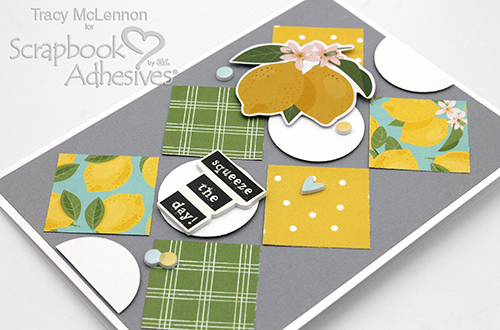
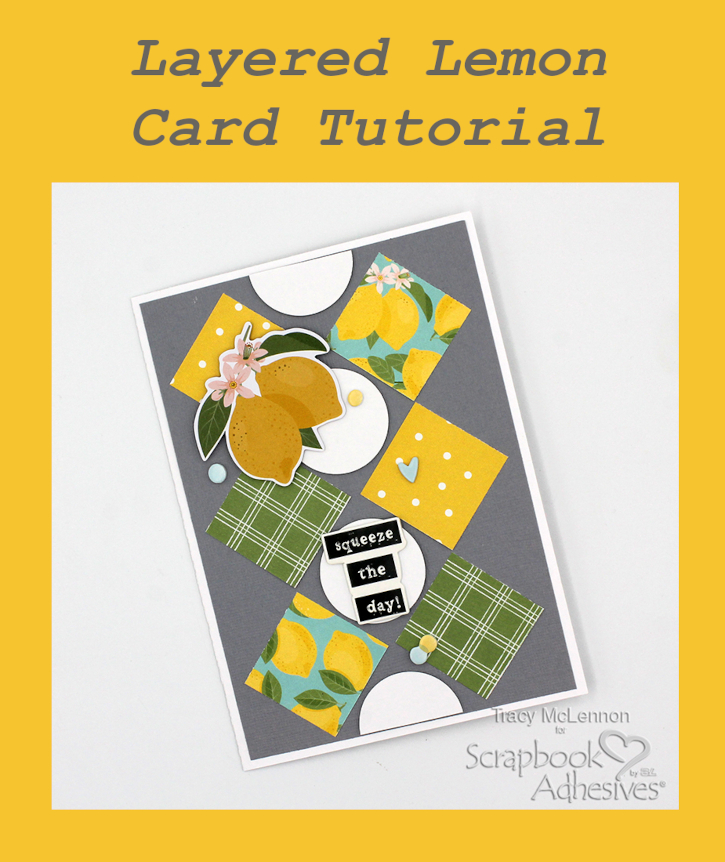
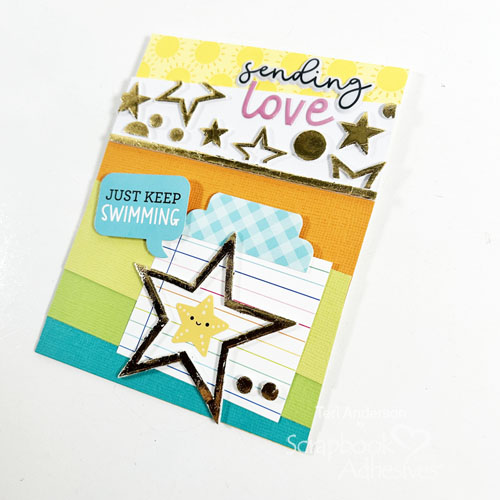
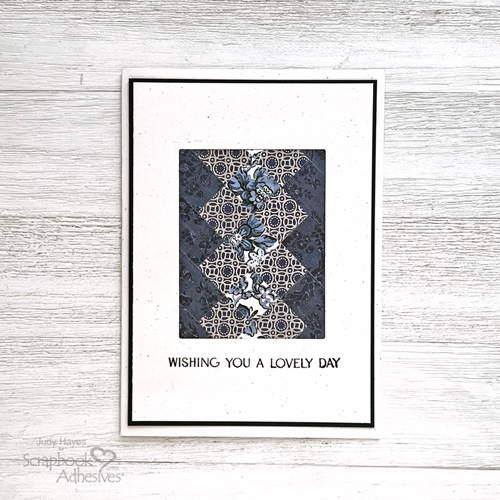
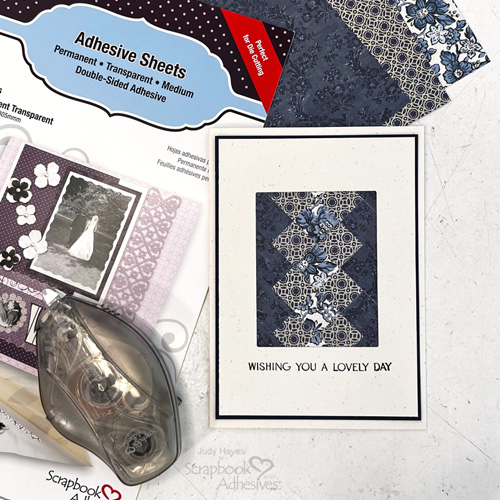
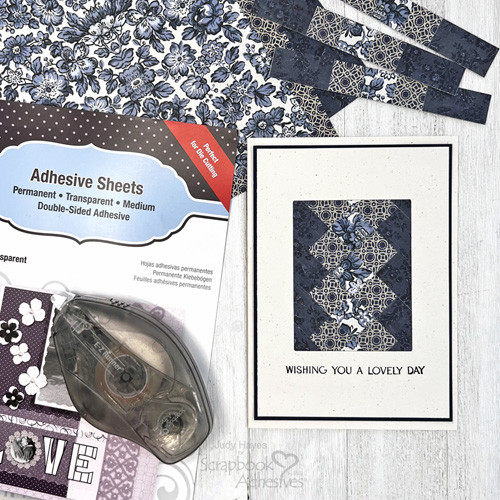
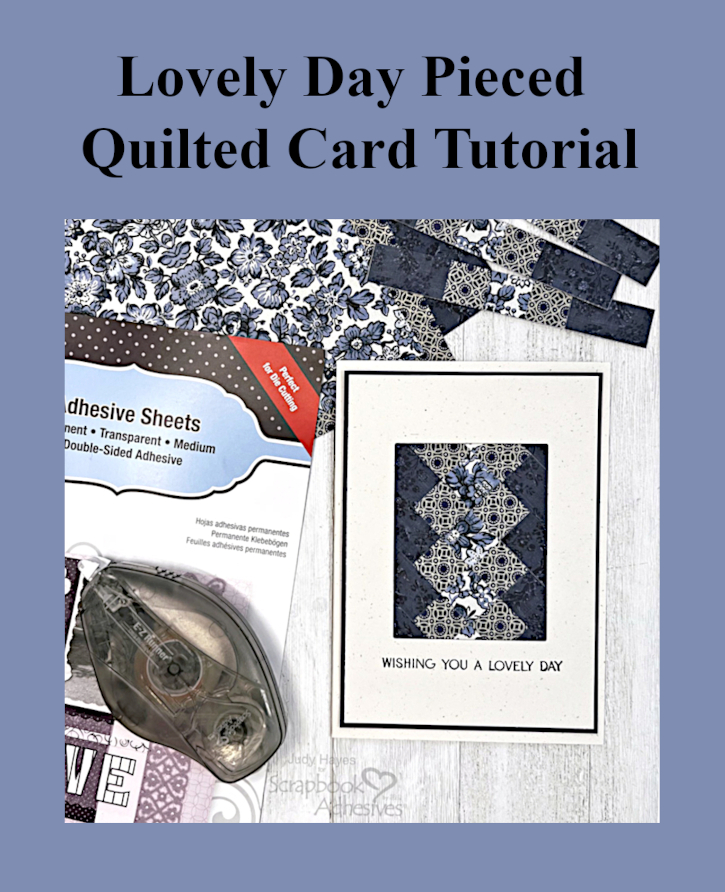
Hi, Judy here today! This Lovely Day Pieced Quilt card was inspired by cards made by my mom years ago when she had a quilt store. I recently found some of them and wondered if I could make a similar card with paper. Her cards had fabric strips sewn together to make the pieced panel. I made the panel with pieced papers. I hope you enjoy this technique.
Quilt Card Layers
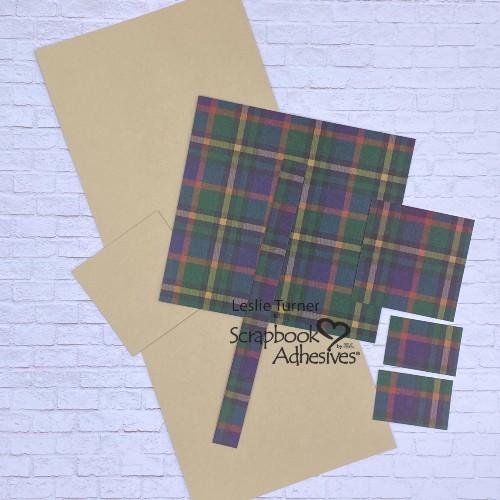
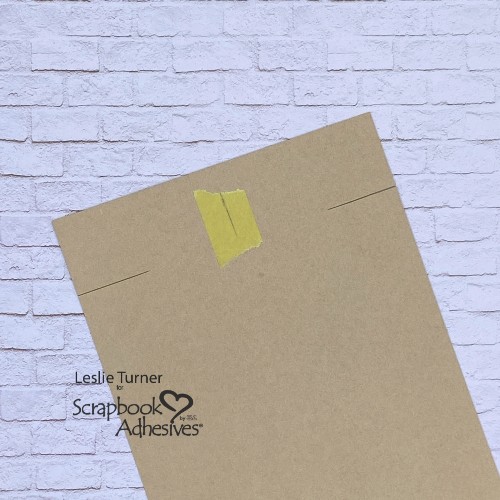
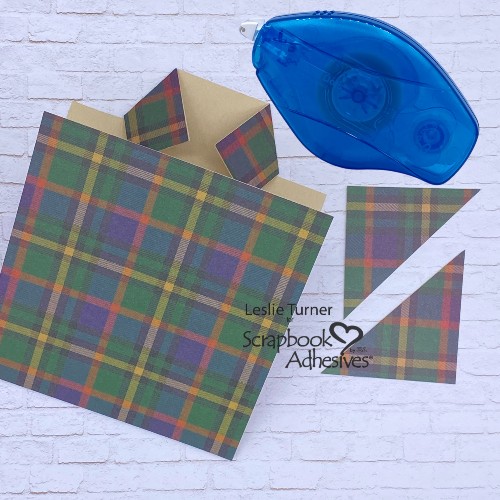
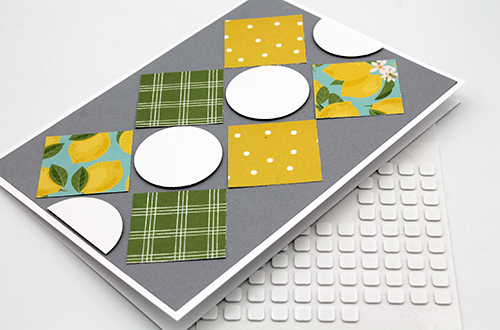
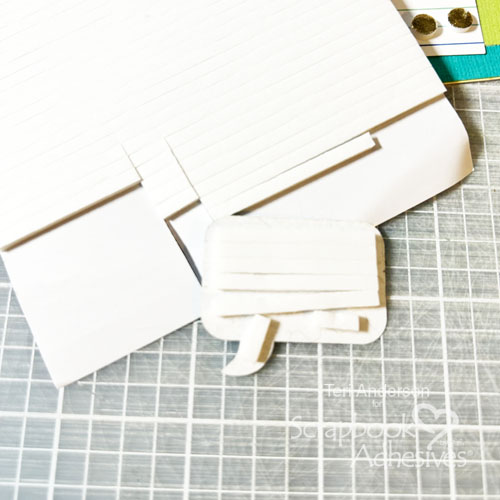
Score and fold in half a piece of 8.5 x 6 inch Birch cardstock to form a 4.25 x 6 inch card base. From another piece of Birch cardstock, cut 3.875 x 5.5 inch panel. To make a window in the panel, die-cut a 2.375 x 3.125 inch rectangle window. Lastly, cut a 4 x 5.625 inch mat from navy cardstock. Designer Tip: Rectangle can be slightly bigger or smaller.
Papers for Quilt Pattern
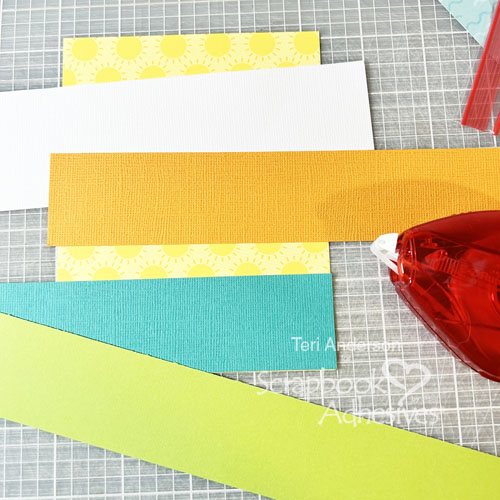
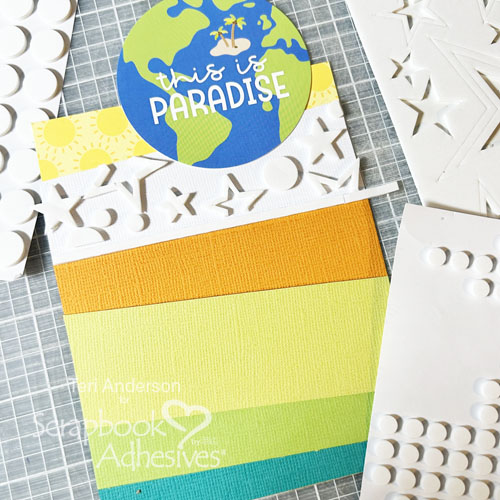
Choose three pattern papers that are dark, medium and light colors. Dark paper (Indigo): cut two 1.25 inch strips about 6 inches long; Medium paper (Tan/Indigo): cut two 0.625 inch strips about 6 inches long and Light paper (blue floral): cut one 0.623 inch strip about 6 inches long. Designer’s Tip: Instead of 6 inch strips, use 8 inch strips to make two cards!
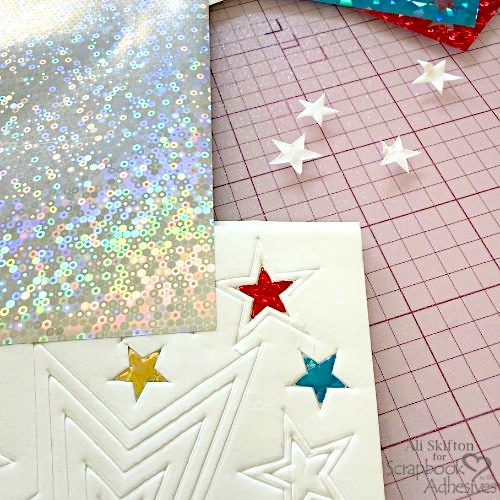
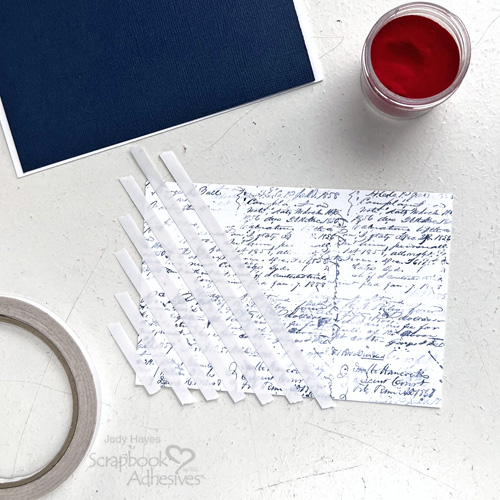
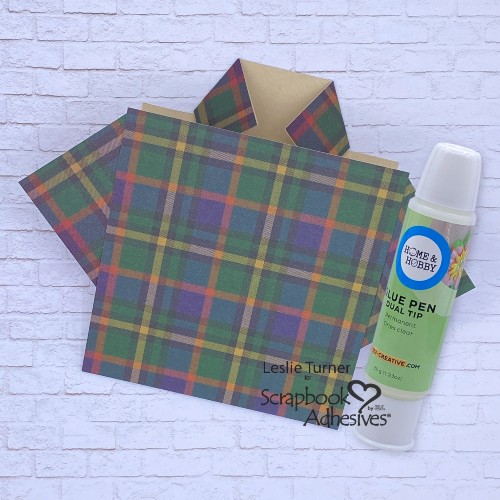
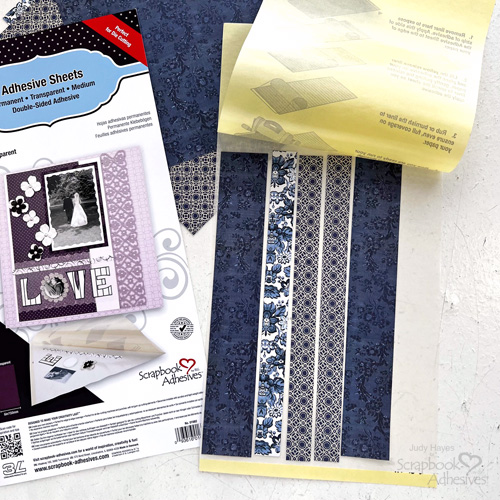
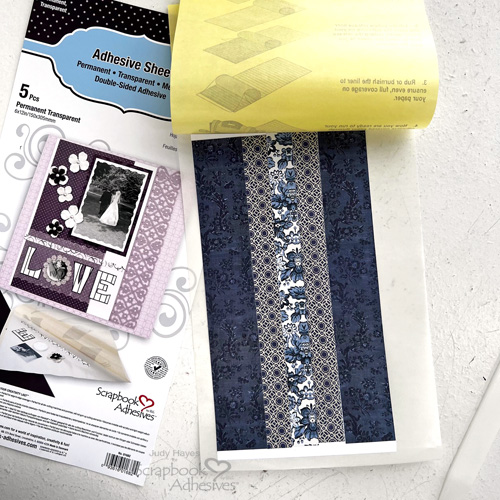
Patterned Strips to Adhesive Sheets
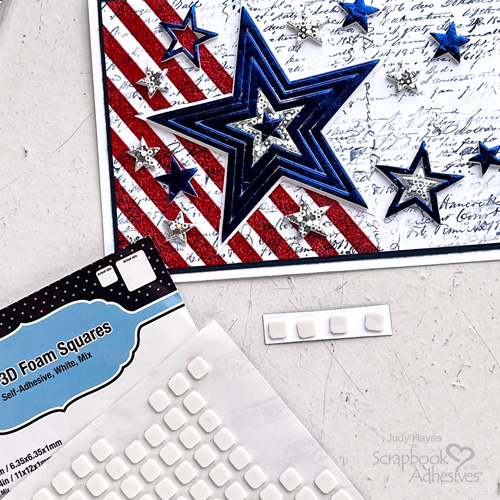
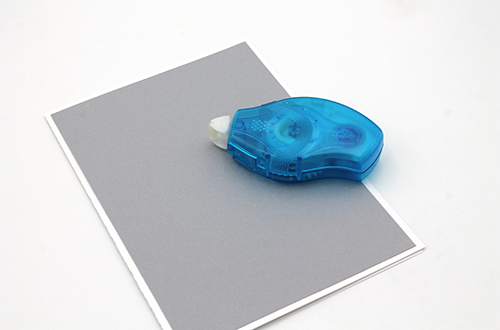
Peel back one end of a sheet from the Adhesive Sheets 6 x 12in., place strips on adhesive with a slight gap between each strip, and replace the liner back over strips. Burnish well with bone folder.
Add Strips to Paper Backing
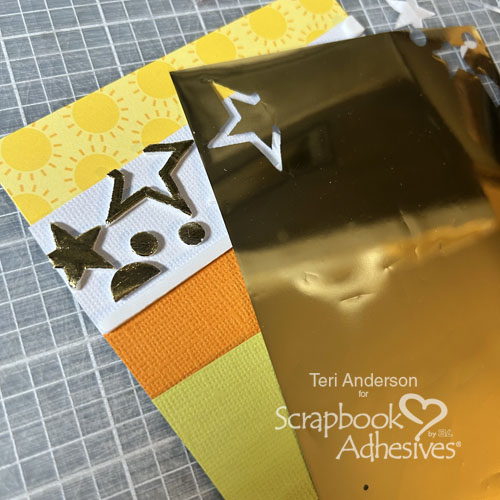
Peel one dark strip (Indigo with the 1.25 inch width) and place on piece of printer paper. Next, peel a medium strip (0.625 inch width Indigo/Tan) and place right against first strip so edges fit tightly together with no gap.
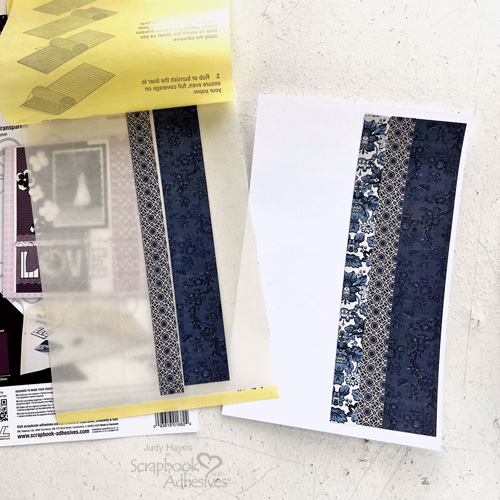
Continue with light strip (0.625 inch width of Blue Floral), another medium strip and finally dark strip. Trim away printer paper along long outer edges.
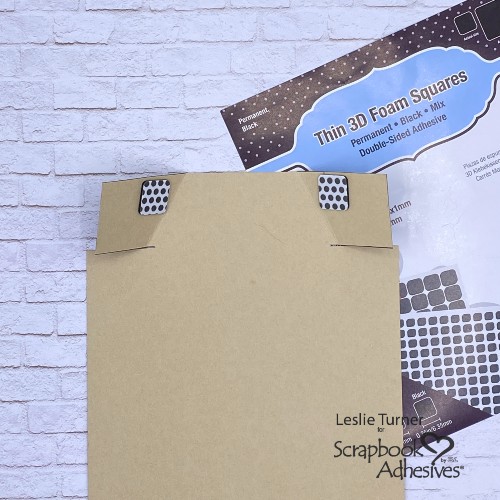
Add Adhesive to Panel and Pieces
Peel back the liner of Adhesive Sheets 6 x 12in. and place panel of assembled strips on the adhesive, cover with liner and rub with bone folder. Do not remove panel. Carefully cut away adhesive sheet around all the edges of the assembled strips. Next, cut one end of assembled strips so that its even. Then cut seven crosswise strips of 0.625 inch each.
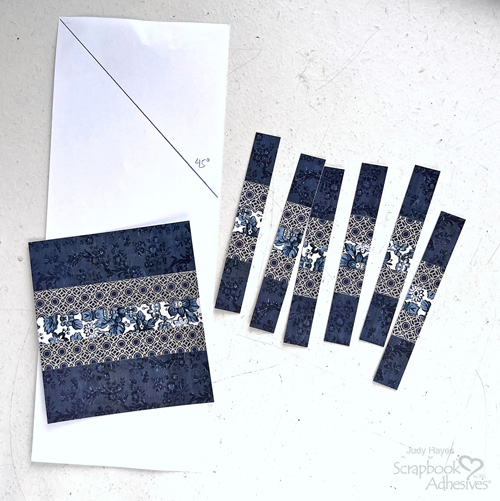
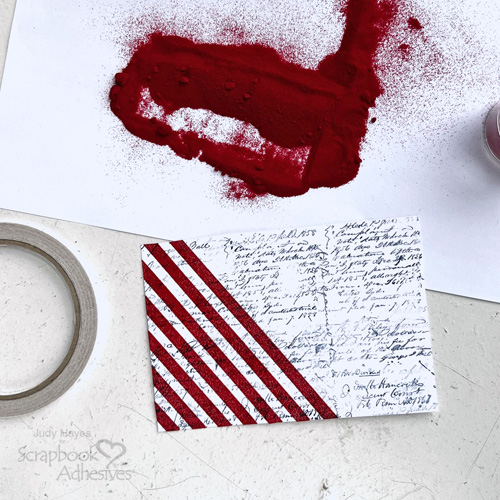
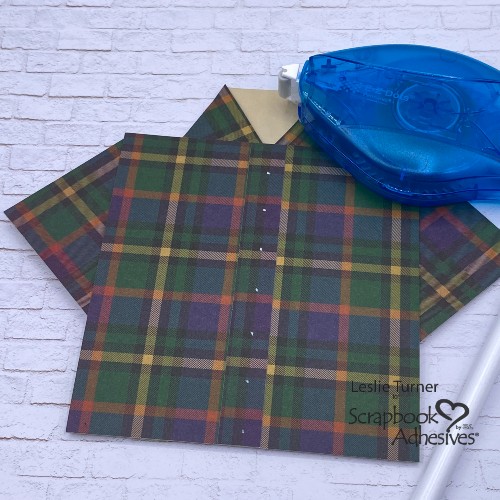
Make Pieced Panel
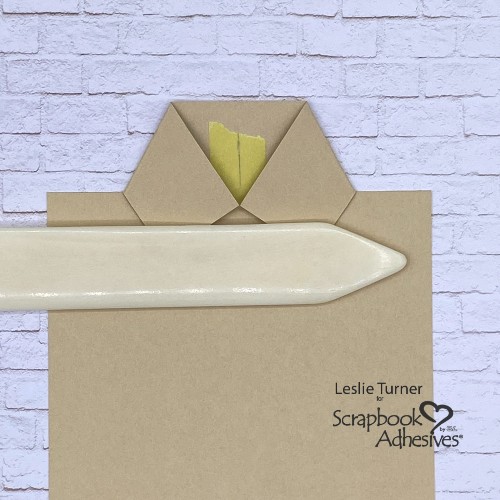
On piece of printer paper cut lengthwise in half (4.25 x 11 inches), draw a line at 45 degree angle from long edge. Designer’s Tip: I use a quilters clear ruler for this step.
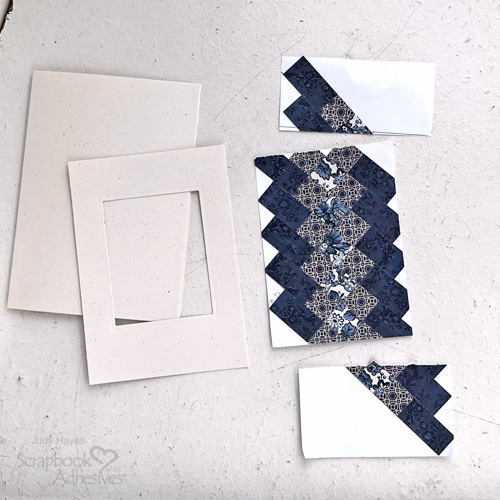
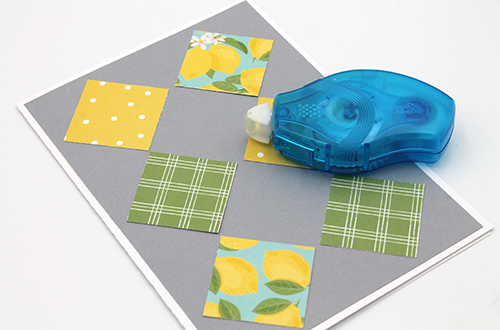
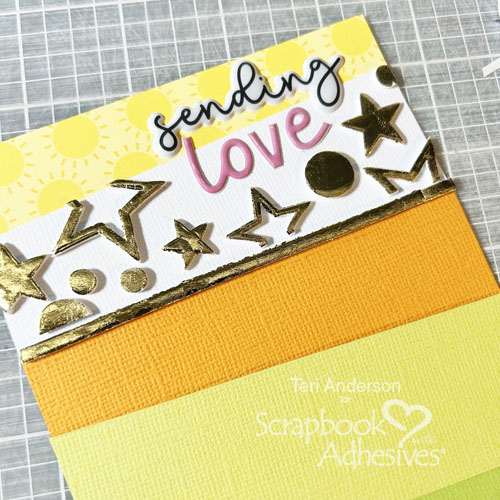
Peel the liner from a pieced strip (a straight pin helps to get liner loose) and place it along drawn line. Peel the liner from another pieced strip, align it so center three squares are offset by one square from strip already in place. Repeat placement steps with the strips with the squares offset each time. This will create diagonal pattern like a pieced quilt. Once all the strips are in place, trim away printer paper along side edges. Square up one end and then cut panel about 4 inches long, width does not need to be trimmed.
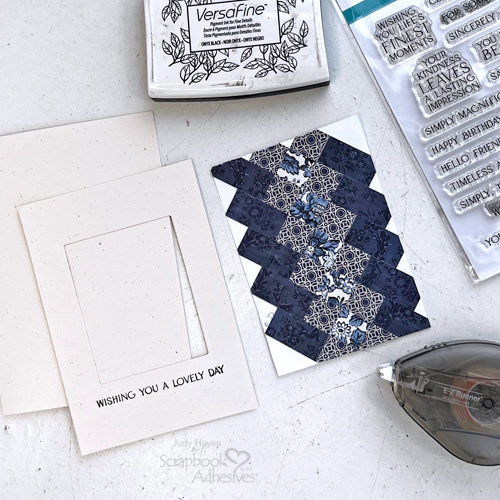
Stamp Verse
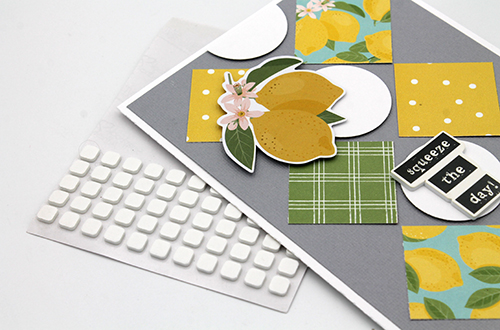
Stamp verse on birch panel below rectangle window with black ink.
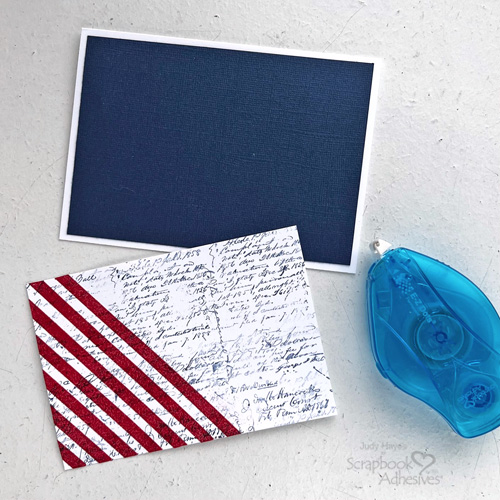
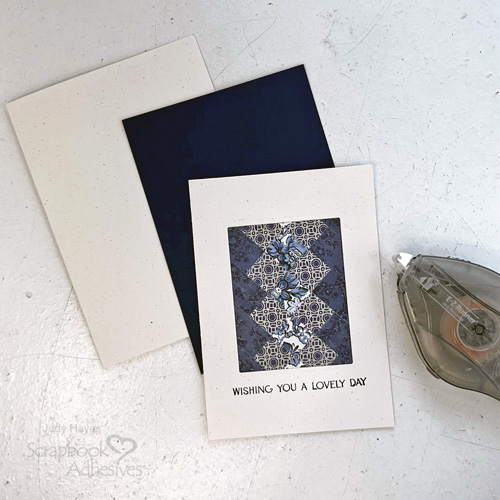
Assemble Card
Apply the E-Z Runner® Ultra Strong Refillable Dispenser on back of verse panel along edges of rectangle opening. Place panel over pieced strips panel and press to secure. Using the same adhesive runner, attach to the navy mat and then to the card base.
Wishing you a lovely day!
Thanks for visiting!
Judy Hayes
Creative Time: 30 mins
Skill Level: Intermediate
Materials Needed:
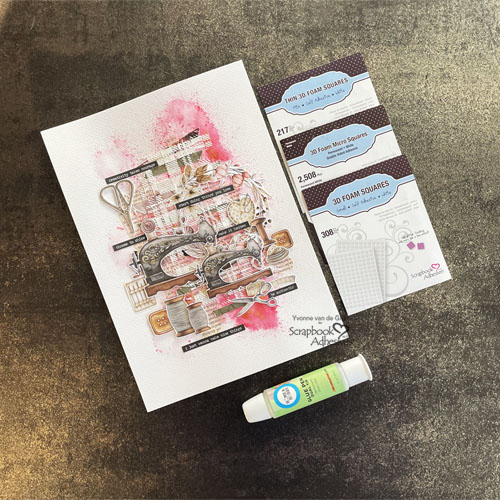
Scrapbook Adhesives by 3L®
E-Z Runner® Ultra Strong Refillable Dispenser
Other: Papers, Stickers + Ephemera: Advantas Corp (Tim Holtz Idea-ology Palette Collection Indigo); Stamp: Spellbinders Paper Arts (Lasting Impressions Sentiments); Ink: Tsukineko (Versafine Onyx Black); Craft Dies: Spellbinders (Nestabilities Rectangles); Birch + Navy Cardstock
Click Preferred Retailers List
Save to Pinterest!
Visit our Website and Blog!
Sign up for our Newsletter so you never miss a contest or giveaway!