
Happy Holidays in July! Hi, Jingle here today, and we are celebrating Christmas! Okay, to be honest, I don’t quite get the whole Christmas in July thing. I like Christmas in December. Call me crazy. But what I DO appreciate is having holiday cards ready to go once December rolls around. So, this is a great time to start working on that stash!
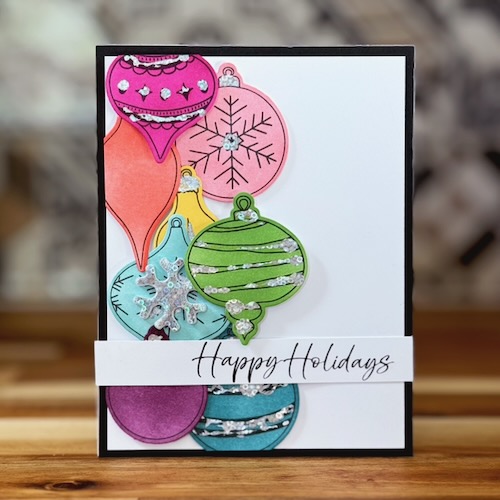
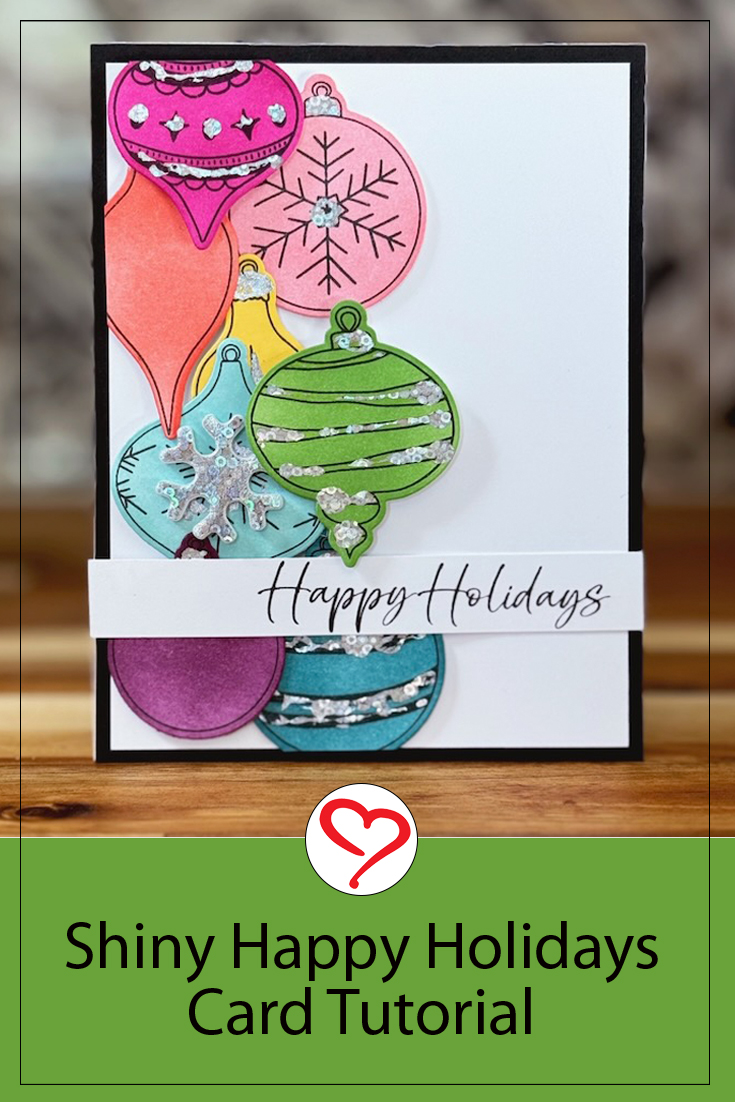
Today I have a fun technique to share with you to create dazzling Holiday Greetings using Scrapbook Adhesives by 3L Products. This design is loaded with both color and sparkle.
Elements for the Happy Holidays Card
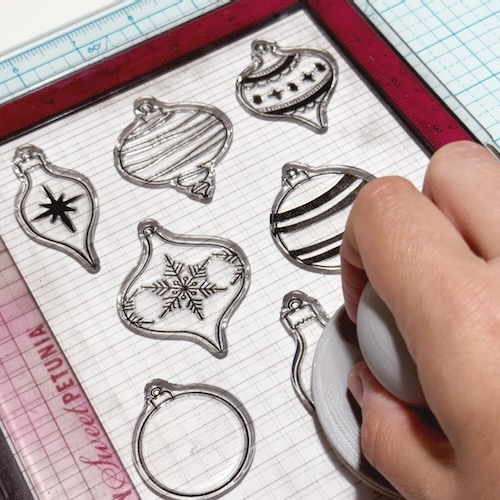
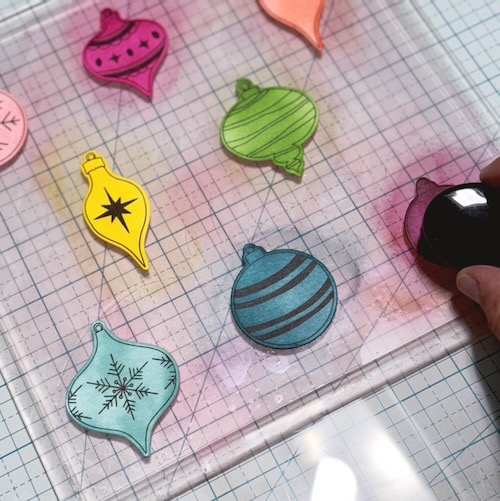
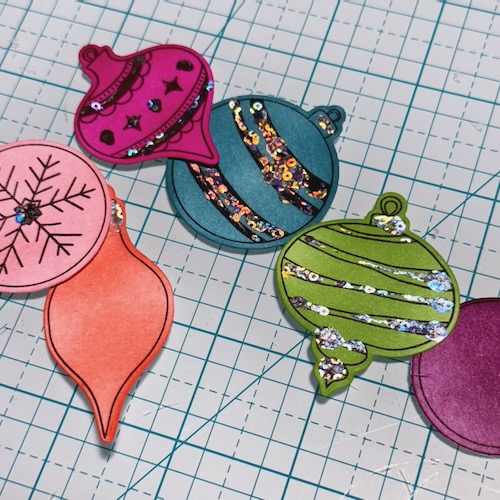
Begin by stamping with black ink and die-cutting your ornament images on white cardstock. Use a rainbow of colors to ink blend each ornament in the colors of your choosing.
Wear Your Adhesive on the Outside Technique with Dual Tip Glue Pen + Free Form Style
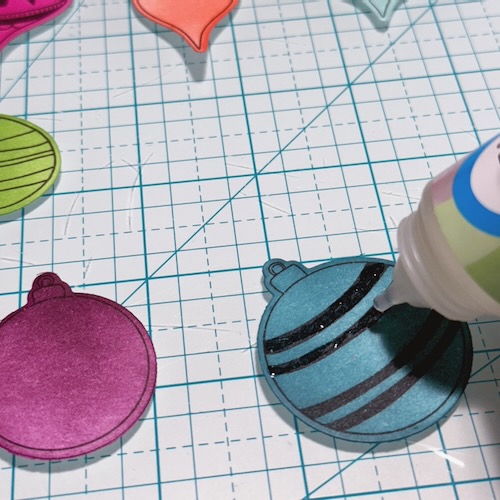
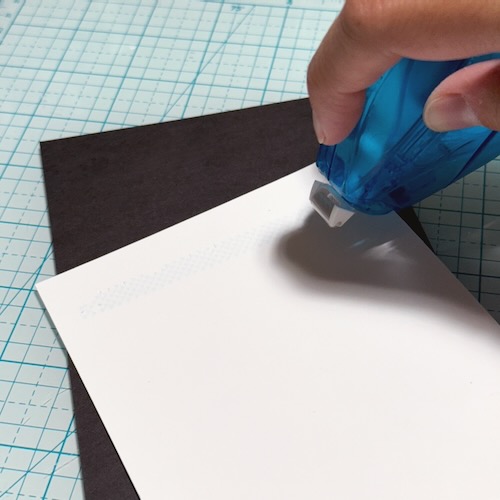
Now we get to the fun bits! Using the finer tip on the Dual Tip Glue Pen, apply it over the areas you would like to add foil accents. Do this on all of your ornaments at once. It will start to dry, but it stays nice and tacky for a bit and that is exactly what we need for this fun technique.
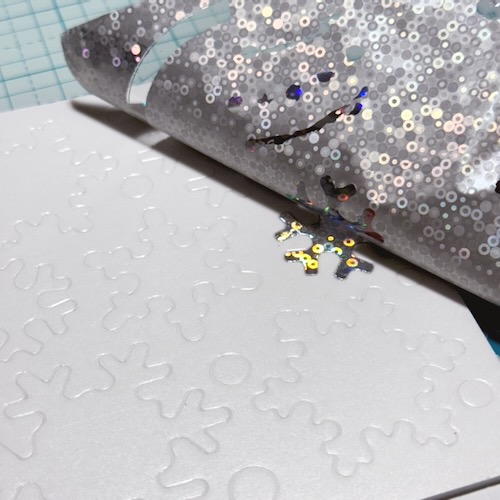
Once they are all ready, place them on the backside of your foil sheet. I used the Metallic Transfer Foil Sheets Celebrate Colors and chose a dancing silver pattern to use on my ornaments. Let the ornaments sit there for a bit and allow them to dry completely.
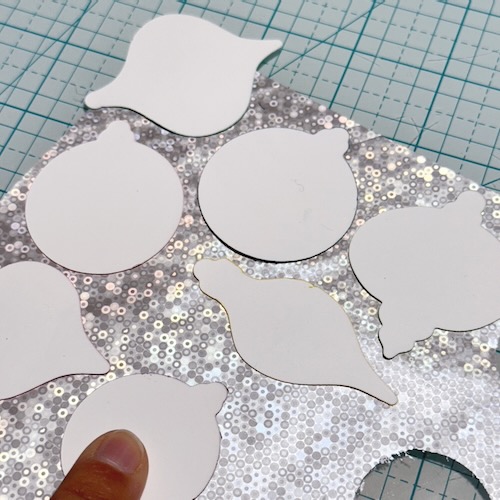
When they are done, you can gently remove them from the foil to see how gorgeous they look!
Assembling the Happy Holidays Card Ornaments
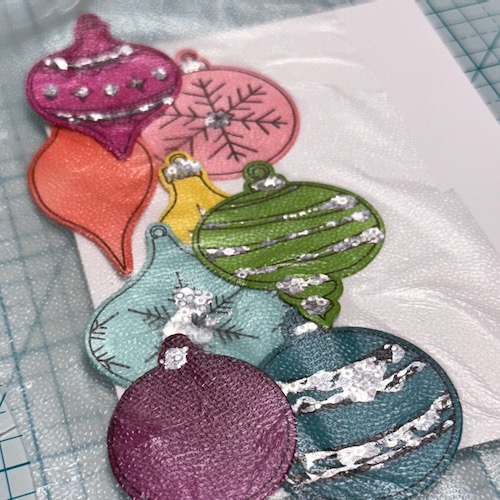
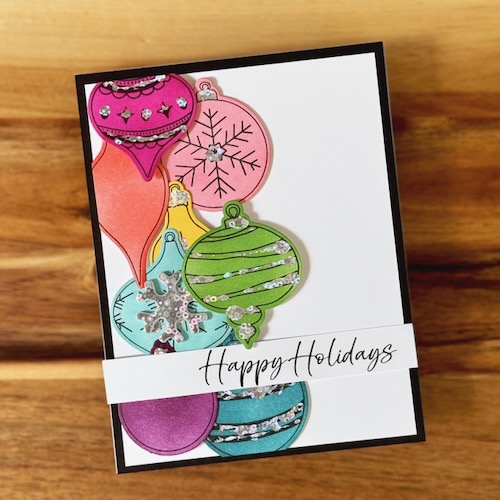
Arrange your ornaments in the desired placement on your card panel. Fun trick: Use Press and Seal (yup, straight from the kitchen) to hold your arrangement in place. Gently remove the full arrangement from the panel and flip over.
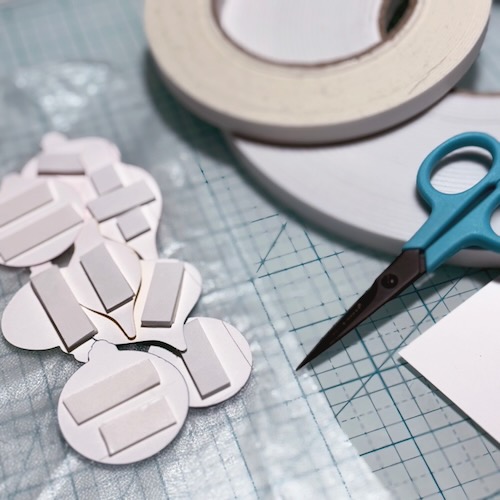
Another wonderful trick, we are going to add all kinds of dimension to our design by adding three different heights in this step. For the 2mm height, use the Crafty Foam Tape White 54ft on some ornaments. For a subtle 1mm height, add the Crafty Foam Tape White 108ft. on the others. Finally, stack another piece of the Crafty Foam Tape White 108ft. each with the Crafty Foam Tape White 54ft for your third level here for a height of 3mm! Take the backing off and, with the Press & Seal in place, adhere the ornaments to your card front.
Wear Your Adhesive on the Outside with 3D Foam Snowflakes
One of my ornaments needed something, so I pulled out my packet of 3D Foam Snowflakes to add a dimensional and shiny accent. Using the same silver foil from the Metallic Transfer Foil Sheets Celebrate Colors, I removed the top liner and placed the foil (this time, color side facing you) over the exposed adhesive. Gently rub to transfer the color to the snowflake and peel it off to reveal a shiny flake! Then I adhered it right to the center of a single ornament.
Finishing Off the Card
Finally, we need to assemble the panels and card base. Using my trusty E-Z Dots® Permanent Dispenser, I adhered the panel to a black panel and then added that to my card base.
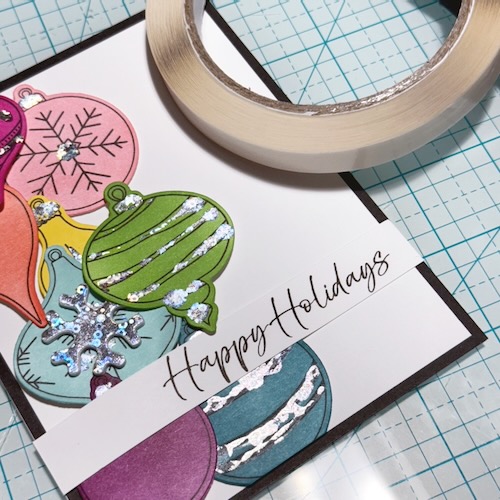
Finally, I stamped the sentiment on a strip of white cardstock and used my Crafty Power Tape Polybag 81ft. (aka our tear tape) to adhere it over the full design, allowing it to move with the dimension of the raised portions and flat portions of the card.
This design is SO much fun to put together. I hope you have enjoyed this Happy Holidays Card in July tutorial, and give this technique a shot!
Jennifer Ingle (aka Jingle)
Creative Time: 45 mins
Skill Level: Intermediate
Materials Needed:
Scrapbook Adhesives by 3L®
E-Z Dots® Permanent Dispenser, Crafty Power Tape Polybag 81ft., Crafty Foam Tape White 54ft., Crafty Foam Tape White 108ft., 3D Foam Snowflakes, Metallic Transfer Foil Sheets Celebrate Colors
HomeHobby™ by 3L
Other: Stamp: Gina K Designs (Happy Holiday Ornaments); Ink: Concord & 9th (Wildberry, Watermelon, Lakefront, Plumberry, Buttercup, Pimento, Tidepool, Parsley), Tsukineko: Black; Black + White Cardstock
Click Preferred Retailers List
Save to Pinterest!
Visit our Website and Blog!
Sign up for our Newsletter so you never miss a contest or giveaway!


