
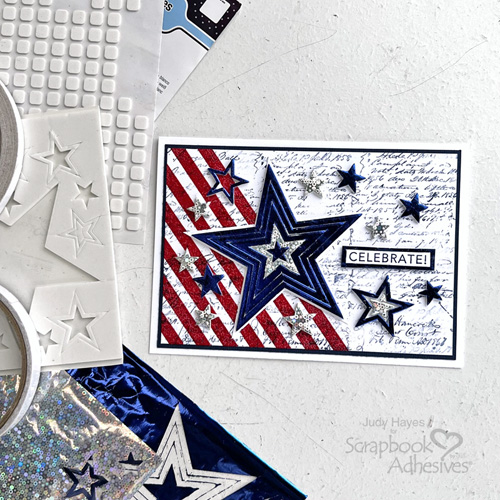
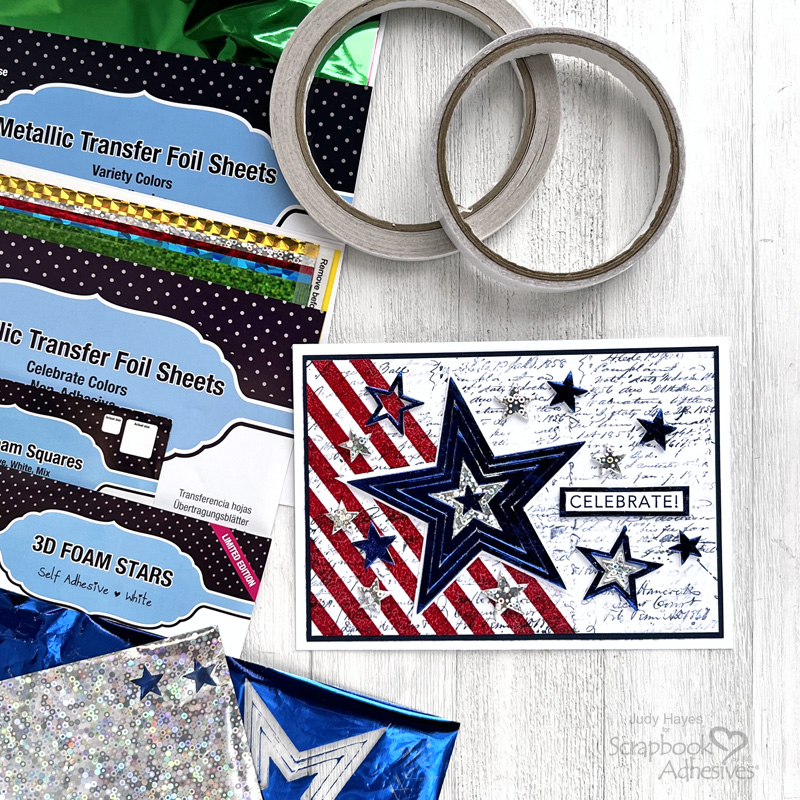
Hi, Judy here today! I was thinking ahead to Flag Day in June and Independence Day in July when I put together this Sparkly Celebrate Stars Card. Using the Wear Your Adhesive on the Outside technique with our Metallic Transfer Foil Sheets Variety Colors and Metallic Transfer Foil Sheets Celebrate Colors, I also featured Premium Double-Sided Tape 1/4in. and 3D Foam Stars.
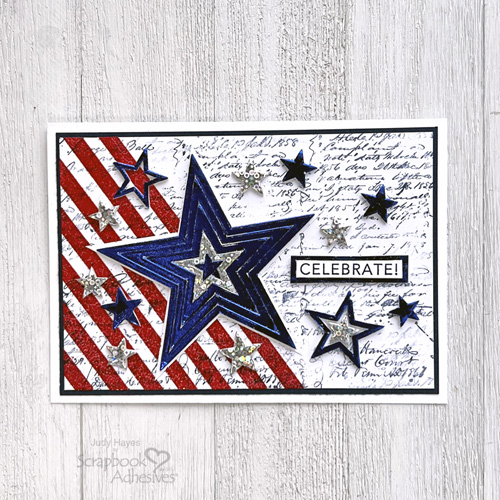
Sparkly Celebrate Stars Card Layers and Background
Make a card base by folding in half a piece of 8.5 x 6 inch white cardstock to create a 4.25 x 6 inch card and set aside. Make a mat by cutting a 4 x 5.75 inch navy cardstock and leave for a later step. Cut a 3.875 x 5.625 inch white cardstock panel. Ink a script stamp with Archival Night ink, lightly stamp off on scrap paper and stamp onto white panel. Repeat to completely cover panel.
Make Stripes on the White Cardstock Panel
Let’s Wear Your Adhesive on the Outside to our tear tape and embossing powder! Apply strips of Premium Double-Sided Tape 1/4in. at angle across left edge of panel and trim off ends. Rub well with bone folder or fingers to secure. Dust panel with anti-stick powder for crisp lines and from sticking in unwanted areas. Peel off liners, cover with red embossing powder, remove excess and heat emboss with a heat tool.
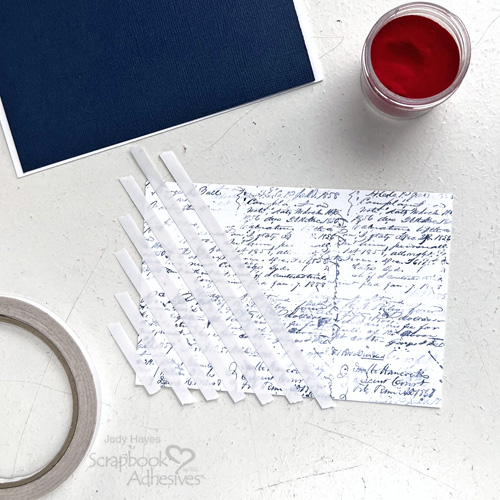
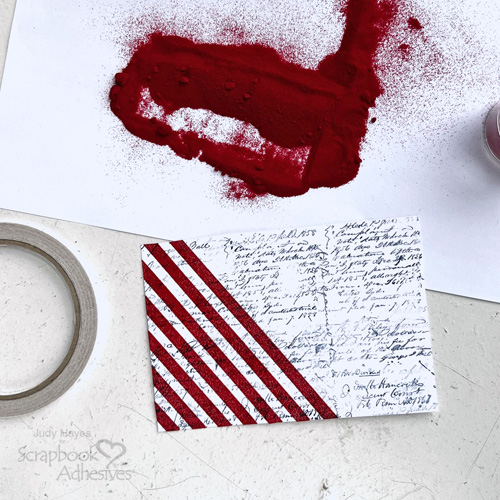
Mat the Panel to the Card
Use E-Z Dots® Permanent Refillable Dispenser to place the navy mat to the card front and then the embellished panel.
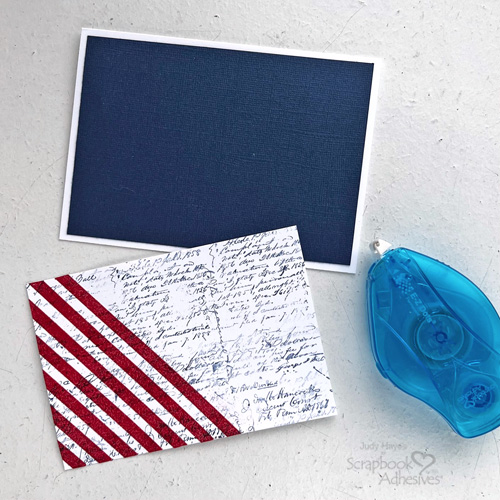
Focal Point
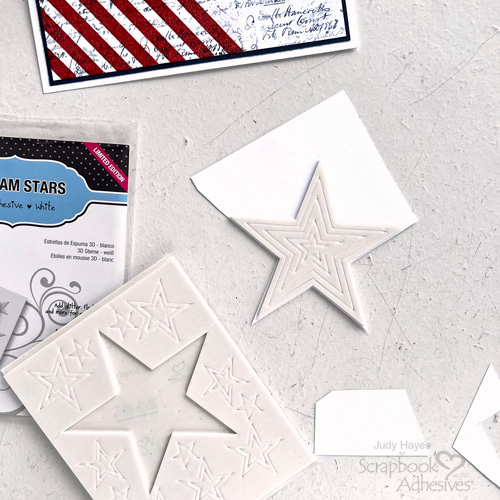
Use needle tool to carefully lift all points of large star section (five nested stars together) from a sheet of 3D Foam Stars. To give it more support, I removed all the backing and place the star on a piece of white cardstock. Then cut around the star leaving a narrow margin of white cardstock showing along edges.
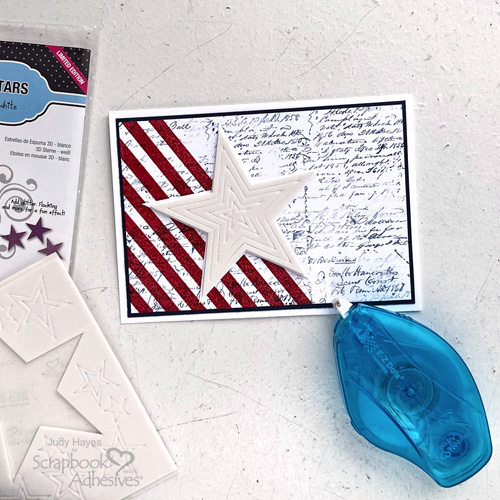
Place the star with E-Z Dots® Permanent Refillable Dispenser partially on the red strips on the card front.
Wear Your Adhesive on the Outside with 3D Foam Stars
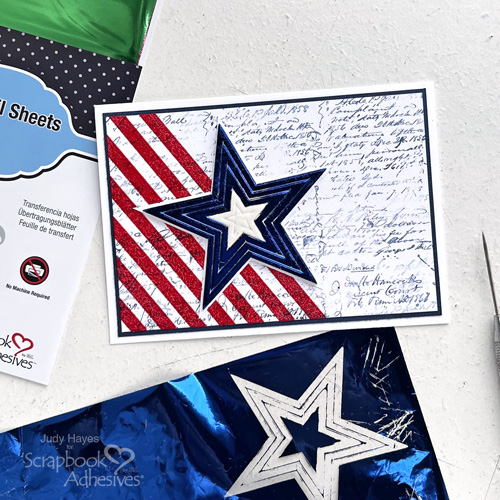
Remove the liners from the three largest (outer) stars, cover with the blue foil from Metallic Transfer Foil Sheets Variety Colors. With the color facing you, rub well and peel away to reveal the color. Reapply foil in missed areas. Repeat the foiling steps with the center star in the same blue foil and then remaining star using the silver foil from Metallic Transfer Foil Sheets Celebrate Colors.
Accenting with Small 3D Foam Stars
Randomly place smaller assorted stars from 3D Foam Stars and place on card around the focal point. Make sure to allow space for the greeting. For open stars, peel up each corner using a needle tool and then carefully remove from backing to prevent distortion of star.
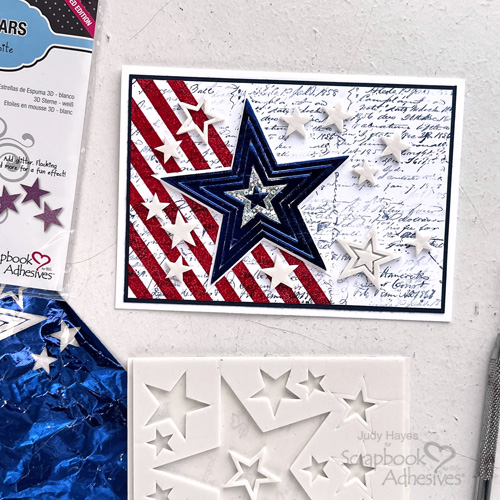
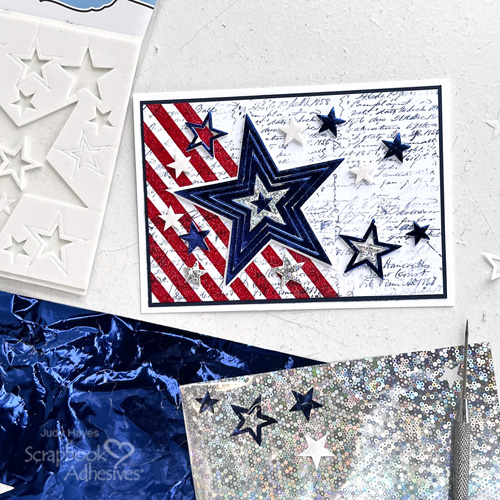
Again, use foiling steps with the blue and silver foils on the small 3D Foam Stars.
The Greeting
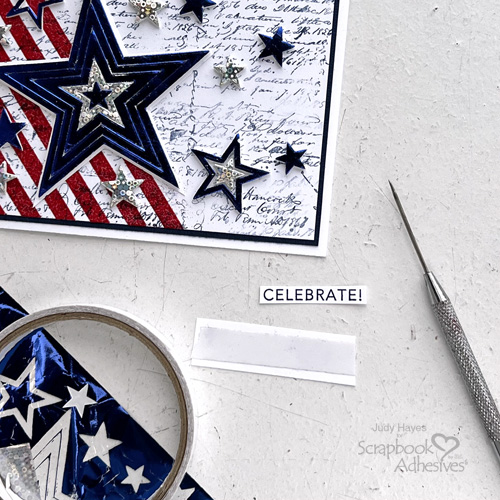
Stamp “Celebrate” with Archival Navy ink on white cardstock and cut to a narrow strip. Place about 2 inch piece of Premium Double-Sided Tape 1/2in. on scrap of white cardstock and rub well to secure. Peel off liner and place greeting centered over strip of Premium Double-Sided Tape 1/2in.
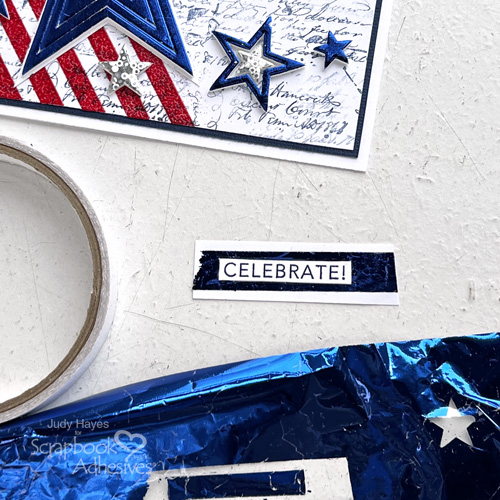
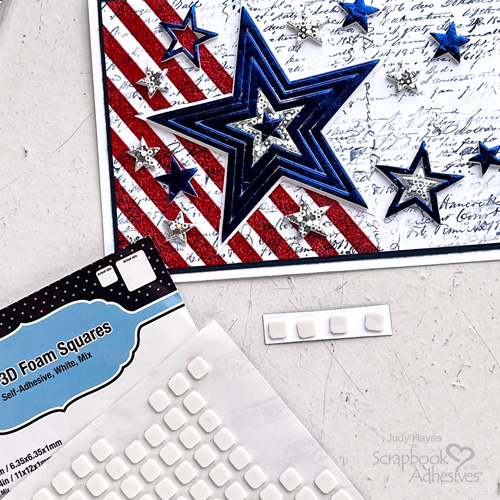
I like how the script shows through the red embossed stripes and all the dimensional stars have color, shine and sparkle to them. Time to Celebrate!
Thanks for visiting!
Judy Hayes
Creative Time: 25 mins
Skill Level: Intermediate
Materials Needed:
Scrapbook Adhesives by 3L®
E-Z Dots® Permanent Refillable Dispenser
Thin 3D Foam Squares White Mix
Metallic Transfer Foil Sheets Variety Colors and Metallic Transfer Foil Sheets Celebrate Colors
HomeHobby™ by 3L
Premium Double-Sided Tape 1/2in. and Premium Double-Sided Tape 1/4in.
Other: Stamp: Stampers Anonymous (Tim Holtz Ledger Script), Taylored Expressions (Building Blocks – Well Done); Ink: Ranger Ink (Archival Night); Embossing Powder: Red Embossing Powder; Navy + White Cardstock
Click Preferred Retailers List
Save to Pinterest!
Visit our Website and Blog!
Sign up for our Newsletter so you never miss a contest or giveaway!





