
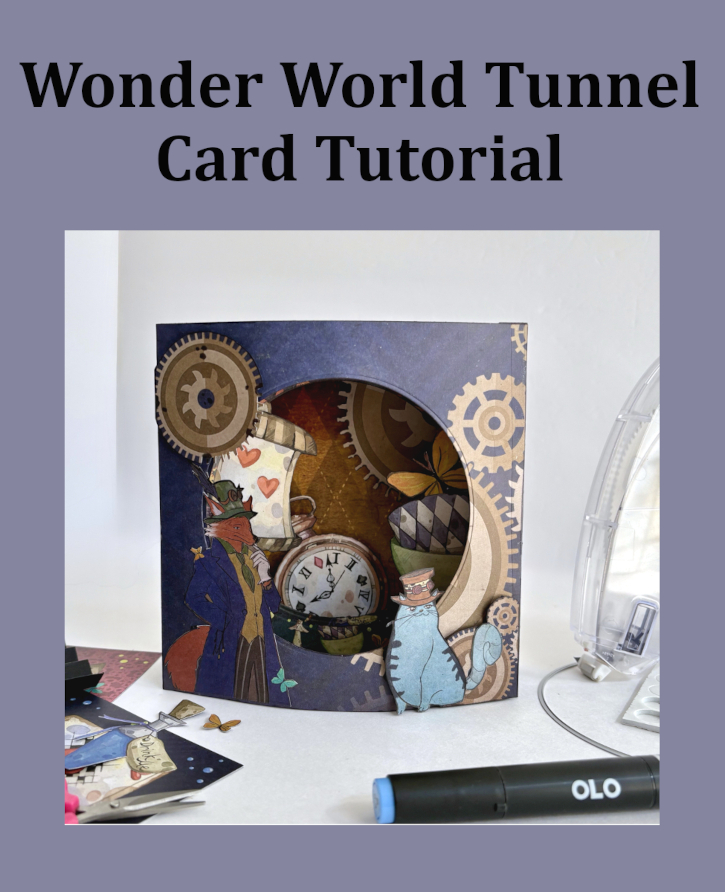
Have you ever wanted to try a tunnel card? For my Wonder World Tunnel Card, all you need is patterned papers, circle die, scissors and of course, adhesives! This was my first attempt in creating one from start to finish 🙂 Hi, Margie here with my process…come join me!
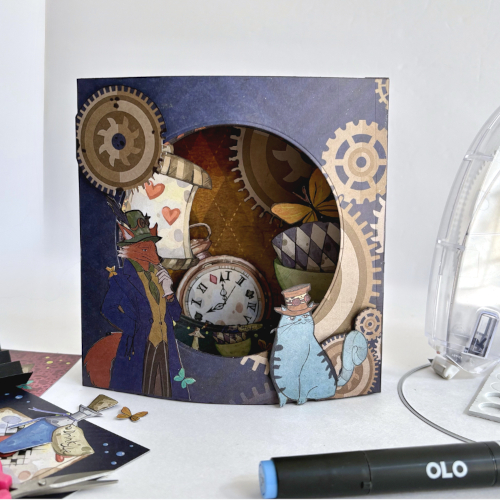
Wonder World Tunnel Card Base
There’s a total of five 6 x 6″ layers, including the back and front of the card. Determine your back layer (think background) and set it aside. It will not be cut. Depending on your patterned paper thickness, layer the other four layers together and die-cut with a 4.25″ circle die. Otherwise, cut them two at a time.
Designer’s Tip: Use temporary tape to secure the layer so they don’t shift when die-cutting. I used the E-Z Runner® Repositionable Dots and rubbed off the dots when finished.
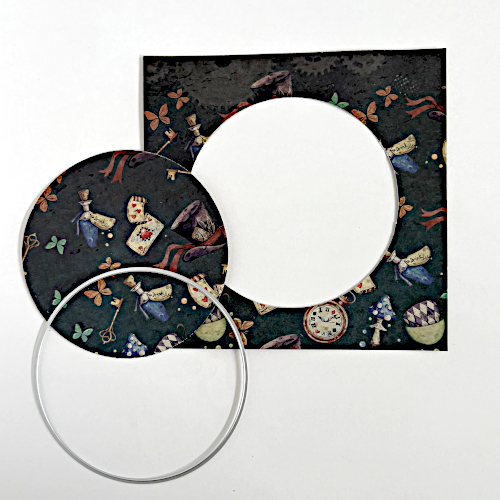
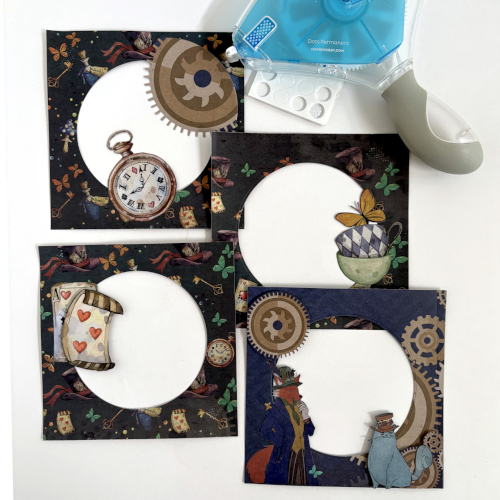
Since I only had the patterned paper collection, I fussy cut some elements from the patterned papers and determined placement before securing them with the E-Z Runner® Grand Permanent Dots Refillable Dispenser. For the front card panel, I used some 3D Foam Circles White Mix to secure the large gear piece to the upper left corner for interest.
Create the Tunnel Card
For the tunnel mechanism, cut two pieces of 4 x 6″ patterned paper and with the short side up (4″ side), score every 1/2″. Next, accordion fold the piece starting with a mountain fold…you should end up with four mountain folds. Repeat for the second piece.
On the 6 x 6″ background piece, attach the accordion piece by apply the E-Z Runner® Grand Ultra Strong Refillable Dispenser on its end on the outer side and attach it on the inside edge of the background piece.
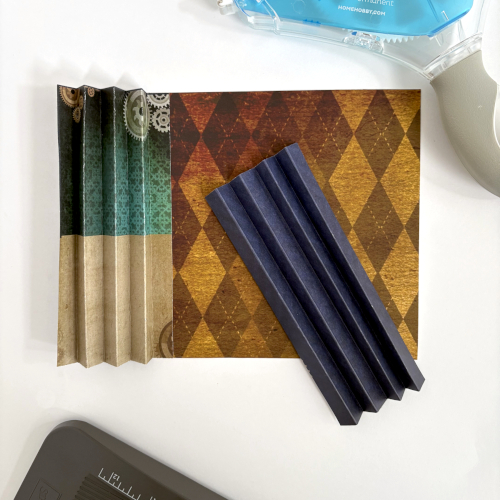
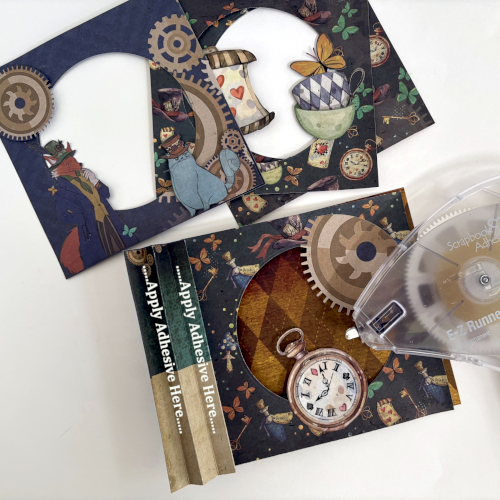
Attach the embellished circle cut layers one by one using the E-Z Runner® Grand Ultra Strong Refillable Dispenser by attaching each with the side of the mountain facing you. Attach the end of the accordion piece on the back of the front panel so it doesn’t show.
Finishing Touches
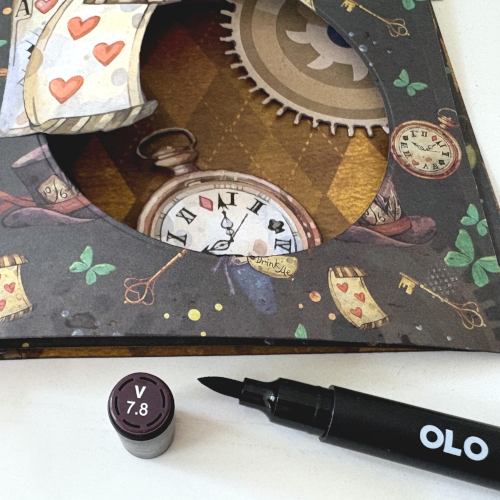
One thing I forgot to do when make the layers and elements…outline with a dark marker or ink. I used a marker. After outlining and some doodling, I repeated my assembling other side of the card with the second accordion piece.
This Wonder World Tunnel Card can be for any occasion, depending on the sentiment. I left it as is so when an occasion needed a card, I would add the appropriate greeting.
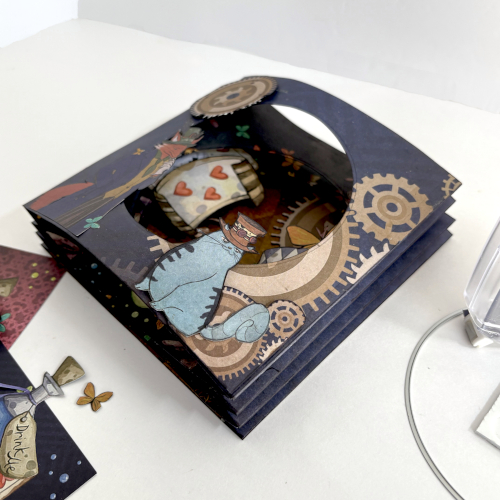
I love how this turned out…can’t wait to make one again 🙂 What do you think? Would make one too?
Thanks for visiting!
Margie Higuchi
Creative Time: 40 mins
Skill Level: Intermediate
Materials Needed:
Scrapbook Adhesives by 3L®
E-Z Runner® Grand Permanent Dots Refillable Dispenser and E-Z Runner® Grand Ultra Strong Refillable Dispenser
E-Z Runner® Repositionable Dots
Other: Patterned Papers: KNC Essentials (Wonder World Collection); Alcohol Marker: OLO Markers (V 7.8 Inkberry); Craft Dies: Hero Arts (Circles Infinity Die Set); Scissors; Paper Trimmer
Click Preferred Retailers List
Save to Pinterest!
Visit our Website and Blog!
Sign up for our Newsletter so you never miss a contest or giveaway!





