
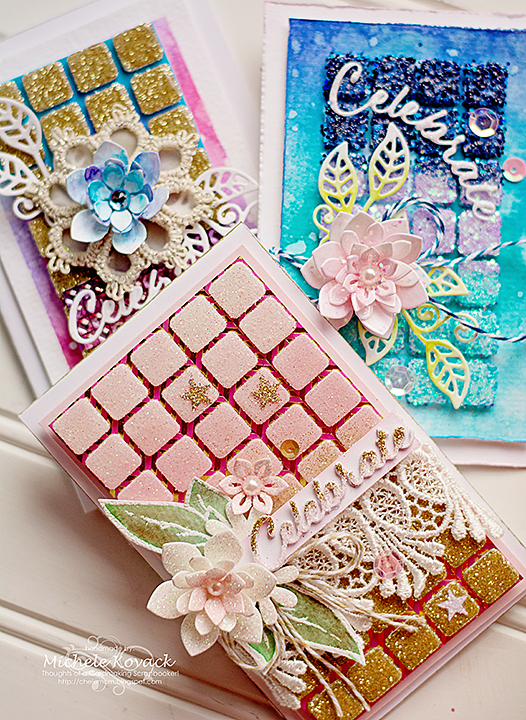
Hello, it’s Michele with three cards using adhesives for something other than adhesive! (Gasp!) Let me show you how to create a stunning dimensional background with 3D Foam Squares and glitter.
As you already know this gal loves lumpy, bumpy cards with a lot of texture. Using the 3D Foam Squares as a background is a fun easy way to achieve that!
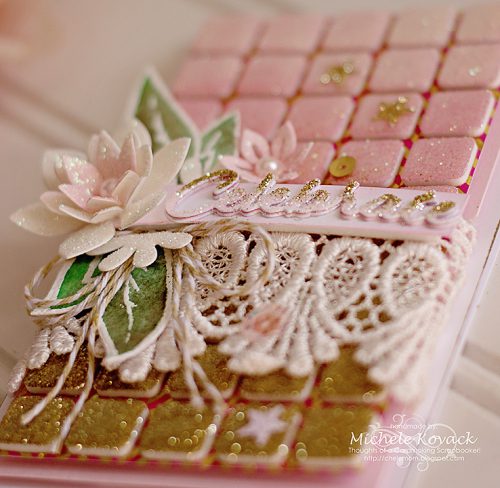
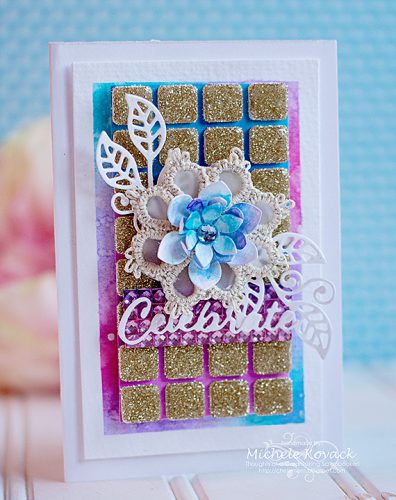
Pink and Gold Background Celebrate Card:
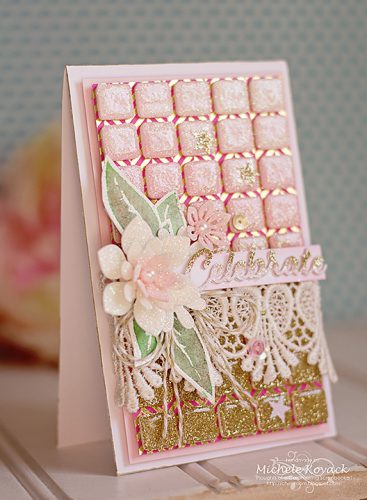
Pink and gold glitter on the 3D Foam Squares White Regular makes a pretty background. Just embellish with a die cut flower, sentiment, lace, sequins, and stars; adhere them with Adhesive Dots Small, Adhesive Dots Mini, and Adhesive Dots Medium.
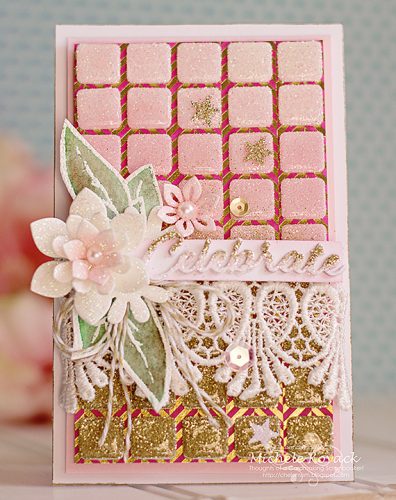
See how I also tucked a twine bow under my flower.
Watercolor Background Celebrate Card
I love this technique so much I made two more cards! This one uses gold glitter and a water colored background. Again, I adhered my flowers, leaves, and sentiment using Adhesive Dots Small, Adhesive Dots Mini, and Adhesive Dots Medium.
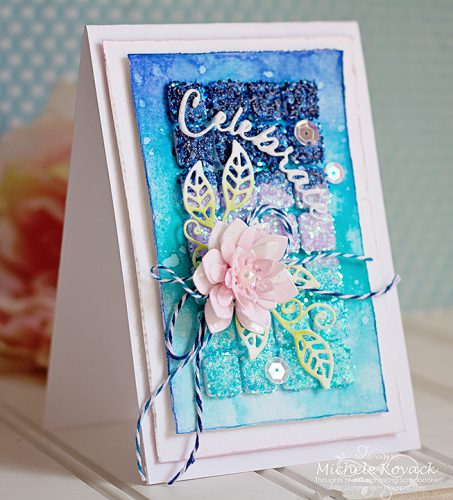
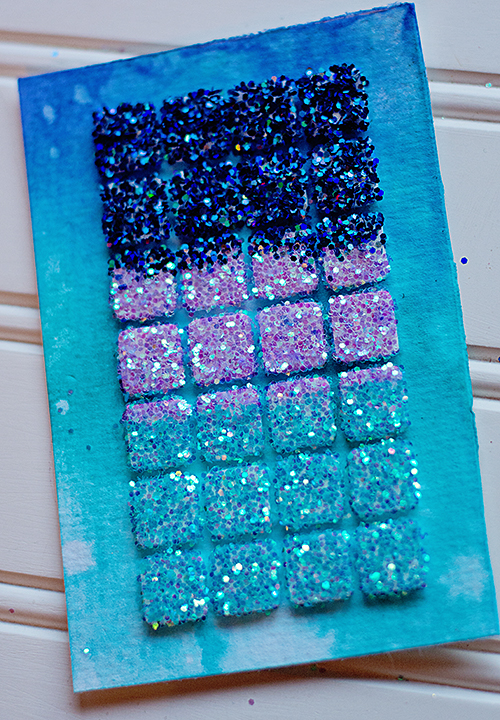
Blue Ombre Background Card
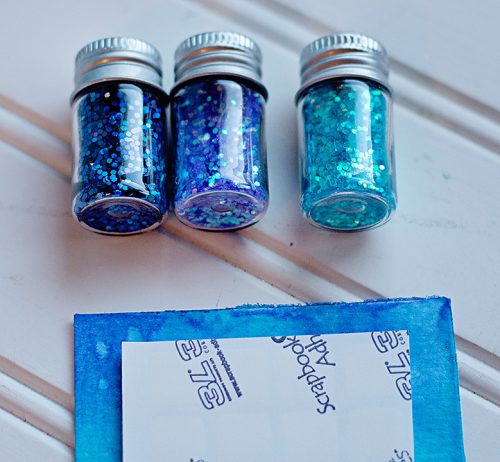
For the Blue Ombre card, I used a chunkier glitter in 3 different colors. Embellishments are adhered using the Adhesive Dots Small, Adhesive Dots Mini, and Adhesive Dots Medium. The navy twine is a great accent.
Tutorial for 3D Foam Square Adhesive Background
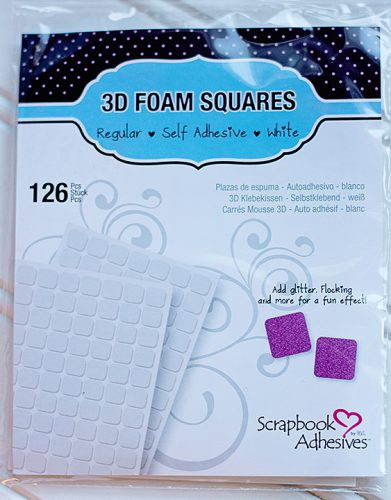
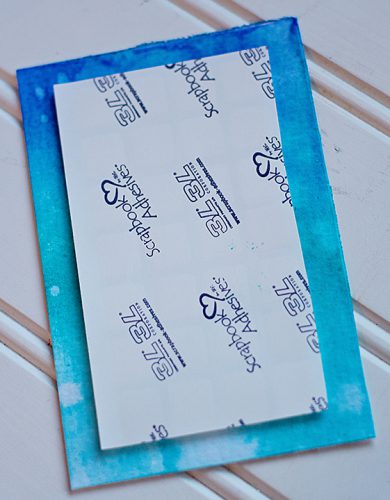
Here is what I did to create my backgrounds for each card. First, start with a package of 3D Foam Squares White Regular.
I left the 3D Foam Squares White Regular on the original backing sheet and cut it to the size of the background panel. Carefully peel off the tops of each 3D Foam Square. Position the exposed adhesive over the background patterned or water colored paper card panel.
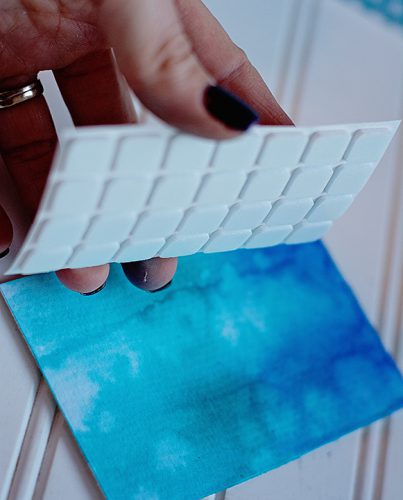
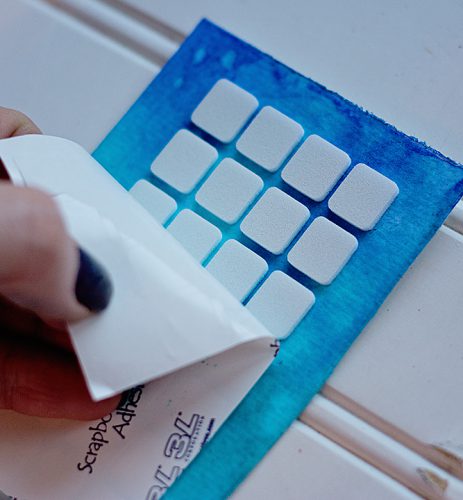
Once placed over the panel, press down to ensure that each square has adhered well.
Then peel off the top layer to reveal the second sticky side of the 3D Foam Squares.
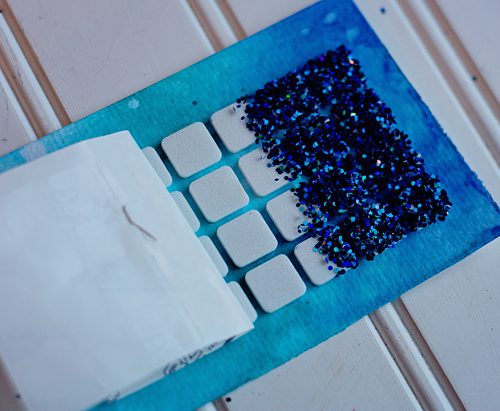
Next, pick your glitter or embossing powder to sprinkle over the top of each 3D Foam Squares White Regular.
Here is a quick recap of the three cards I created!
Thank you so much for stopping by!
Creative Time: 60 minutes
Skill Level: Intermediate
Material Needed
Scrapbook Adhesives by 3L®
Adhesive Dots Small
3D Foam Squares White Regular
Adhesive Dots Mini
Adhesive Dots Medium.
Other
Cardstock; Glitter; Die Cuts; Watercolors; Lace; Pearls; Sequins; Twine
Pin It!

By TracyM #6773 May 25, 2016 - 2:28 am
WOW
FABULOUS cards!!!
THANK YOU for sharing, I’m SO INSPIRED, can’t wait to get SPARKLY 🙂
By Deborah S May 26, 2016 - 1:57 am
Gorgeous cards awsome techniques. Very clever, well done tfs!
By lisascreativeniche June 1, 2016 - 7:35 am
wow! I am in love with these cards! Thanks for the ideas!!!
By Greta H June 14, 2016 - 3:55 pm
Oh how I love these cards! I always mean to use my adhesive this way & somehow never get around to it. Thank you for the wonderful inspiration! The pink & gold card is my favorite–so feminine & gorgeous!