
Needing extra birthday cards for your stash? Who could resist a cute birthday card? Not me! LOL!
Hello everyone, Yvonne here showing you how to make this super cute panda one that will bring a big smile to the recipient 🙂 All it takes is some paint, die-cuts and, of course, lots of our great adhesives!
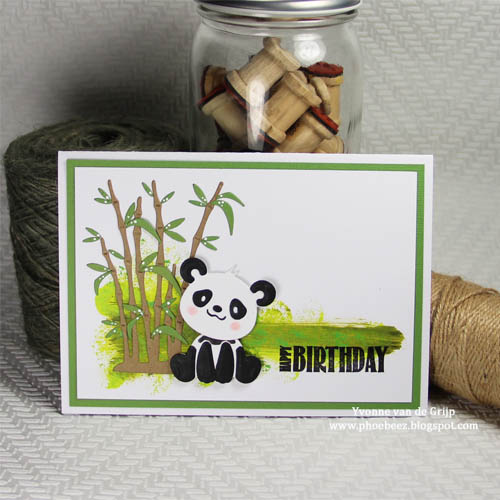
Creating Birthday Fun!
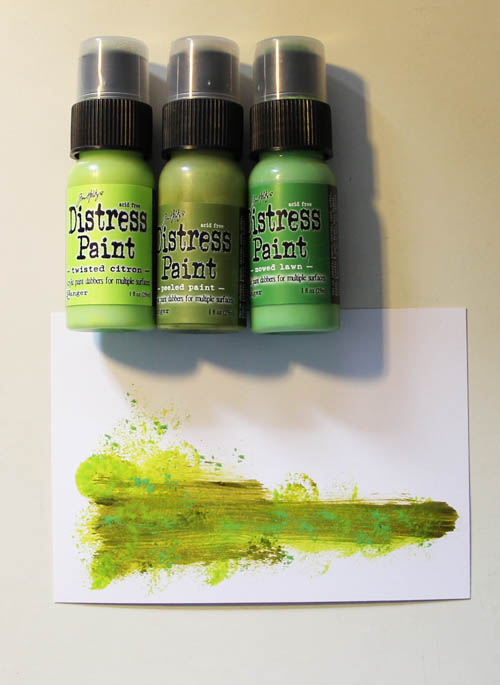
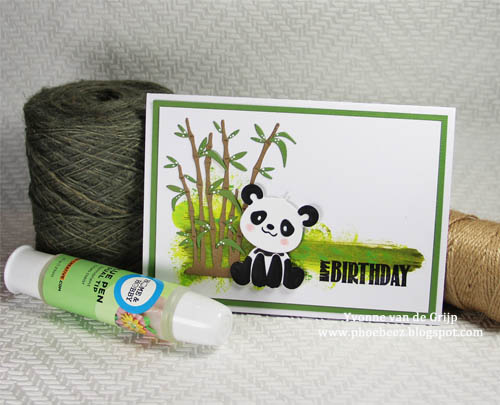
First cut a rectangle piece of white cardstock as the card panel, and make a background with different tones of green paints. When the paints dry, stamp the sentiment on top.
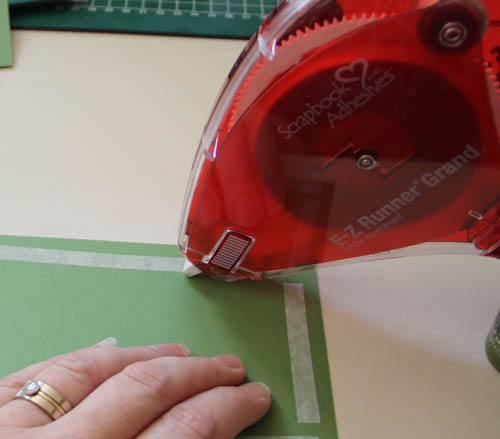
Mat this background on green cardstock panel and then onto a white card base using the E-Z Runner® Grand Refillable Dispenser.
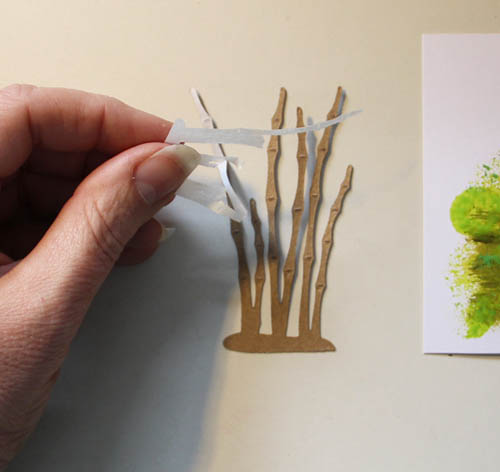
For the bamboo, lift the yellow release liner from a sheet of Adhesive Sheets 4×6″ and lay a piece of kraft and green cardstock on top.
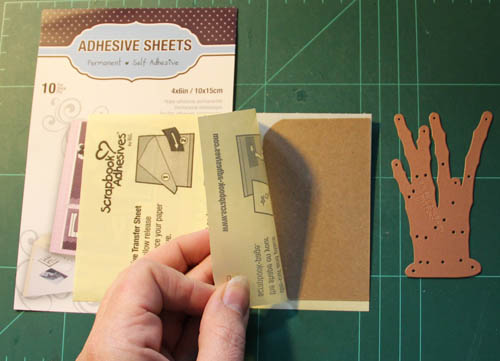
Trim the Adhesive Sheets 4×6″ to the size of the cardstock you are going to die-cut from. Next, die-cut the bamboo and leaves.
Remove the release liner and place the bamboo pieces upon the card. Tip: use some tweezers to position the tiny leaves.
Die-cut the panda from white and black cardstock and glue the black die-cut parts upon the white parts using the Dual Tip Glue Pen.
Adhere the panda to the card base using 3D Foam Squares so that the panda comes to life 😉

Finish the card by painting some white dots on the bamboo leaves and panda eyes.
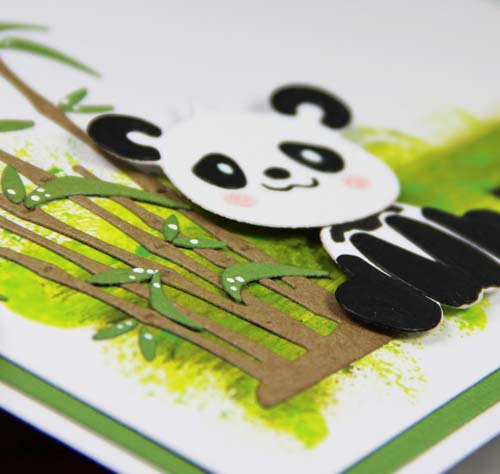
Give the panda’s cheeks some color with a pink pencil.
Scrapbook Adhesives by 3L® products used:
E-Z Runner® Grand Refillable Dispenser (150″)
Adhesive Sheets 4×6″
3D Foam Squares White Regular Size
HomeHobby by 3L®:
Dual Tip Glue Pen
Other:
Spellbinders Paper Arts® die-templates (Build a Panda, Bamboo Party), Ranger Distress Paint Dabbers, Cardstock (white, green, kraft, black), Lili of the Valley sentiment stamp (Block Sentiments), White ink, Drawing pencil (pink), Pen (black), Paper trimmer
Wishing you happy crafting!
Hugs from Holland,
Yvonne
By Ava Gavloski January 23, 2018 - 12:14 pm
This is the cutest card I have seen in ages. Well designed and well adhered together with #L
Bravo!!
By Terri Burson January 23, 2018 - 2:54 pm
This is so cute! Love how easy you made that inky background look. Awesome tips too.