
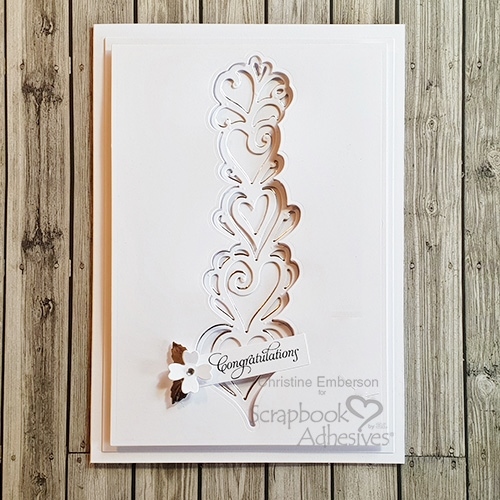
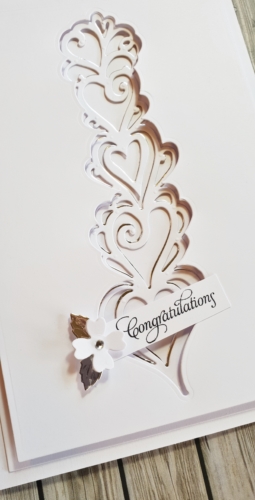
Hi everyone, Christine here today with a clean and simple white elegant card. See that delicate die cut inside the aperture? No problem affixing it into place when using Adhesive Sheet 4 x 6″. It’s so easy!
Delicate Card Making Details
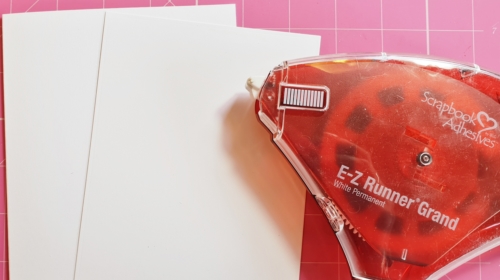
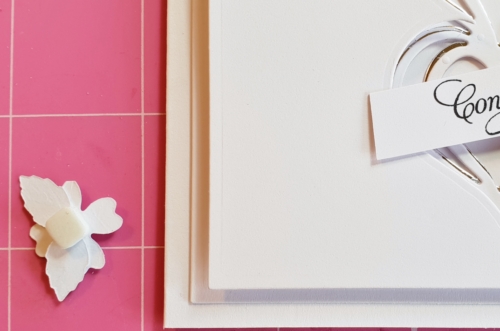
My card base has a white card mat affixed in place with the E-Z Runner Grand® Refillable Dispenser.
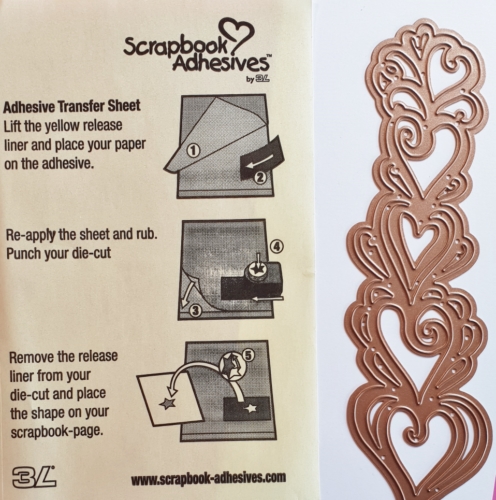
To adhere those delicate die cuts we all love but find tricky, use Adhesive Sheets. They come in a variety of sizes (12″ x 12″, 6″ x 12″ and 4″ x 6″) perfect for all projects.
Take off the top liner sheet of a 4″ x 6″Adhesive Sheet and apply cardstock on to it. Die-cut through your machine with your etched die. When you remove the sheet your die cut has a perfect edge-to-edge layer of adhesive.
Here’s a short video on How to Use Adhesive Sheets for Die Cutting:
I’ve used the die to die cut from silver foil card and again using an Adhesive Sheet attached this to the reverse, slightly offset to create a drop shadow. The Adhesive Sheet makes it so clean and speedy, no messy liquid glue involved!
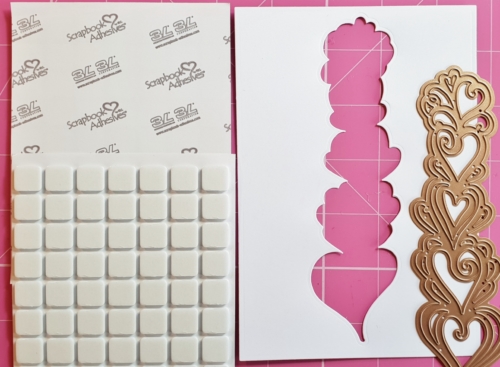
The next step was to use the die to cut an aperture into a further white card mat. Once cut attach 3D Foam Squares White Regular to the reverse. Affix this onto card base and mat.
With the addition of a small sentiment and a small leaf and flower secured with 3D Foam Square White Small my card is finished. Perfect for a wedding or anniversary.
Thanks for stopping by today. Make your next die cutting project with Adhesive Sheets, you’ll wish you tried them ages ago! 
Scrapbook Adhesives by 3L® Products used:
3D Foam Squares White Regular
3D Foam Squares White Small
Adhesive Sheets 6×4″
E-Z Runner Grand® Refillable Dispenser
Others:
Dies: Spellbinders Paper Arts (Hearts and Butterflies Border, 5 x 7 Matting Basics, Homespun)
White Card; Silver Foil Card; Stamped Sentiment;
By Deborah Stelton June 9, 2018 - 12:43 am
This cards is not only CAS it is stunning tfs!