
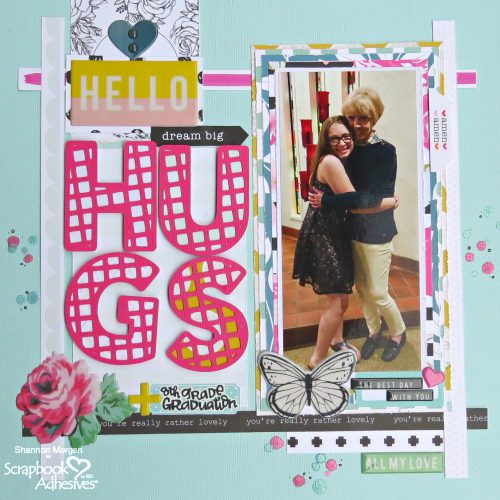
Good morning, Shannon here, sharing a layout using Adhesive Lines today! There were a lot of milestones to document this year for our family – Mack’s graduation and official entry into high school were one of them.
Pictures of family are my favorite to document. Mack and Ba (my mom) certainly made this picture special. Highlighting the photo became the focus of my layout. Specifically choosing and using bright colors and simple layers is a great way to highlight the photo. You too can create a similar layout if you apply some of the tips I am sharing today.
Framing the Layout
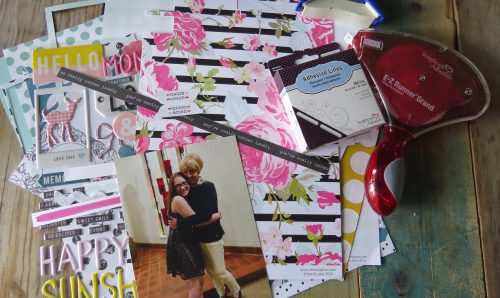
You’ll need to gather some basic scrapping supplies, like papers, embellishments and of course adhesives. I started out, weeding through my stash and picking things that I had hoarded. Don’t wait for that perfect layout, card or project, use your supplies!
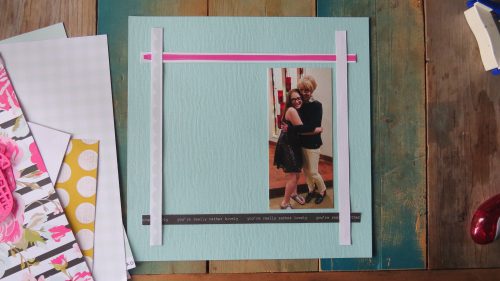
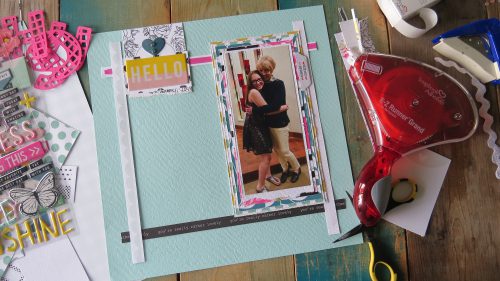
First of all, let’s get started using those Adhesive Lines. Have you ever wondered what to do with those paper strips at the bottom of your 12X12 sheets of paper? They make great “frames”, as in, framing out a layout. Even better? I adhere the strips a little off center, ensuring that it’s ok to be “perfectly imperfect”.
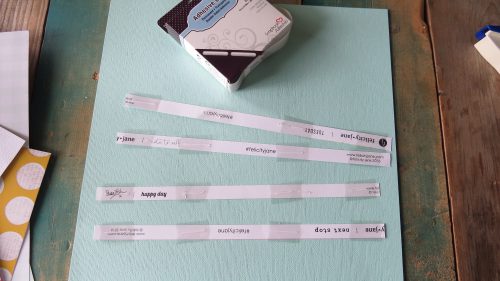
The Adhesive Lines are a perfect tool to get this framing done. In addition to being a great detail that packs a lot of punch, this “framing” truly helps you line up your photo as well. Tip: If you’d like your framing strips to match, simply cut strips of a patterned paper or cardstock of your choice.
 Layering Your Photo
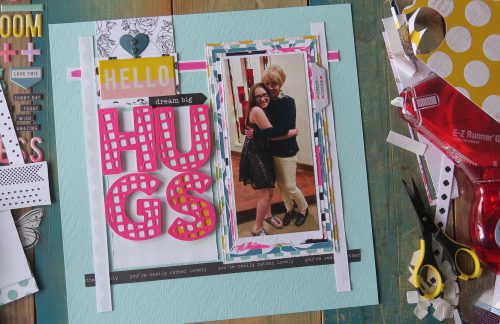
The photo needed to be the stand out in this layout, complimenting the title. Simple layering is/was the key to this. You’ll notice in the photo, I used complimentary patterns in different colors, primarily creating visual interest and dimension. The photo is oddly sized, for the reason that it was taken on a phone and not with a camera. There are a total of five layers backing the photo, ideally, this is personal preference, you can simply use my example as a guide or inspiration.
Using the E-Z Runner® Grand Refillable Dispenser, of course makes layering a snap. If you are happy with your layers, adhere the photo to the layout. Additionally, you can begin to work on the rest of your details. There was space deliberately left to the side of the photo for a large title.
Adding Details
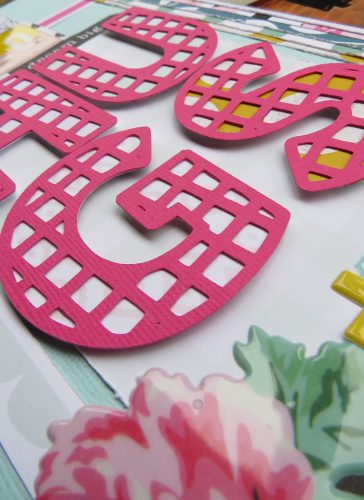
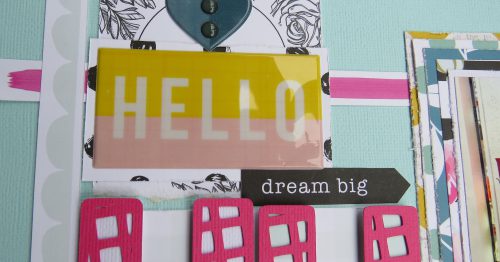
In order to keep it simple, yet detailed, the title is big. Coupled with bright colors and 3D Foam Squares, this title draws your eye to the photo. Once you have the title adhered, begin adding additional touches. Details matter, add as many or as little as you’d prefer, your projects are uniquely you.
Close Ups
3D Foam Squares in detail, certainly add the right pop needed for the layout. At this angle, you can also see the layers I shared with you before.
Now that I’ve shared all these tips and photos with you, create something beautiful!
Creative Time: more than an hour
Skill Level: Intermediate
Materials Needed:
Scrapbook Adhesives by 3L®:
E-Z Runner® Grand Refillable Dispenser
3D Foam Squares White Mix
Adhesive Lines
Other Materials Needed: patterned paper, cardstock, stickers, cutting files, journaling pens, foam stickers, spray mist, pens