
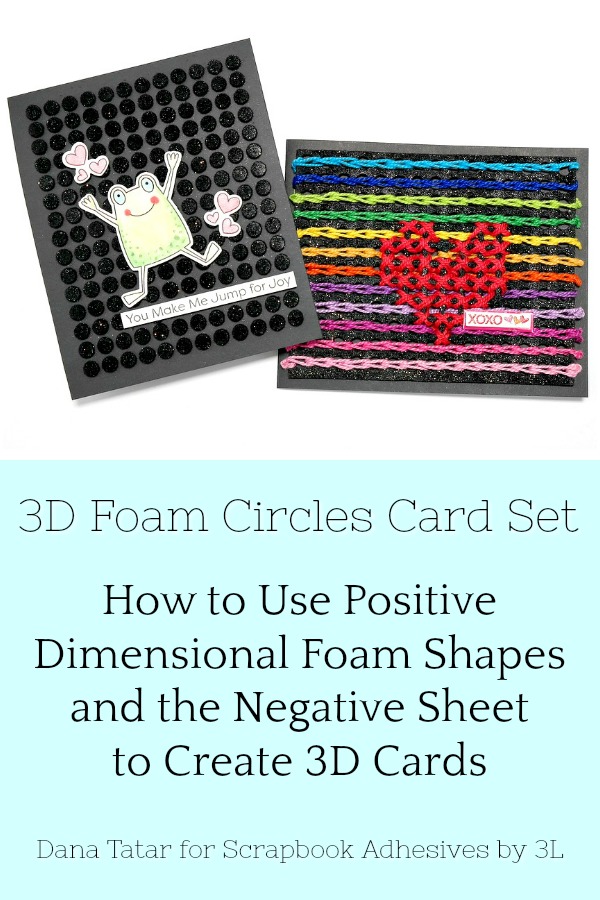
Hi friends! Dana Tatar here today sharing how I created a dimensional card set using Black 3D Foam Circles. I used the entire sheet of adhesive. One card features all of the 3D Foam Circles. The other card highlights a fun stitching technique that uses the 3D Foam negative sheet.
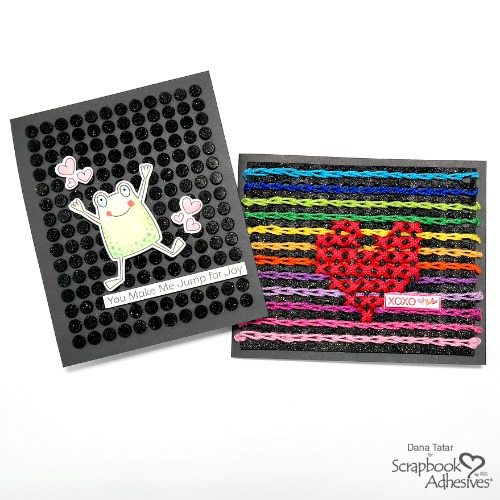
I’m pleased with the high contrast that layering color onto a black base produces. I covered the foam adhesive with a black glittered flock that adds a subtle sparkle and a softness that is fun to touch.
How to Create a Dimensional Card with Black 3D Foam Circles
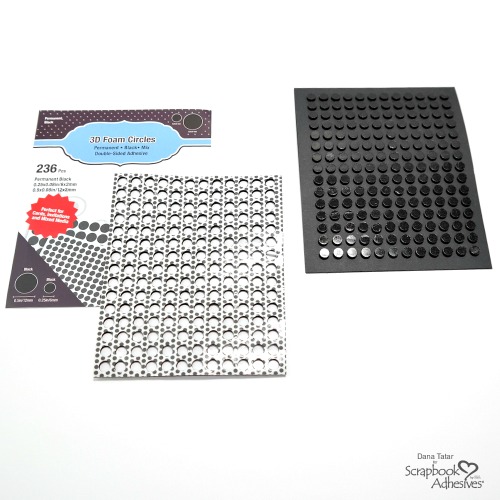
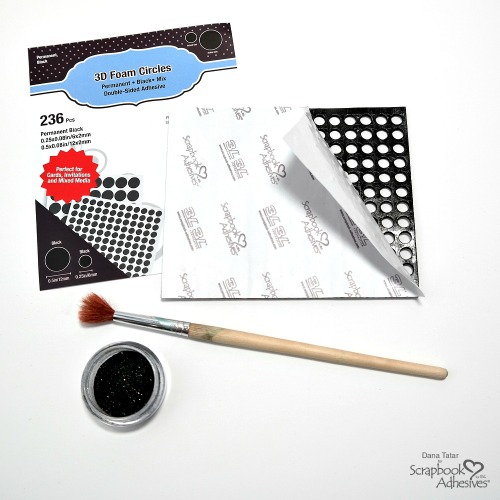
Step 1. Peel the liner from all of the circles on a sheet of Small Black 3D Foam Circles. Press the sheet of adhesive onto the front of a black card base that is about 1/4-inch larger than the adhesive sheet. Apply firm pressure to transfer the foam circles to the card. Carefully peel the adhesive sheet (negative) away from the card front.
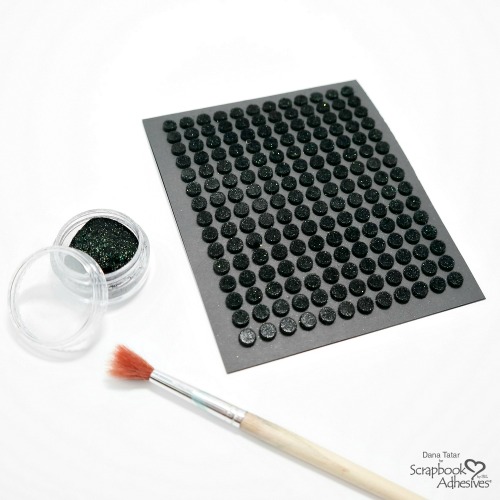
Step 2. Cover the black circles with black glittered flock. Use a soft brush to help spread and stick the flock to the adhesive.
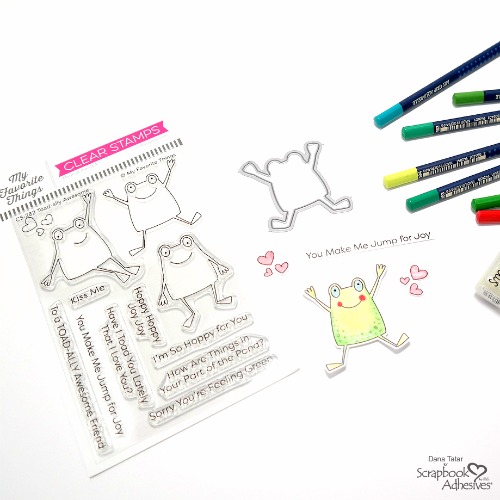
Step 3. Stamp and die-cut a toad, some clusters of hearts, and a sentiment for the front of the card. Color the stamped images. Optional: Highlight the die-cuts with dimensional glaze and glitter.
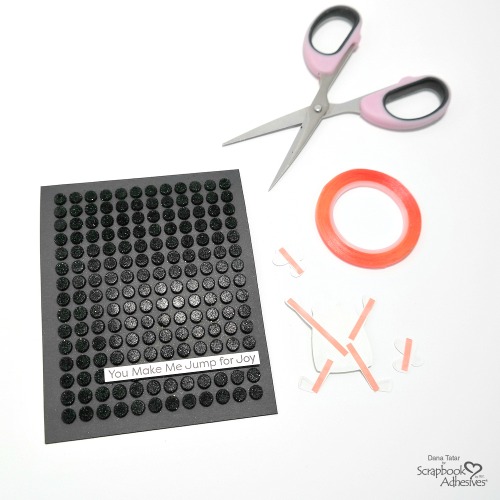
Step 4. Attach the colored die-cuts and the sentiment to the front of the card using HomeHobby™ 1/8-inch Extreme Double-Sided Tape.
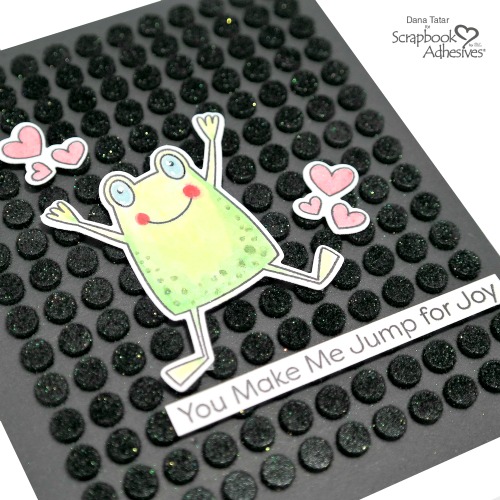
This toad makes me happy! I used the Toad-ally Awesome Clear Stamp Set (CS-282) and the Toad-ally Awesome Die-Namics Die Set (MFT-1303) from My Favorite Things for this card.
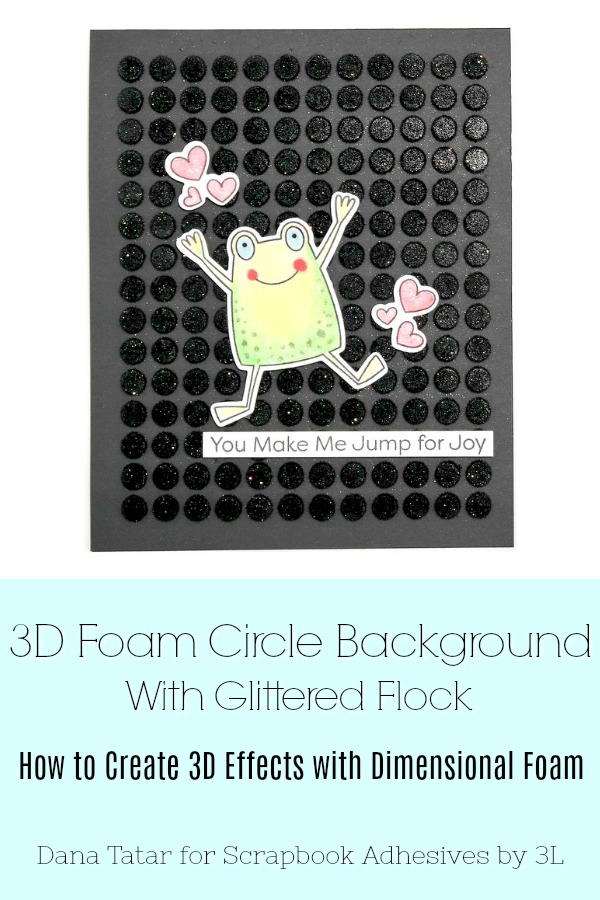
Pin It!
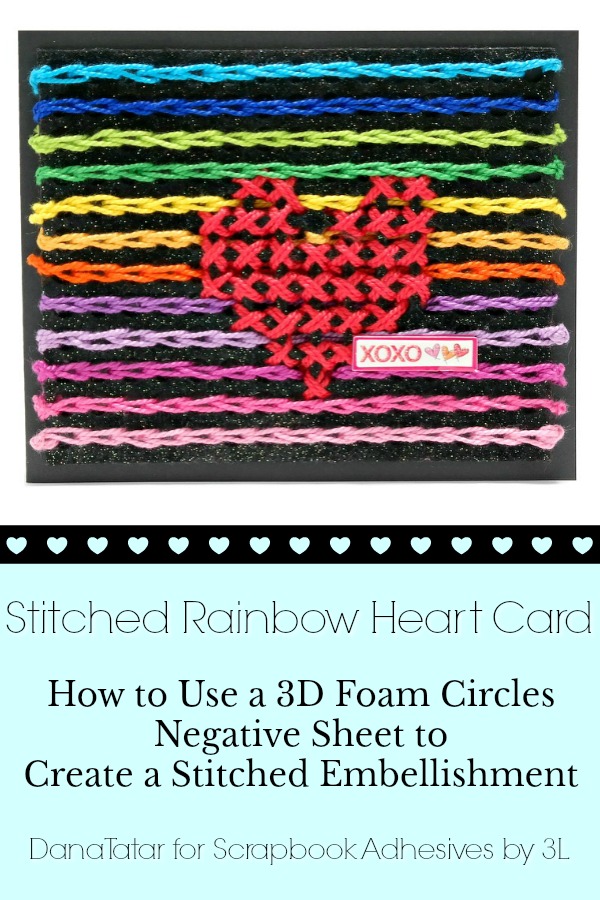
How to Create a Stitched Card with a 3D Foam Circles Negative Sheet
Step 1. Peel the liner from the back of a sheet of Black 3D Foam Circles. Cover the adhesive on the negative sheet with black glittered flock. Use a soft brush to help spread and stick the flock to the adhesive.
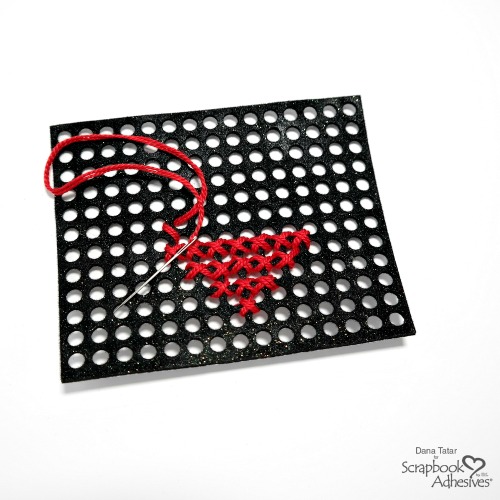
Step 2. Cross-stitch a heart onto the center of the negative sheet using a needle and red floss.
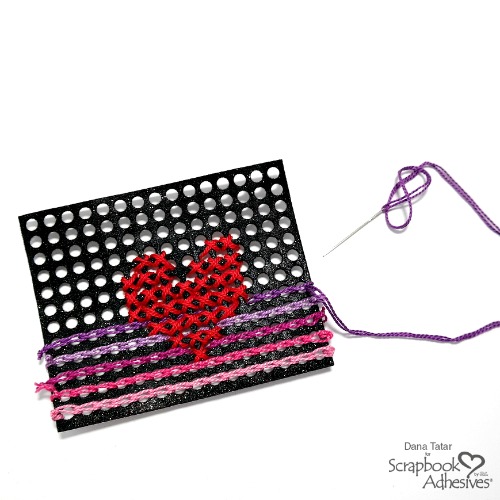
Step 3. Add rows of color to the remaining portion of the negative sheet using colorful floss and a chain stitch.
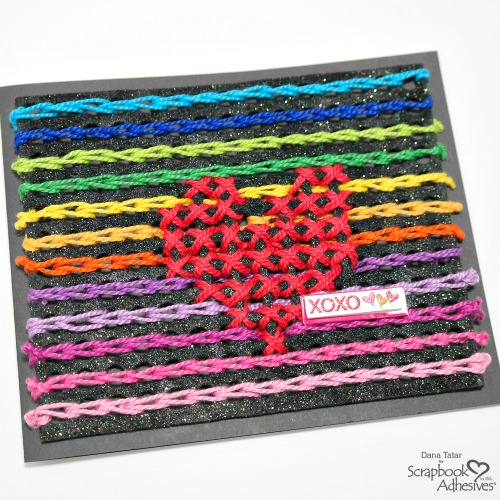
Step 4. Peel the remaining liner from the back of the negative sheet. Press the stitched embellishment onto the front of a black card base. Use HomeHobby™ 1/8-inch Extreme Double-Sided Tape to attach a cardstock sentiment to the front of the card.

I had a lot of fun stitching this piece! I will definitely try this technique again in a different pattern, maybe on a white negative. I’d like to try stitching with ribbon on a Regular size negative sheet.
Pin It!
Thanks for stopping by today! I’d love to see your take on this technique. I hope I have inspired you to Wear Your Adhesive on the Outside!
~Dana
Scrapbook Adhesives by 3L® Supplies:
3D Foam Circles Black Mix (Small Size)
HomeHobby™ Extreme Double-Sided Tape 1/8in
Other Supplies: Black Cardstock; White Cardstock; Toad-ally Awesome Clear Stamp Set (My Favorite Things); Toad-ally Awesome Die-Namics Die Set (My Favorite Things); Black Archival Ink; Black Glittered Flock; Liquid Glass (DecoArt); Frost Smooch Glitz (Clearsnap); Aquarelle Pencils (Faber-Castell Design Memory Craft); Floss
Pin It!
By Beverly Jordan August 4, 2018 - 9:37 am
Such smart and creative cards!! Aren’t you so clever!!
By Lucy E. August 4, 2018 - 9:48 am
These are such creative cards!
The Stitched card must have
taken a while to complete.
I love both of them!
By Dana Tatar August 4, 2018 - 10:04 am
Thank you so much Beverly and Lucy!
Lucy, the stitching did take some time, but it went by quickly once I go my rhythm down. Each row of color was so fun to see.