
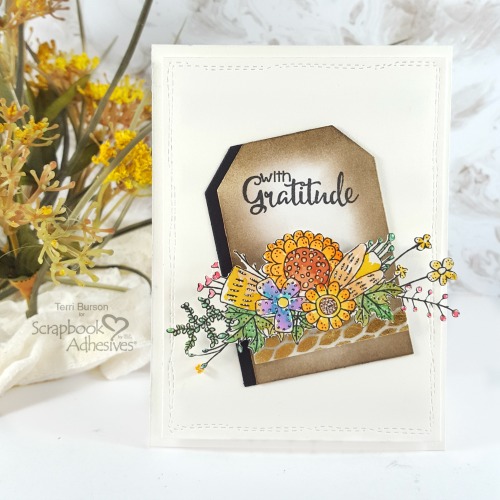
Hello friends, Terri here, and today I’m going to show you how to create a gorgeous, foil patterned accent for use in your card making and other paper crafts. This is so easy and I promise, you will love it!
Put Your 3D Foam Creative Sheets To Work
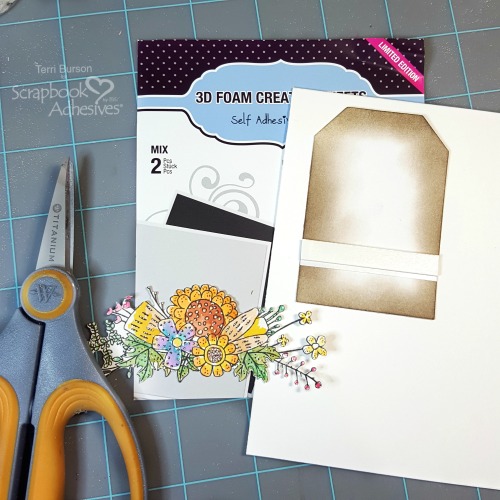
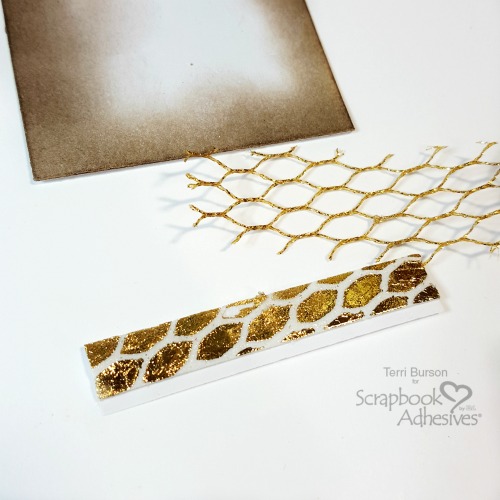
For my card today, I gathered up some items I had in my stash; the pretty colored stamped die cut and the tag die cut which had already been edged with ink. I wanted a dimensional element for my tag, so I grabbed my 3D Foam Creative Sheets and cut a strip sized 1/2 x 2 inches. I’m always looking for interesting ways to use this product. They’re so versatile!
Choosing A Pattern For Foiling
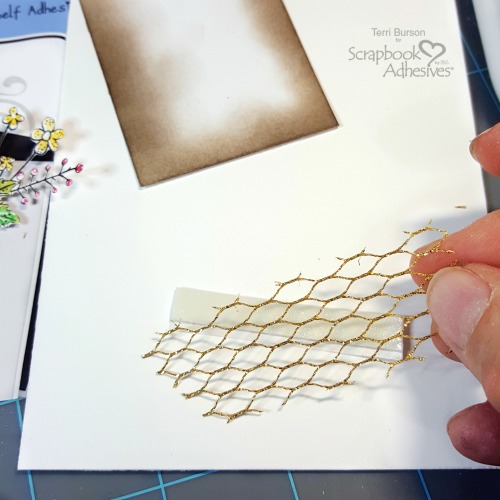
I had some wire mesh that I thought would be fun to test out. It’s very similar to chicken wire, so that would work as well. You could try a stencil but the thickness might be an issue. If you have an electric die cut machine, you could make your own stencil in whatever design you choose with a thin, non-stick paper such as parchment paper.
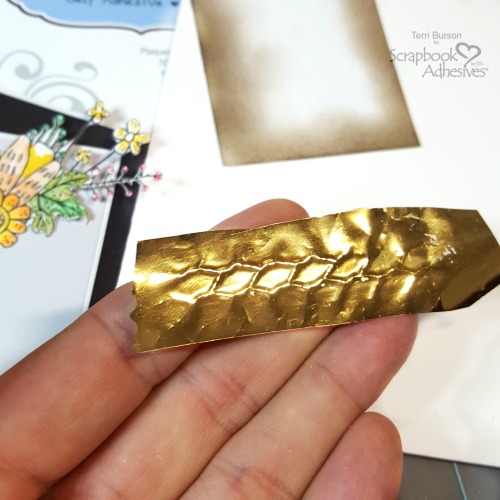
I realized when I went to grab my foil, I had to turn to the 3D Foam Creative Embellishment Kit. Duh! I could have just used the foam sheet in that kit! Apparently, my brain wasn’t up to speed. You can see below, that I rubbed in the foil really well. Make sure you place your foil shiny side up. Next, peel off the foil, and ooh and aah over the pretty gold accent that you’ve just created! This is how you “Wear Your Adhesive On The Outside”!
Bonus Tip For Patterned Foiling
Here’s a tip. Rub a little baby powder across the remainder of your foam sheet that was exposed by the pattern and left unfoiled. This will remove any stickiness and not harm your foiling in any way.
Adding More Dimension To Your Card
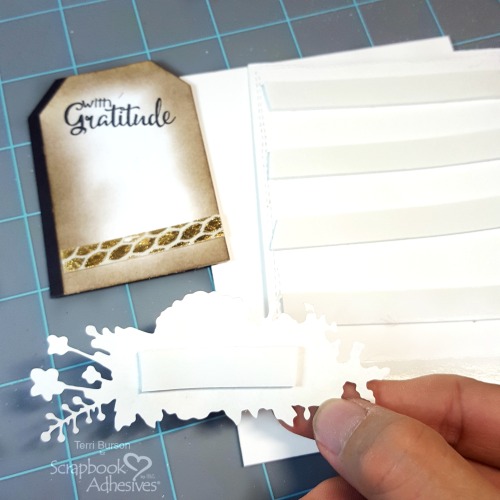
To finish off my card, which also includes a faux stitched panel and coordinating black tag die cut, I turn to my Crafty Foam Tape White to pop up my tag and panel. I love adding that extra level of dimension that is so pleasing to the eye.
My E-Z Runner® Grand Refillable Dispenser and E-Z Runner® Grand Ultra Strong Refill seal my two pieces of coordinating die cut papers together. With my foiled accent, popped up colored die cut and panel, I want a flat surface between those two tags. Too much popped up dimension can look bulky. As you can see, I also stamped a sweet little sentiment on my tag. Perfect!
I would love to see what kind of patterned foil accents you come up with. Be sure and share with us on the Scrapbook Adhesives by 3L Facebook page!

If you would like product links to the other items I used on my card, visit my blog at Waving My Wand. Thanks so much for popping in today! Terri
- Creative Time: 30 Minutes
Creative Skill: Beginner
Materials Needed:
Scrapbook Adhesives by 3L®:
3D Foam Creative Sheets
3D Foam Creative Embellishment Kit
Crafty Foam Tape White
E-Z Runner® Grand Refillable Dispenser
E-Z Runner® Grand Ultra Strong Refill
Other:
Neenah Solar White 80 lb cardstock, Kuretake Zig Real Clean Color Brush Markers, Spellbinders Platinum 6 Die Cut Machine, Brother Crafts USA Scan N Cut, Pink & Main Fall Bouquets stamps, Misti stamp positioner, Clearsnap Colorbox Wicked Black ink, Westcott Scissors, We R Memory Keepers Trim and Score Board, Stamplorations Crazy Running Stitched Nesting Dies.

Pin it!
By Helen Gullett September 26, 2018 - 1:47 pm
Such a beautiful card. Love the gold foil accent.
By Terri Burson September 26, 2018 - 2:18 pm
Thank you so much, Helen. 🙂