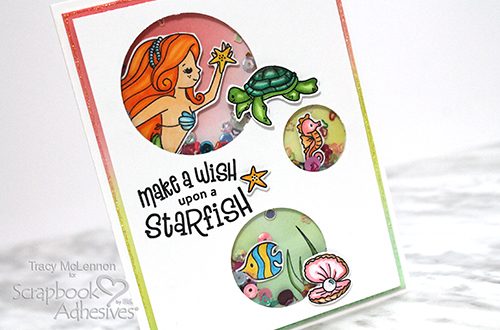
Hello card making friends! Tracy here, and today I have a fun and sparkly Mermaid shaker card to share. Everyone has a person in their life that would love to be a mermaid.
Make the Mermaid Sparkle!
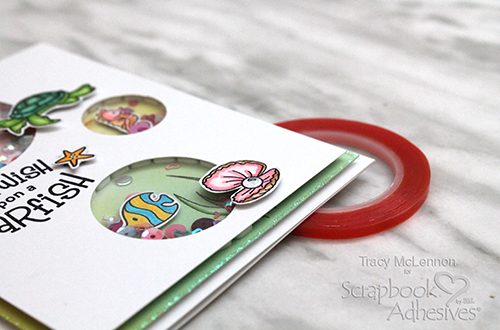
Once the white card front is created using white cardstock and circle punches, I adhered a piece of acetate in behind with Extreme Double-Sided Tape 1/8in.
Next, I created a blended background using ink and blending tools on white cardstock. Use the holes in the top as a guide where you would like the colours to fall. Now I can stamp my images in black ink so that I am able to colour using markers and a water brush.
Making the Mermaid Float
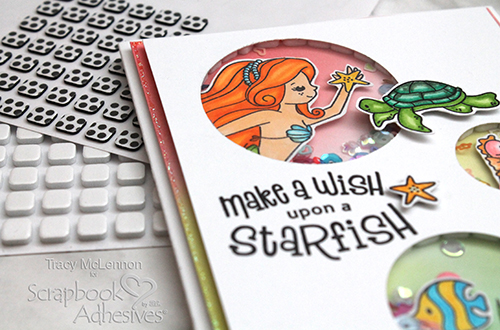
Use 3D Foam Squares White Mix to surround the holes and pop up the other negative space too. In the case of my mermaid image, I wanted to create space between her and the acetate. I used Thin 3D Foam Squares Black Mix above and below the mermaid image.
Note: In my craft space, I have all of my 3D Foam Squares close at hand. I will often have my Thin 3D Foam in black, and my regular 3D Foam in white. That way in the heat of the crafting moment I know what I’m grabbing easily.
The stamped and coloured images on the top of the card are added using Thin 3D Foam Squares Black Mix.
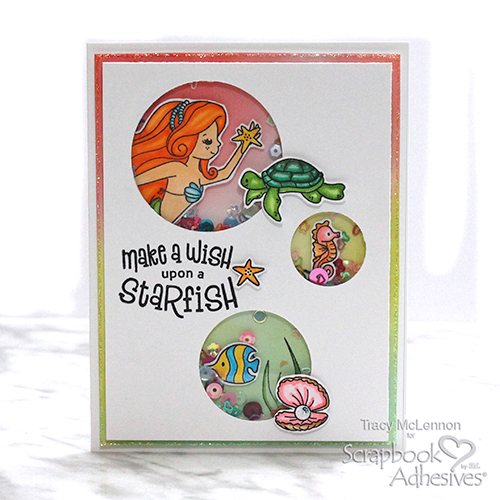
Once that tricky part of adding the blended background to the sequins filled shaker piece is complete. Then I added it to the white cardstock card base using Crafty Foam Tape White to assemble.
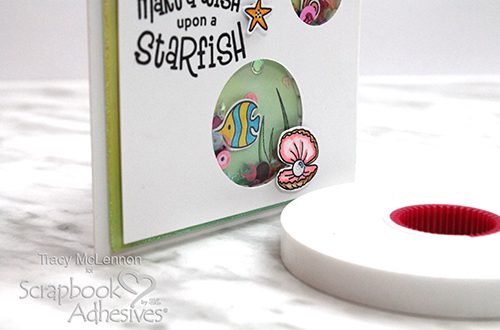
As a result, the next step will be is to add glitter glue for some sparkle. I added it around the edge of the inked layer, as well as to some of the sections of the stamped and coloured images.
Thanks for stopping by!
Tracy
Creative Time: 45 Minutes
Skill Level: Intermediate
Materials Needed
Scrapbook Adhesives by 3L®
Thin 3D Foam Squares Black Mix
Crafty Foam Tape White
3D Foam Squares White Mix
HomeHobby by 3L®
Extreme Double-Sided Tape 1/8in
Other
Distress Oxide Ink (Worn Lipstick, Cracked Pistachio, Twisted Citron), Archival Ink (Jet Black), White Cardstock, Spiegelmom Scraps Sequins (I Love You More), Stickles (Diamond), Zig Clean Color Markers, Acetate, Blending Tool, Circle Punches (1″, 1.5″, 2″)
Pin It!