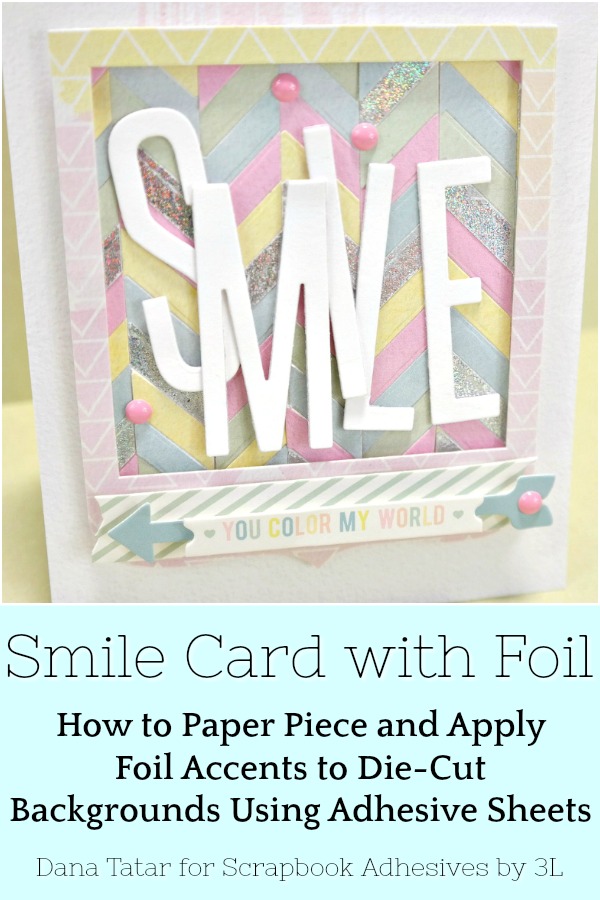
Hi friends! Dana Tatar here today sharing a Spring Smile greeting card. I had a lot of fun paper piecing and foiling die-cuts. The dynamic background I created for the focal point of my card is easy to create. I used Adhesive Sheets to make die-cuts into stickers. To piece the background together I simply had to cut, peel, and stick. I added extra flair to this card with some holographic foiled accents. I also added more dimension with 3D Foam Squares.
Creating a Chevron Background
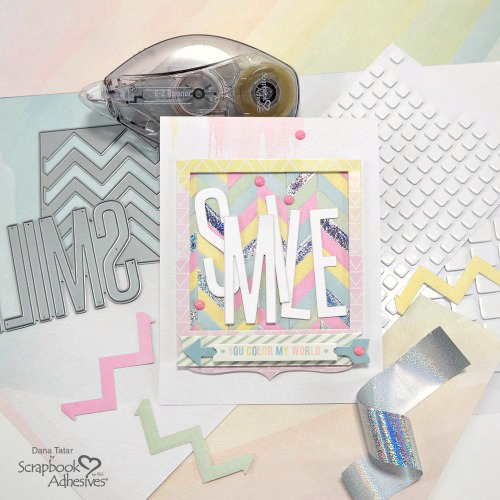
To begin, I removed the yellow liner paper from a 12×12 Adhesive Sheet. Then I placed pieces of patterned paper onto the exposed adhesive and pressed to adhere the adhesive to the back of the paper. Next, I used a zig-zag die to cut the patterned paper. I removed the backing liner and stuck the die-cuts down onto a piece of white cardstock. To learn how I cut the zig-zag die-cuts into a colorful chevron background, please visit my blog.
Applying Foiled Accents
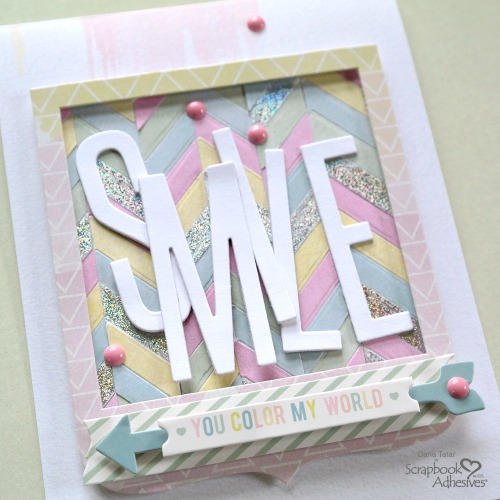
To add the foiled accents to the card, I applied adhesive to white cardstock using the same process as above. Rather than peel off the backing paper and apply the die-cut to white cardstock, I used the E-Z Runner® Micro Refillable Dispenser to add adhesive to the back of the paper. This left the edge-to-edge adhesive on the top of the die-cut. To add foil to the paper, I peeled off the backing sheet and pressed the Metallic Transfer Foil -Holographic onto the adhesive, colored foil side up. Then, I rubbed the transfer sheet with my finger and peeled it away to reveal the foiled element.
Building Dimensional SMILE Letters
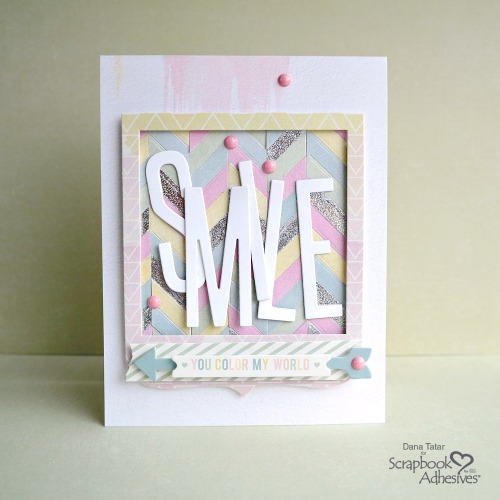
I cut and stacked die-cut letters to add a dimensional sentiment to the front of the card. I used the SMILE to cut three pieces of white cardstock. The tall, narrow font was the perfect size to fit inside the frame embellishment I selected. Once the individual letters were cut, I used the HomeHobby by 3L™ Dual Tip Glue Pen to glue the three copies of each letter together. Finally, I used the E-Z Runner® Micro Refillable Dispenser to attach the letters to the front of the card. This runner is a favorite of mine for use on narrow embellishments. The dispenser is full of 1/8″ wide permanent strips that are centered on the liner for easy application.
Thanks for stopping by today!
~Dana
Creative Time: 60 Minutes
Skill Level: Advanced
Materials Needed
Scrapbook Adhesives by 3L®
3D Foam Squares White Mix
12×12 Adhesive Sheet
E-Z Runner® Micro Refillable Dispenser
Metallic Transfer Foil Sheets Holographic Colors
HomeHobby by 3L®
Dual Tip Glue Pen
Other
White Cardstock; Patterned Paper (Pink Paislee); Frame (Pink Paislee); Enamel Dots (Twinkle + Ink); Zig Zag Die (Studio Calico); Smile Die (My Favorite Things)
Pin It!