
Hi everyone, Yvonne here with a tutorial on how easy it is to create a Journal Page using Scrapbook Adhesives by 3L® products…not just for adhering only, but also to Wear Your Adhesives on the Outside.

For my project, I used a Journey book, which is also great for art journaling as I will show you. Come on and let’s get crafty!
Journal Page Base
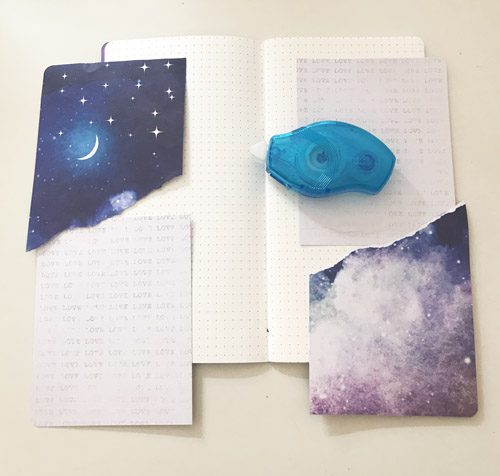
For my Journal page, I used two pages from a Journey book.
First I cut some gorgeous patterned paper to a size slightly smaller than the page is wide. I used a corner punch and then, before adhering I tore the sky-patterned paper before adhering it to the Journal page using the E-Z Runner® Petite Permanent Dots Refillable Dispenser. This cute compact Adhesive Dispenser is so handy to always have along!
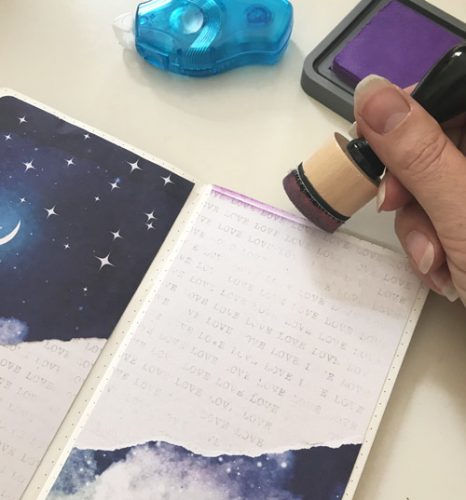
Then ink the edges of the journal pages using purple ink and an ink blending tool.
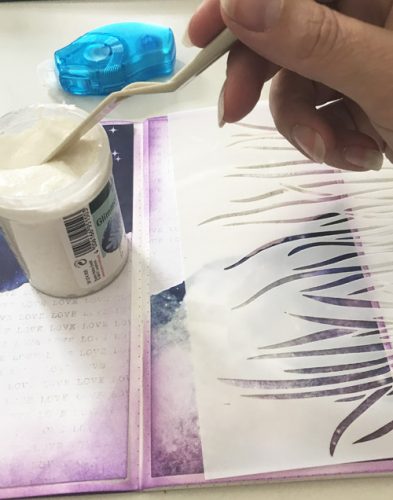
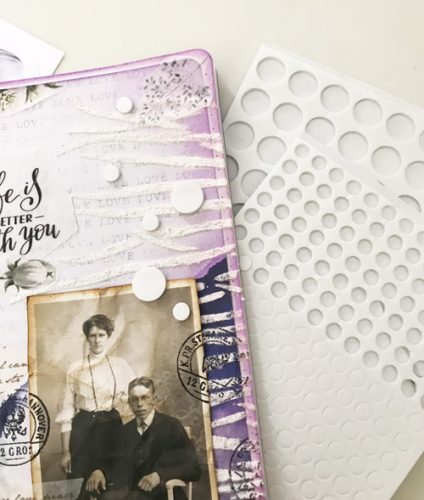
Spread the paste evenly with a spatula over a stencil that is on top of the Journal Page. Remove the stencil. Now let dry thoroughly (or use a heating tool for a quick dry).
Embellishing the Journal Page
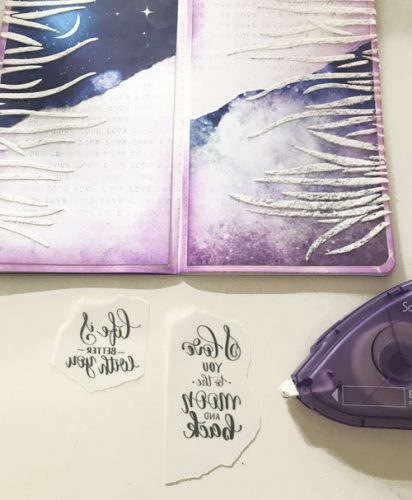
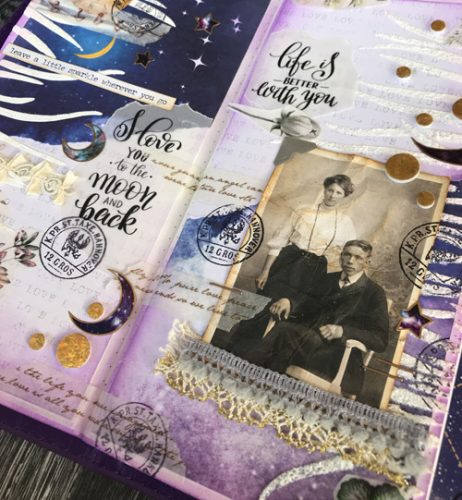
First I adhered the vellum sentiments using the E-Z Runner® Permanent Fine Adhesive Dispenser for stainless and invisible adhering of the vellum.
Ink edges with brown ink on a vintage photo and adhere with Crafty Power Tape Dispenser 81ft. Add trim under the photo with Premium Double-Sided Tape 1/8in for perfect and invisible adhering.
Next, I randomly placed 3D Foam Circles White Mix on the pages. Remove the liner and rubbed Gold foil from Metallic Transfer Foil Sheets Holographic Colors to transfer color to the 3D Foam Circles White Mix. This technique is called “Wear Your Adhesive on the Outside!” Simple, right?!
Add floral washi tape for accents and randomly stamp a postage stamp on the page with black ink. Next, place a Creative Photo Corners Silver on a corner of the vintage photo for extra interest.
Finally, the moon and stars stickers and a sentiment sticker to complete the Journal Page.
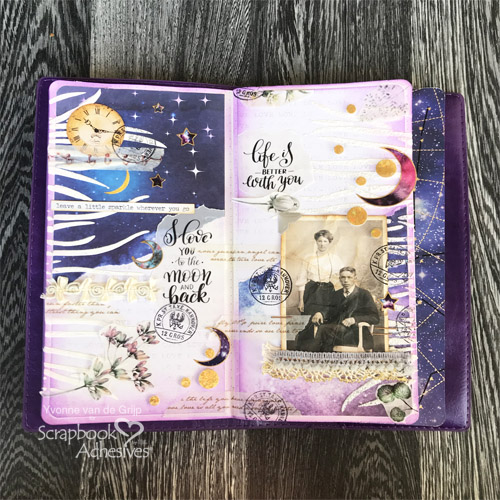
Voila…your To the Moon and Back Journal Page is ready. I hope you enjoyed the tutorial and wish you happy crafting!
Thanks for visiting!
Yvonne van de Grijp

Skill Level: Intermediate
Creative Time: 90 minutes
Materials needed
Scrapbook Adhesives by 3L®
- E-Z Runner® Petite Permanent Dots Refillable Dispenser
- E-Z Runner® Permanent Fine Adhesive Dispenser
- 3D Foam Circles White Mix
- Metallic Transfer Foil Sheets Holographic Colors
- Crafty Power Tape Dispenser 81ft
- Creative Photo Corners Silver
HomeHobby by 3L®
Premium Double-Sided Tape 1/8in
Other
Paper House Productions (Journey Book, Journey Book Vegan Leather Cover, Patterned Paper Stargazer Collection, Sticky pix Faux Enamels), Other Patterned Paper, Inkpads (Black, Purple, Brown), Ink Blending Tool, Ribbon, Postage stamp (Stempelglede®), Acrylic Stampblock, Structure Paste, Spatula, Stencil, Washi Tape, Scissors, Corner Punch
Pin It!
Visit our Website and Blog!
Sign up for our Newsletter so you never miss a contest or giveaway!


