
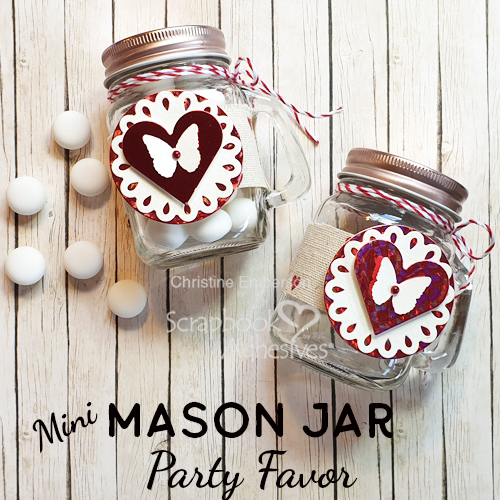
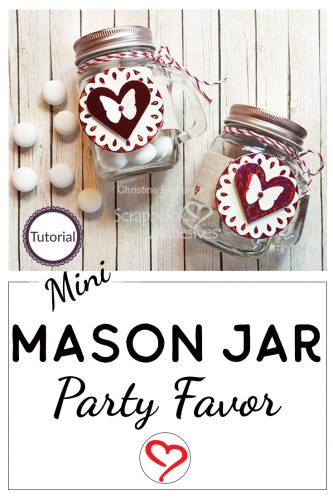
Hi everyone, Christine here today with a tutorial for decorating mini mason jars. I espied these in my local bargain store and they really are mini and very cute. With the addition of some fabric, twine and die cuts, they make perfect table favors or gifts. It’s very easy to do with Scrapbook Adhesives by 3L®!
Decorating Mini Mason Jars
Select some pretty fabric, I had a fat quarter, a linen design with small hearts but any scraps will do. In fact a perfect opportunity to use up fabric as you only need a slim strip for each mini jar.
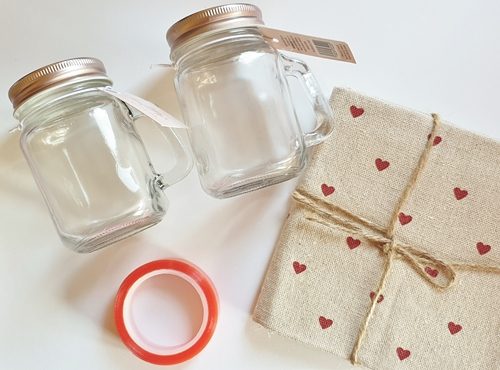
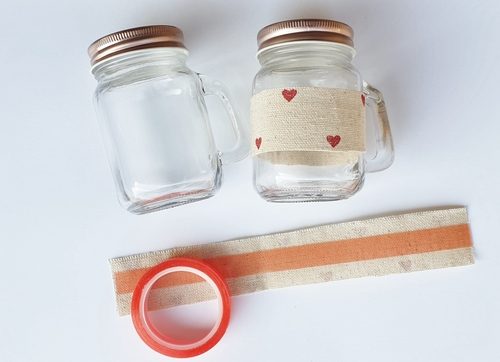
Cut a strip of fabric long enough to go around the jars. Oo the reverse of each fabric strip, apply Extreme Double-Sided Tape 1/2 inch. This super strong tape sticks to most surfaces, including paper, chipboard, glass, fabric, plastic, wood and metal. Wrap the fabric strip around the jar with the join meeting behind the handle, this conceals it well.
Decorating the Jar Front
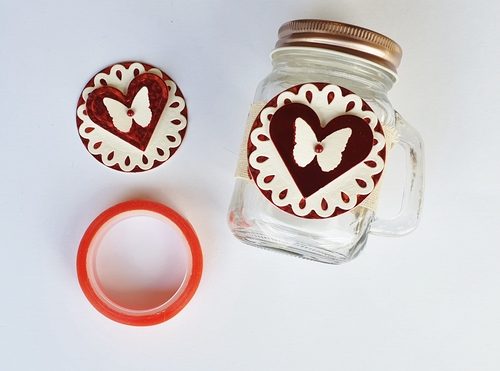
Next step is decorating the jars with some die cuts and/or punch shapes. I selected a circle, round flourish, heart, and butterfly. You can tailor these to suit the occasion. Using both E-Z Runner® Grand Refillable Dispenser and 3D Foam Squares White Mix to assemble the embellishments. The 3D Foam Squares are perfect for dimension.
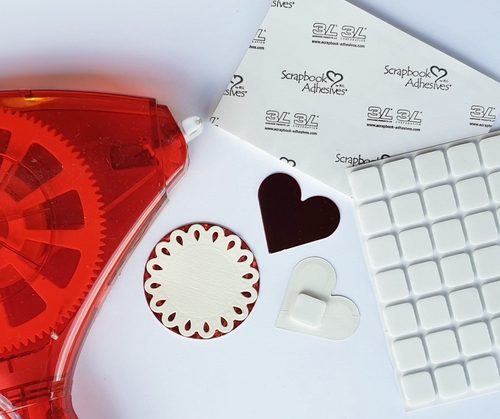
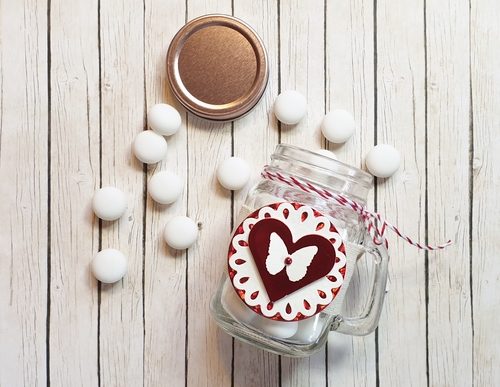
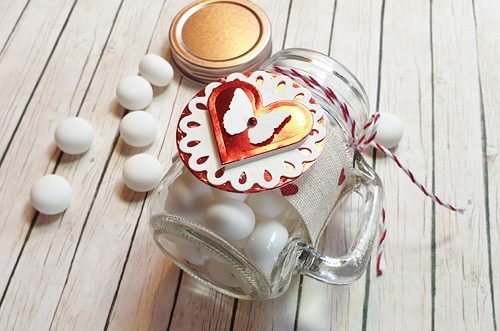
Position the decorations and affix into place with some more of that amazing Extreme Double-Sided Tape 1/2 inch, this ensures they will stay in place during any event. Adding a little pearl to the center of the butterflies is a nice touch. Wrap twine around the neck of each jar and tie with a bow.
Fill the adorable mini Mason jar with candy. You could use alternative treats inside if you don’t have a sweet tooth!
Thanks for stopping by and don’t forget to check out the great products on the website.
Christine
Creative Time: 25 Minutes
Skill Level: Beginner
Materials Needed
Scrapbook Adhesives by 3L®
Home Hobby by 3L®
Other
Mini Mason Jars; Ivory and Red Foil Card; Etched Dies (Spellbinders Paper Arts: Sapphire Basics A); Paper Punch Butterfly; Twine; Pearls; Candy (optional)
Love It. Pin It!
Visit our Website and Blog!
Sign up for our Newsletter so you never miss a contest or giveaway!


By hazel young September 27, 2019 - 12:19 am
Wonderful gift idea Christine xx Hazel
By Littlelamb September 27, 2019 - 5:54 am
Lovely idea. Might make some of these for friends at Christmas. Thanks for the idea.