
Hi, everyone! Looking to add some texture to your next card or scrapbook page. Teri here and I’ll show you a fun way to do that by creating faux clay tiles with 3D Foam Creative Sheets and embossing powders. This technique will add so much pop to your paper crafting projects!

Creating Faux Clay Tiles

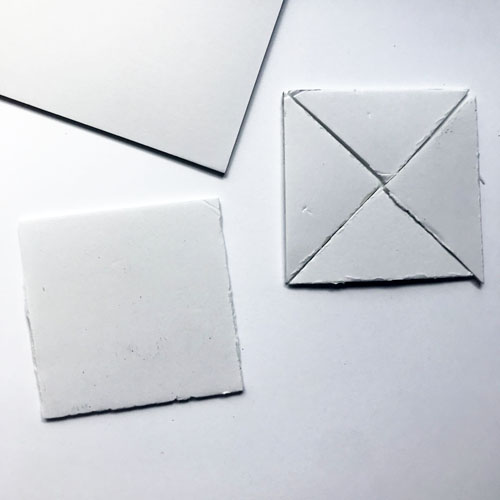
To start, cut a square shape of foam from a 3D Foam Creative Sheet Medium White. It can be as big or as small as you’d like. Then, cut that square into four triangles.
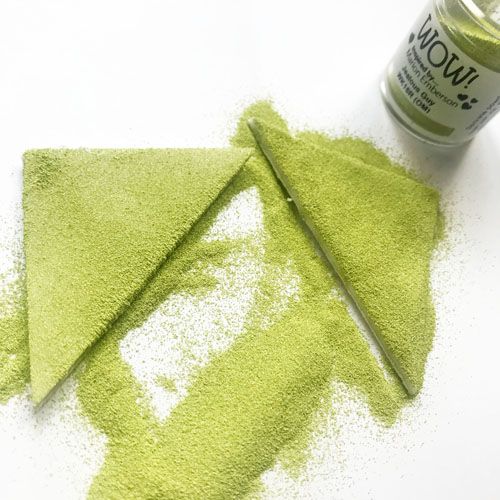
Remove the top liner from each of the triangles. Cover with the embossing powder on the triangles. No need for any ink, just powder! I used a combination of WOW! embossing powder in Jealous Guy embossing powder and Totally Teal embossing glitter.
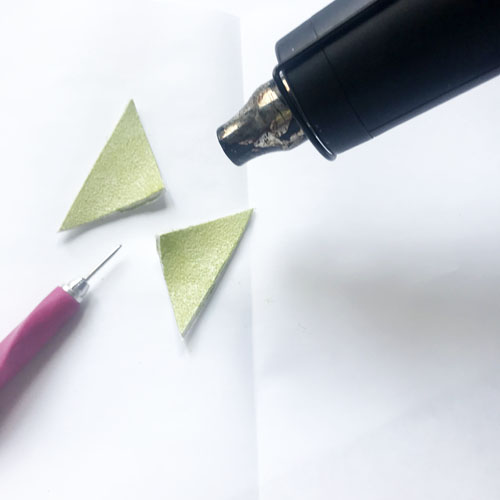
Take a heat gun and melt the embossing powders. I find a piercing tool (or tweezers) are helpful in holding the foam in place. As you heat up the foam, it might curl but not to worry! It will be just fine in the end!
Once melted, it will look like you’ve applied clay tiles and not foam onto your project!
Using the Tiles to Make a Card
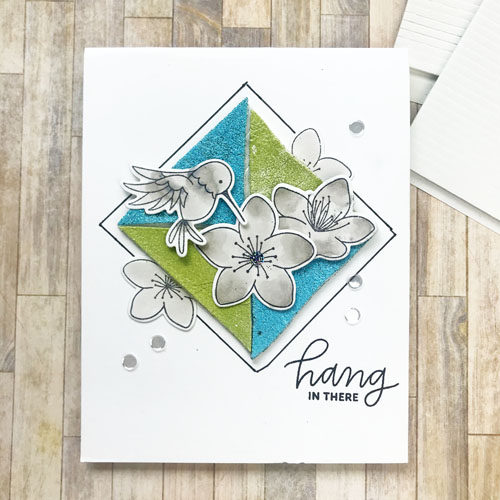
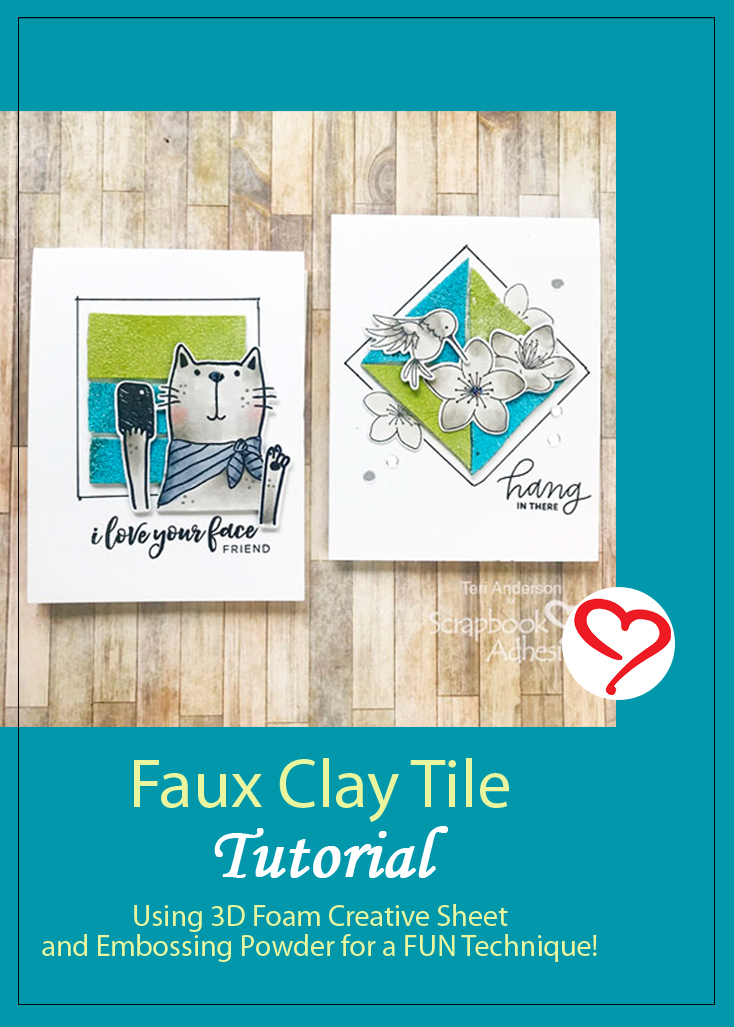
To turn your triangle tiles into a card like mine, use a ruler and black pen to draw a border around them. Then add some stamped or die-cut embellishments with a combination of E-Z Dots® Permanent Refillable Dispenser and 3D Foam Strips

I always like to add a bit of glitz to my projects so I applied Stroke of Midnight glitter to the center of one of the flowers. A few sequins were adhered to using Adhesive Dots Micro.
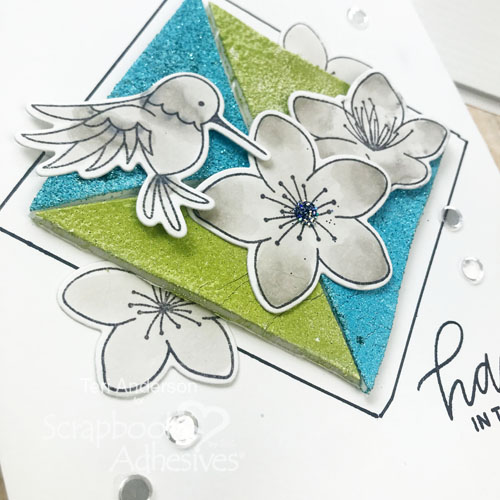
Then stamp a sentiment to your card and done!
Another Tile Idea
By the way, this technique is not limited to making faux clay triangles, squares and lines are also an option!
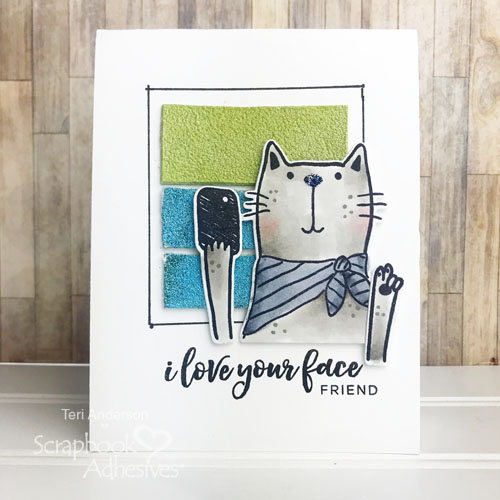
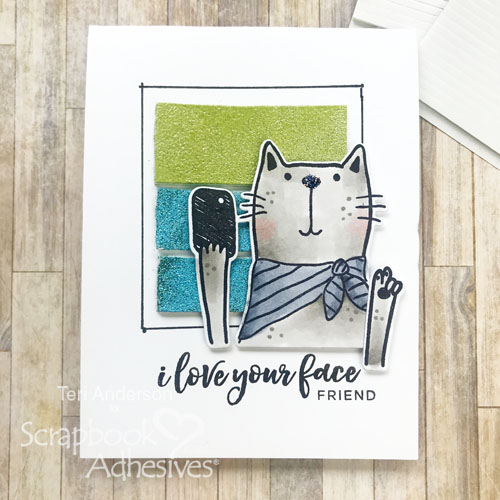
For this card, I cut three strips from a square of 3D Foam Creative Sheet White Medium and added embossing powder to them. Doesn’t the faux clay tiles make a great background for the cat?!
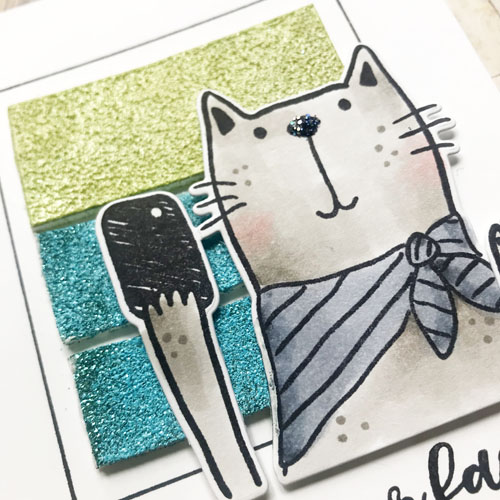
Not much bling was added to this card, other than a little bit of glitter on the cat’s nose. It’s the perfect way to place a hint of sparkle.
I hope you enjoyed this tutorial and are inspired to make some faux clay tiles of your own for your projects!
Happy creating!
Teri Anderson
Creative Time: 60 Minutes
Skill Level: Intermediate
Materials Needed
Scrapbook Adhesives by 3L®
- E-Z Dots® Permanent Refillable Dispenser
- 3D Foam Strips
- 3D Foam Creative Sheets Medium White
- Adhesive Dots Micro
HomeHobby™ by 3L
WOW! Embossing Powder
- Opaque Primary Jealous Guy Embossing Powder
- Totally Teal Embossing Glitter
- Stroke of Midnight Sparkles Glitter
Other
White Cardstock: Neenah Paper; Dies: Picket Fence Studios (Cat), Pretty Pink Posh (Hummingbird, Flowers); Stamps: Picket Fence Studios (I Love Your Face Stamp Set), Pretty Pink Posh (Hummingbird Thanks, Encouraging Greetings and Cherry Blossoms Stamp Sets), Simon Says Stamp! (Tiny Words Stamp Set); Sequins: Pretty Pink Posh; Black Ink Pad: Ranger Ink; Markers: Copic; Black Pen: American Crafts
Save It to Pinterest!
Visit our Website and Blog!
Sign up for our Newsletter so you never miss a contest or giveaway!


