
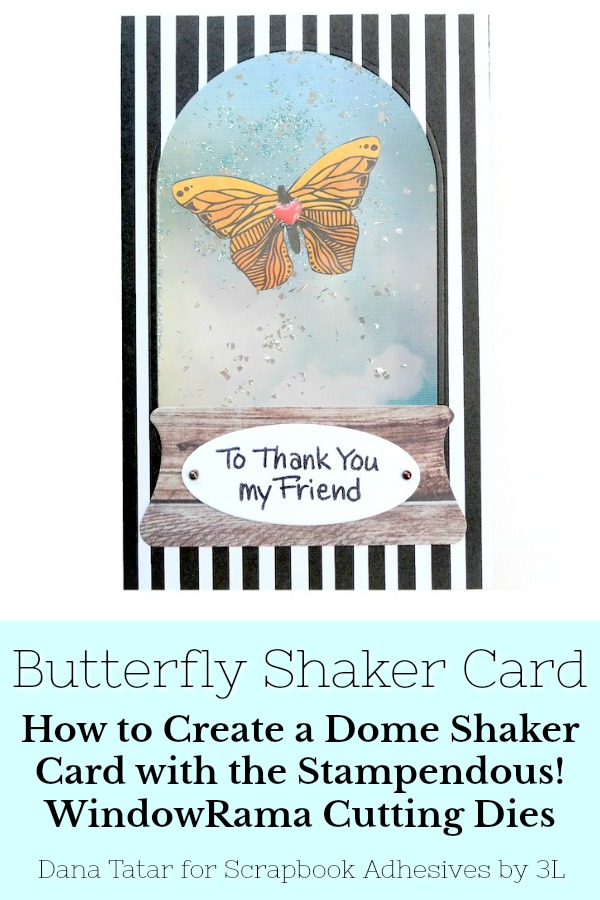
Hi friends! Dana here today sharing how to use the Stampendous WindowRama Dome Jar Shaker Cutting Dies to create a dimensional dome shaker card.
Typically, I am not a card maker. In fact, I usually struggle with more complicated card designs. I was pleasantly surprised by how easy it was to put this fun shaker card together using the helpful instructions and some of my favorite adhesive products.
WindowRama Dome Shaker Card Cuts
I modified my design slightly for patterned paper lovers. In order for the window to reveal a cloudy sky pattern, I needed to cut an additional piece of paper to fit inside the back panel. The second print on the backside of striped patterned paper is visible on the inside edges of the card when folded flat.
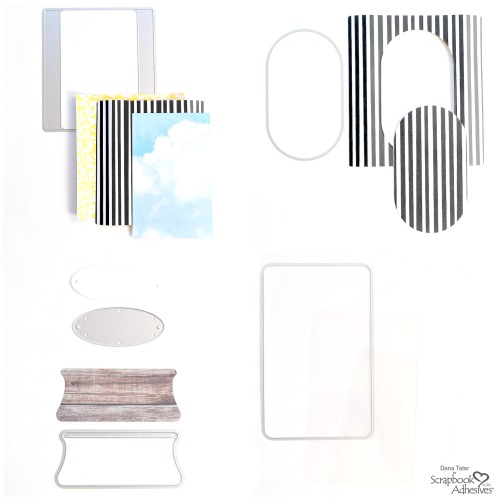
- Die-cut two patterned paper pieces with the WindowRama Die 1. Create the flaps for the front stripe and back yellow panels for the card. Die-cut an additional piece from sky patterned paper and trim off the flaps. Secure it to the center of the back yellow panel (front side).
- To create a window, place WindowRama Die 7 in the center of the front stripe panel and die-cut.
- For the glass dome base, die-cut with Die 10 and woodgrain patterned paper. The base plaque is die-cut with Die 11 and white cardstock.
- Lastly, die-cut with Die 15 and clear acetate twice to make the outer shaker frames.
WindowRama Shaker Card Assembly
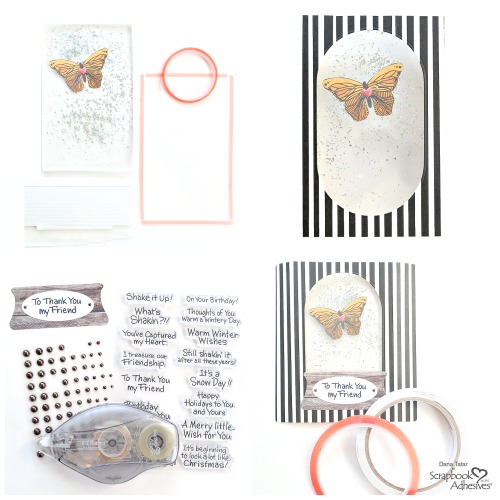
5. For the shaker feature, apply 3D Foam Strips around the edge of one acetate piece and add a butterfly die cut and glass glitter inside. On the second acetate, add Extreme Double-Sided Tape 1/8in. on the edges with the top liner on. Sandwich the two acetates with the 3D Foam Strip to seal.
6. Peel the top liner from the shaker and press it onto the backside of the front card panel.
7. Stamp a sentiment onto the oval plaque and attached it to the glass dome base using E-Z Runner Ultra-Strong Refillable Dispenser.
8. Attach the base to the card front, covering the bottom curve of the window with Extreme Double-Sided Tape 1/8in. Sandwich the front and back panels with 1/2-inch Premium Double-Sided Tape.
Shaker Card Details
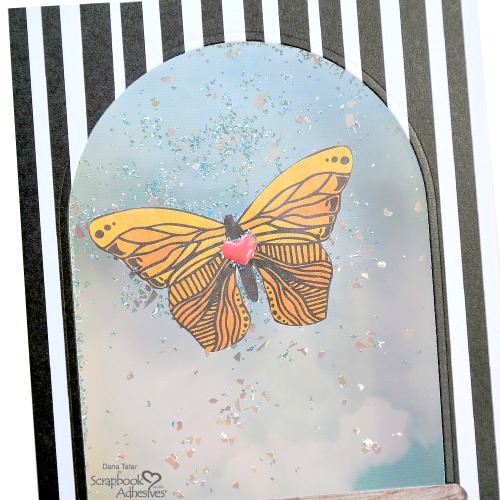
It’s the details that count. Two colors of glass glitter were added inside the shaker to complement the cloud patterned paper inside the card. In addition, a small piece of Extreme Double-Sided Tape secured the butterfly die cut to the back of the shaker so it would always be in flight.
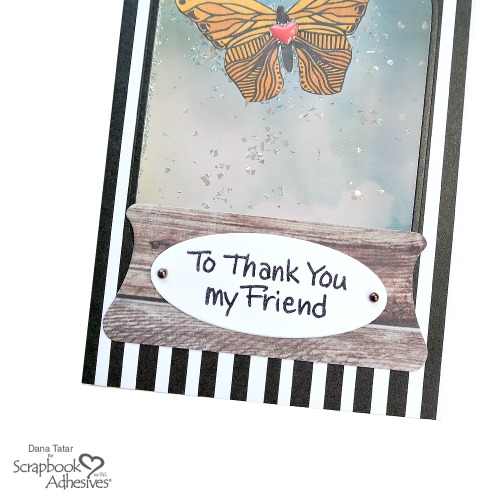
Furthermore, the oval plaque has two holes for brads but I used adhesive pearls instead. Either option looks great!
I hope I have inspired you to try creating dimensional shaker cards. In addition to a dome shaker, this die set also cuts mason jar and gumball machine windows that are fun to use to create cards with or without a shaker feature.
Thanks for stopping by today!
~Dana Tatar
Creative Time: 45 Minutes
Skill Level: Intermediate
Materials Needed
Scrapbook Adhesives by 3L®
HomeHobby™ by 3L
Stampendous®
- WindowRama Dome Jar Shaker Cutting Die
- Shake It Up Perfectly Clear Stamps
Other Patterned Papers: American Crafts and Kaisercraft; Butterfly Die Cut: American Crafts; Pearls: Flourish with a Bling; Ink: Ranger Ink; White Cardstock; Acetate; Heart Sticker; Glass Glitter
Save It to Pinterest!
Visit our Website and Blog!
Sign up for our Newsletter so you never miss a contest or giveaway!


