
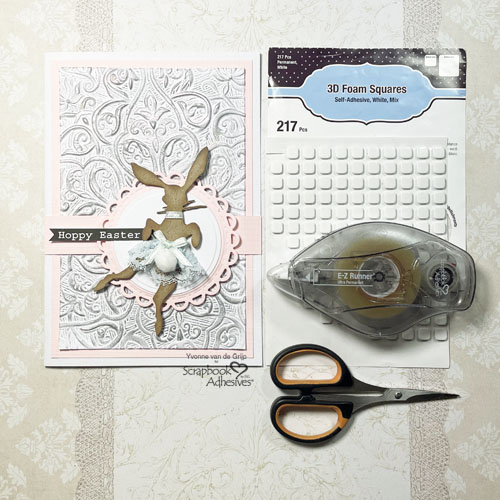
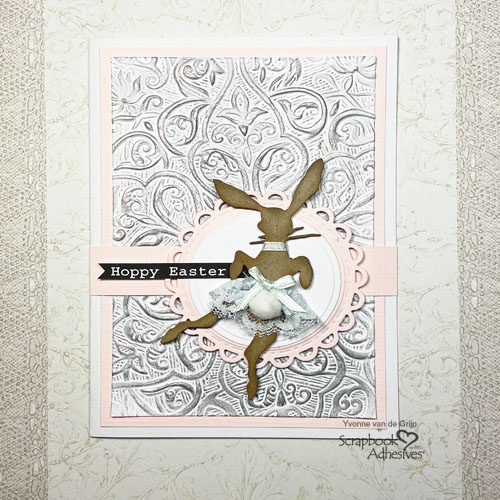
Hi everyone, Yvonne here. With Easter coming up soon I would like to share with you all a beautiful Textured Hoppy Easter Card. It’s cute and elegant at the same time.
Making a Hoppy Easter Bunny
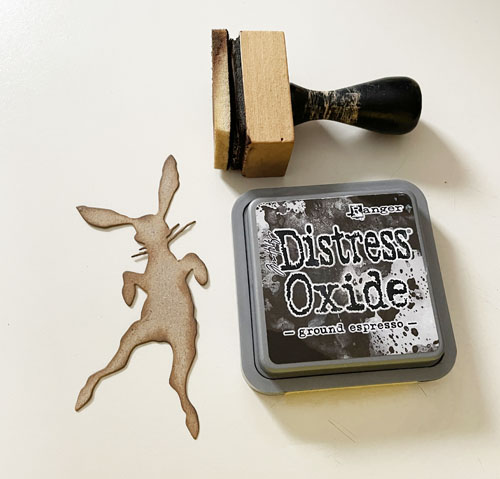
Start by die-cutting an Easter bunny from kraft cardstock. Then ink the edges using brown ink and an ink blending tool.
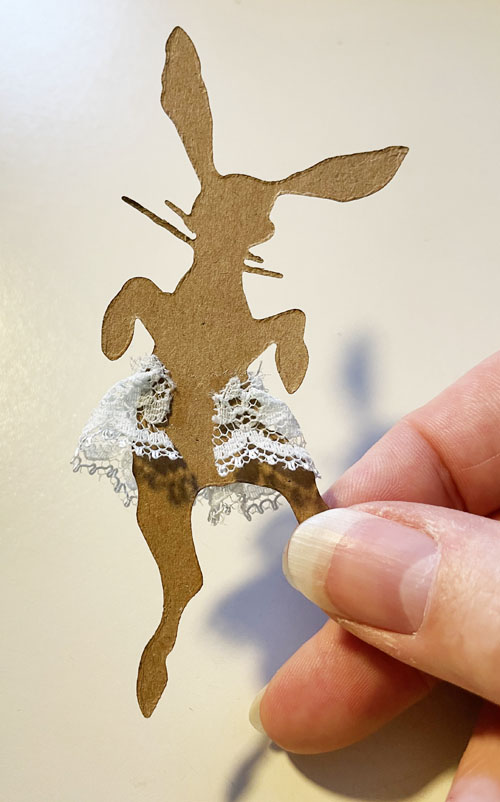
Now use a needle and thread to gathering and pleat a piece of blue lace for the skirt.

Then adhere to the bunny shape using the E-Z Runner® Ultra Strong Refillable Dispenser. Secure the ends to the back of the Easter bunny with the E-Z Runner® Ultra Strong Refillable Dispenser.
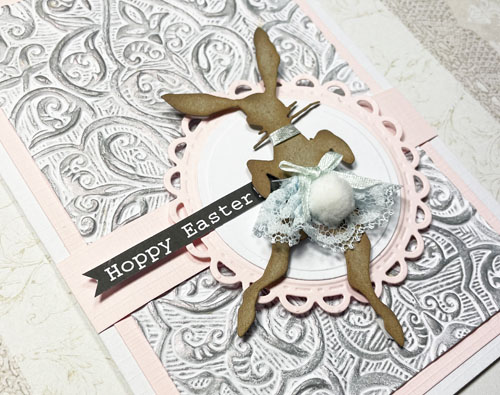
To finish the bunny embellishing, wrap a piece of blue satin ribbon around its neck and adhere the ends to the back using the E-Z Runner® Ultra Strong Refillable Dispenser. Make a blue satin bow and adhere to the skirt with an Adhesive Dots Mini. For the tail, place a small cotton ball onto the skirt using Adhesive Dots Mini.
Emboss the Card Panel
Lightly mist a piece of white cardstock and place it in an embossing folder. This result will give an even more detailed design and prevents tearing. Then run it through your die-cutting and embossing machine as instructed by its manufacturer. Let dry after embossing.
Next, use gilded wax to accent the embossed paper. Put a tiny bit of wax on your fingertip and rub over the embossed parts. Then trim the card panel to a rectangular size.
Making the Card Base
Adhere the embossed card panel onto a piece of pale pink cardstock using the E-Z Runner® Ultra Strong Refillable Dispenser. Then mat on a white card base with the E-Z Runner® Ultra Strong Refillable Dispenser.
Next, trim a strip from pale pink cardstock and adhere horizontally over the card.
Die-cut and emboss a pink laced circle from pink cardstock and adhere to the card base using 3D Foam Squares White Mix. Die-cut and emboss a white circle from white cardstock and adhere to the pink die-cut circle using the E-Z Runner® Ultra Strong Refillable Dispenser.
Finishing the Card
Now it’s time to adhere the bunny onto the card using 3D Foam Squares White Mix. For a finishing touch, adhere the sentiment to the card using 3D Foam Squares White Mix.
I hope you enjoyed this tutorial and wish you happy crafting!
Yvonne van de Grijp
Creative Time: 45 minutes
Skill Level: Intermediate
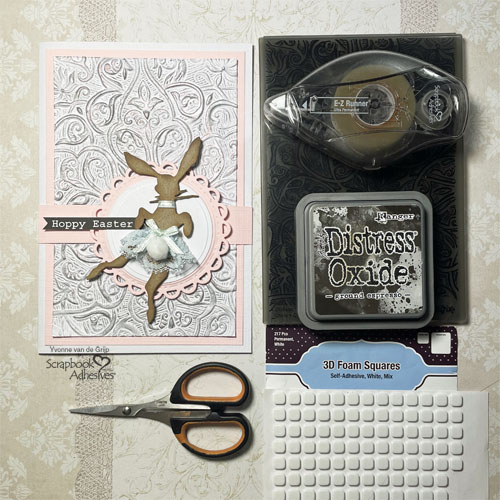
Materials needed:
Scrapbook Adhesives by 3L®
E-Z Runner® Ultra Strong Refillable Dispenser
3D Foam Squares White Mix
Adhesive Dots Mini
Other
Cardstock (White, Kraft, Pale Pink); Embossing Folder (Sizzix 3-D Texture Fades – Engraved); Etched Dies (Sizzix: Tim Holtz: Thinlits Bunny Hop; Spellbinders® Paper Arts: Open Scallop Edge Circles, Standard Circles Large); Die-Cutting and Embossing Machine (Spellbinders® Paper Arts: Platinum 6 Machine); Gilded Wax: Blue Lace; Blue Ribbon; Needle and Thread; Tiny Cotton Ball; Sentiment
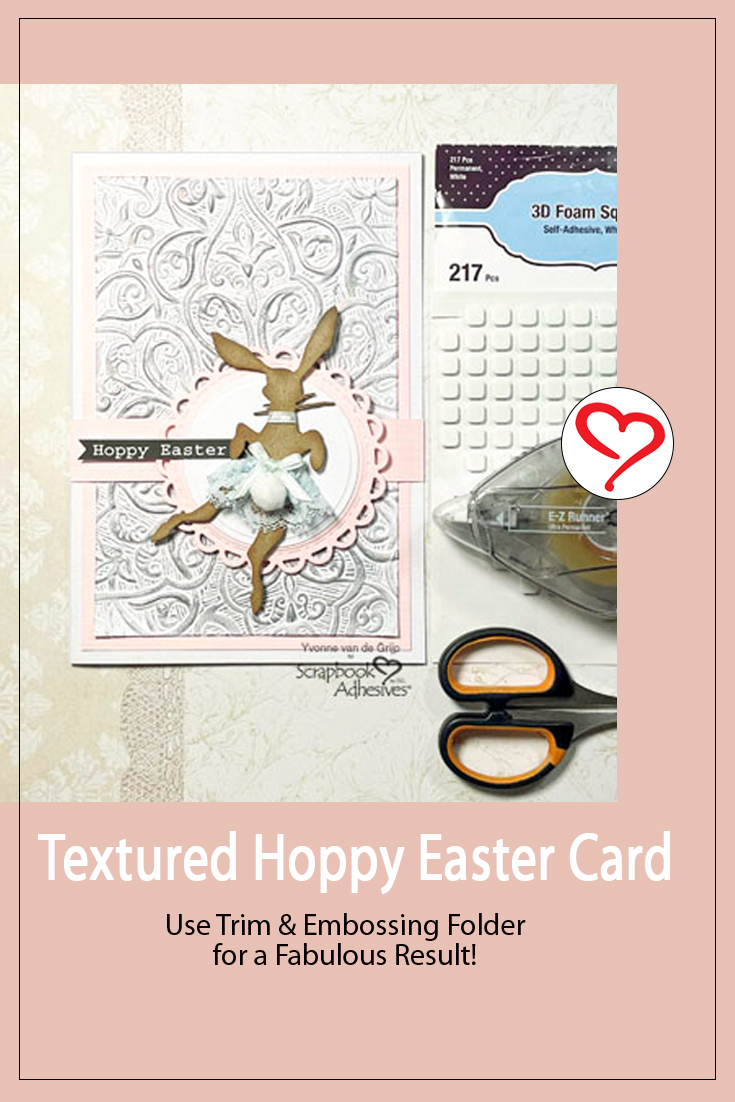
Save to Pinterest!
Visit our Website and Blog!
Sign up for our Newsletter so you never miss a contest or giveaway!


