
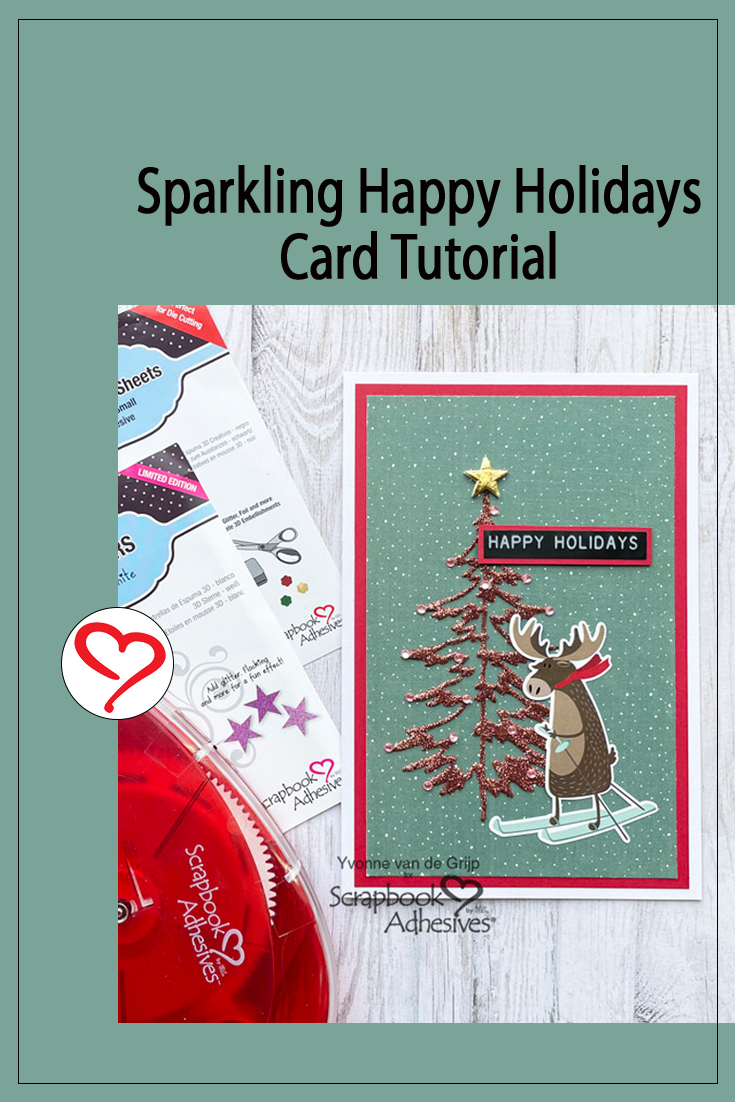
Hi everyone, Yvonne here with a Happy Holidays card. With 3D foam products, you can easily create a stunning glitter effect on your Christmas cards. For my card, I used a technique called Wear Your Adhesive on the Outside. Also, the great thing about this card is that it’s quick and easy to create. Wanna join me in making this card? Let’s get started!
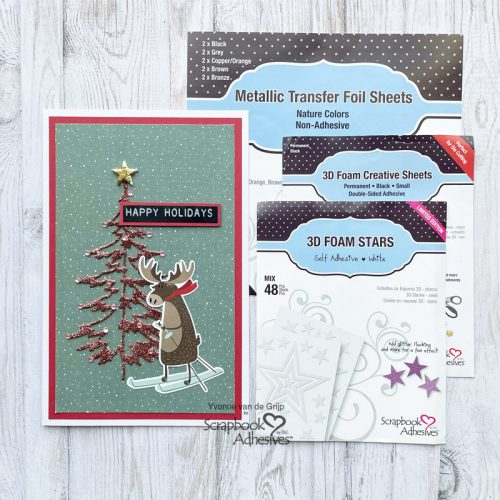
Happy Holidays Card Panel
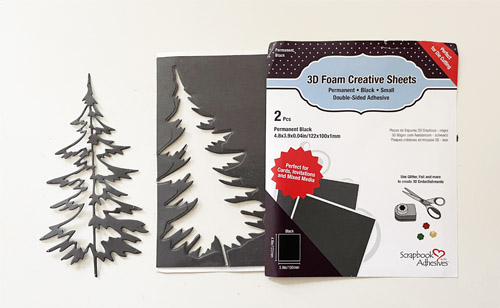
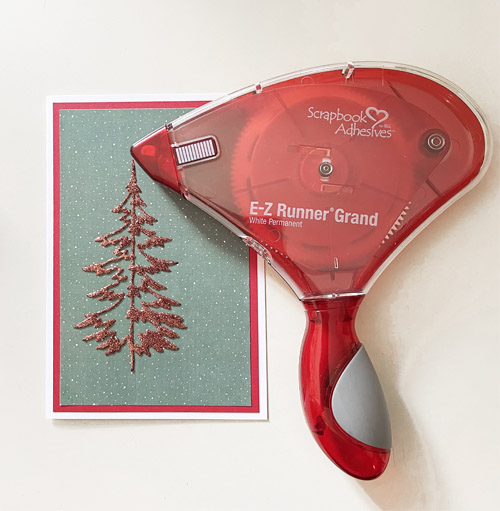
To create the Happy Holidays card first you trim a piece of patterned cardstock to a rectangular size. Then it’s time for a technique called Wear Your Adhesive on the Outside. Start by die-cutting a tree shape from 3D Foam Creative Sheets Small, Black.
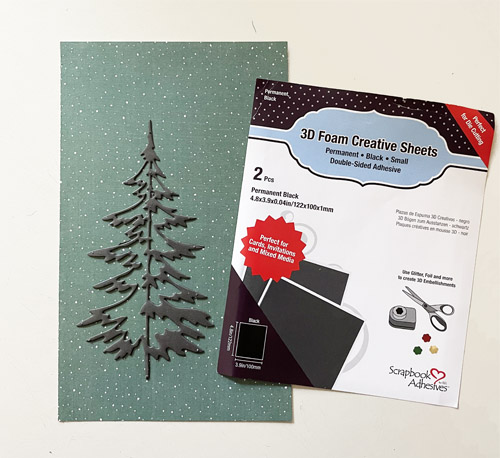
Now remove the white liner from the die-cut tree and adhere it to the patterned top card panel.
Remove the top liner and sprinkle copper glitter over the tree. Then rub the glitter over the tree shape using your finger for extra secure adhering.
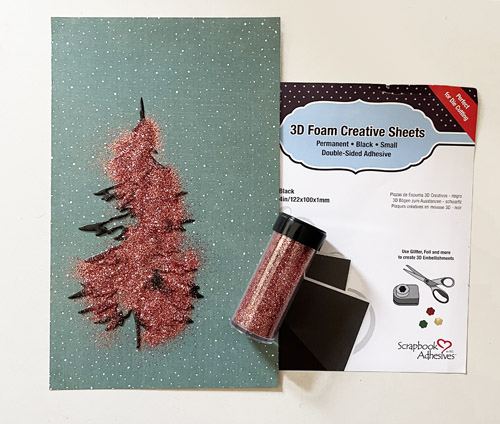
Now tap off any excess glitter. You have created a glittered tree! This technique for making your adhesive shine is called Wear Your Adhesive on the Outside…it’s that simple!
Making the Card Base
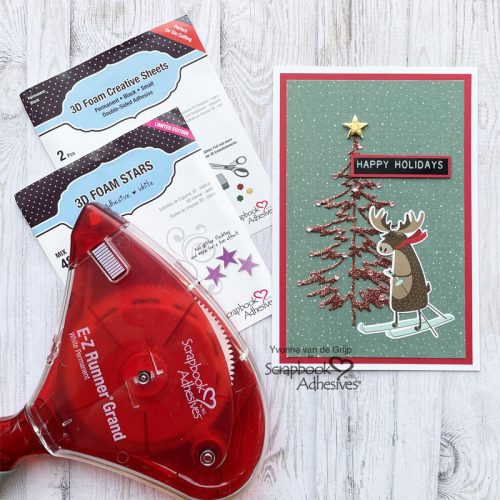
Simply adhere the top card panel onto a red card panel using the E-Z Runner® Grand Refillable Dispenser for adhering. Then adhere onto a white card base again using the E-Z Runner® Grand Refillable Dispenser for adhering.
Embellishing the Happy Holidays card
Embellishing the Happy Holidays card is quite simple. First, adhere a small 3D Foam Star on top of the tree. Then remove the top liner and rub gold Metallic Transfer Foil Sheets Nature Colors over the star shape. Make sure you have the gold color of the foil facing up when rubbing the foil onto the star shape. You have just used the technique Wear Your Adhesive on the Outside again! Adhere a moose sticker onto the card. Then adhere a Happy Holidays sticker onto a red banner which you make from a leftover piece of the middle red card panel. Now adhere the sentiment onto the card using some leftover pieces from the 3D Foam Creative Sheets Small, Black. Finish the card by adhering some pink rhinestones all over the glittered tree.
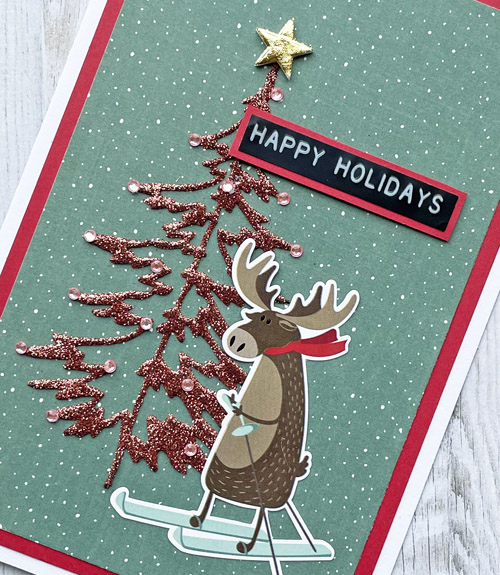
Voilá your Happy Holidays card is ready. I hope you enjoyed this easy tutorial and wish you happy crafting!

Creative Time: 30 minutes
Skill Level: Intermediate
Materials needed:
Scrapbook Adhesives by 3L®
E-Z Runner® Grand Refillable Dispenser
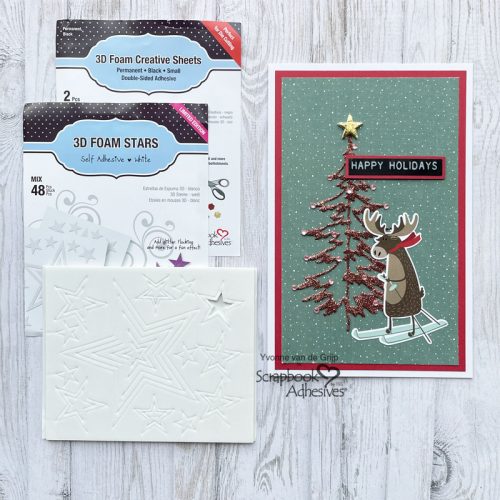
3D Foam Creative Sheets Small, Black
Metallic Transfer Foil Sheets Nature Colors
Other
Cardstock (White, Red); Die-Cutting and Embossing Machine (Spellbinders Paper Arts®: Platinum 6 Machine); Etched Dies (Sizzix: Tim Holtz Thinlits™: Woodlands); Patterned Paper and Moose sticker (PhotoPlay™: Canada 2 Collection Pack); Sentiment Sticker (Tim Holtz: Label Stickers Christmas); Glitter (Copper); Tweezers; Scissors; Paper Trimmer
Save to Pinterest!
Visit our Website and Blog!
Sign up for our Newsletter so you never miss a contest or giveaway!


