
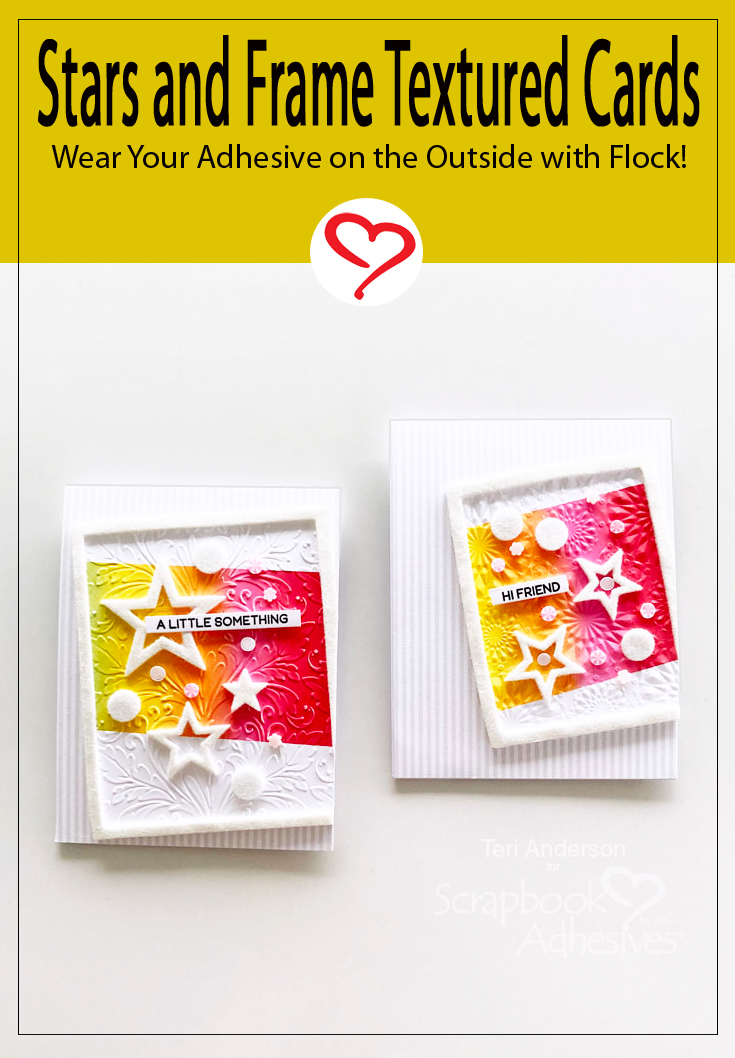
Hi, everyone! Love to add texture to your handmade cards? Teri here to show you two cards with gobs of texture.
Create the Frames
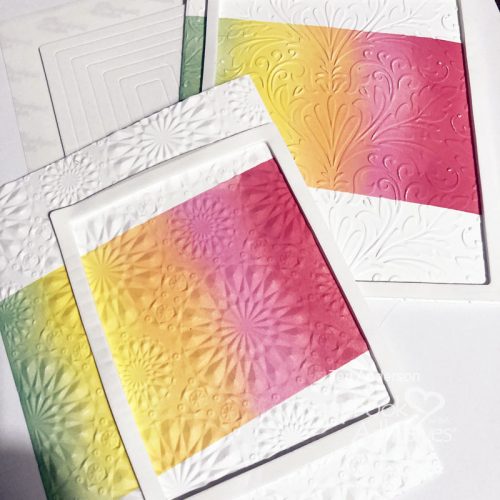
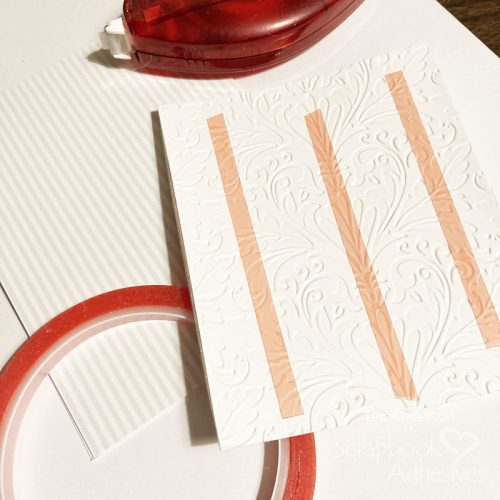
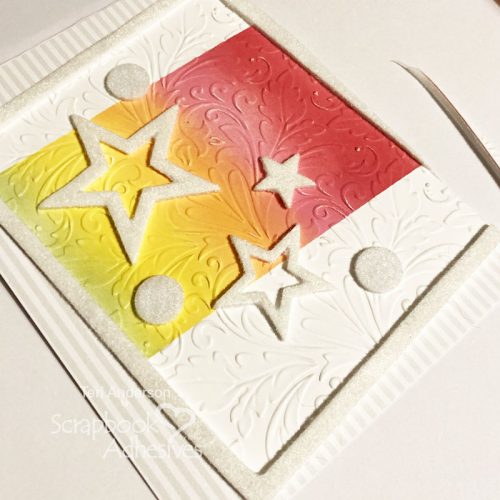
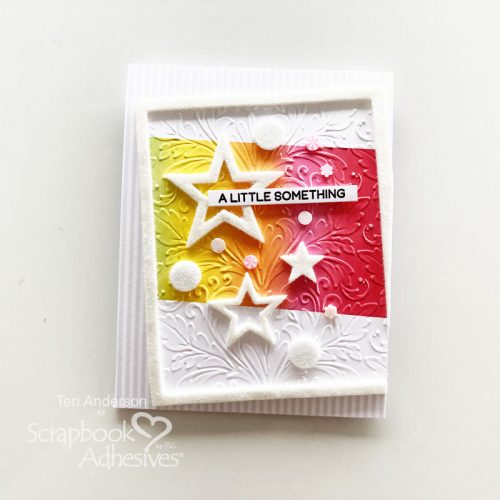
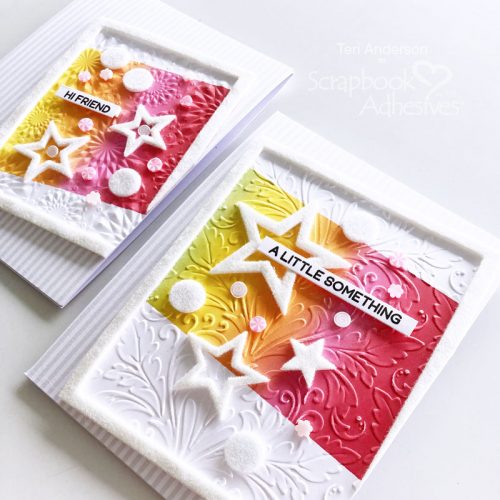
Blend ink colors onto panels of white cardstock. Consider masking off part of the panels so you only apply ink to the middle. Designer’s Tip: Make your strips of masking paper to do it. Check out this DIY Masking Strips Tutorial. Once you’ve applied your ink, use an embossing folder and die-cutting machine to add texture to your paper panels for extra pop!
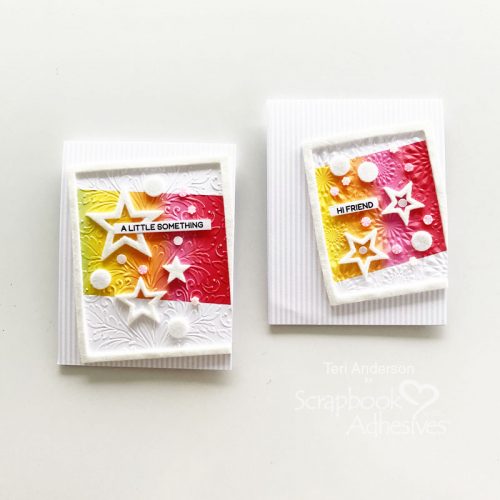
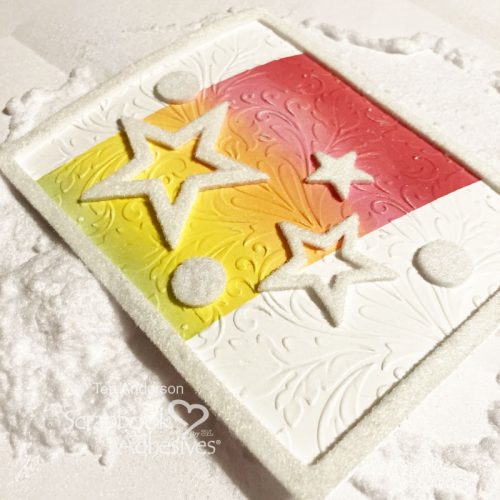
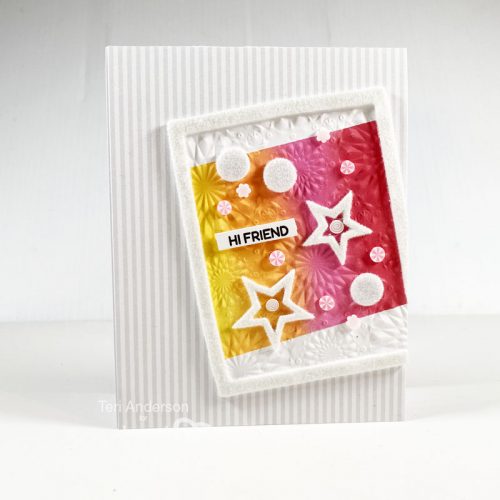
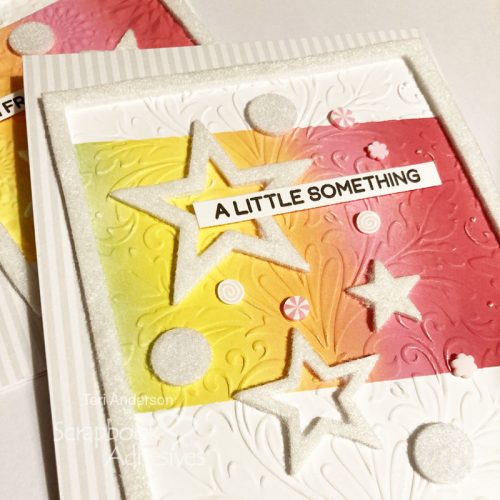
Place 3D Foam Frames on your panels, and add some 3D Foam Stars and 3D Foam Circles as well. Trim the excess paper with scissors.


Wear Your Adhesive on the Outside with Flock
Take off the liners on the 3D Foam Frames, 3D Foam Stars, and 3D Foam Circles. Cover them with white flock, and press into the foam to secure them. Tap off the excess – maybe use a small brush to help. You could use glitter instead if you want a more blinged-out look!
Create Your Card Bases, Add the Frames and Decorate Some More
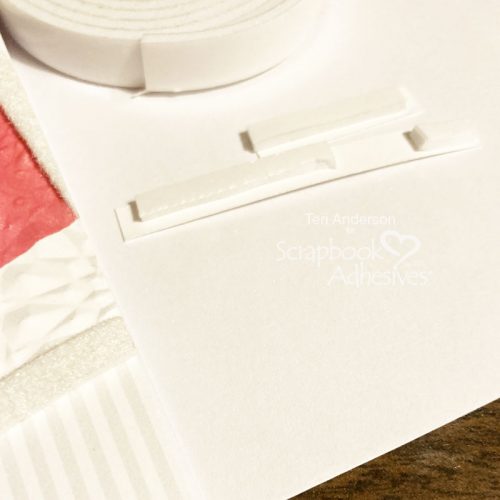
Create cards from cardstock. Cover them with patterned paper. Add your textured panels to your cards, securing them at an angle and leaving a little bit off the edge of each card. I recommend using an especially strong adhesive, like Extreme Double-Sided Tape 1/4″, with embossed papers. Be sure to push the tape onto the panels to secure and avoid the risk of it pulling off when removing the release paper. Trim the edge of your paper panels with your scissors.
Stamp sentiments on strips of cardstock. Apply Crafty Foam Tape to them. If your strip is narrow, simply cut the foam tape with your scissors to make it fit!
Complete your cards by adding your sentiment strips to them, as well as some small embellishments. Small clay shapes, gems, and sequins all work well for this.
I hope you are inspired by today’s tutorial and will try out some of these tips next time you make a card with lots of texture!
Happy Creating!
Creative Time: 60 minutes
Skill Level: Intermediate
Materials Needed:
Scrapbook Adhesives by 3L®
3D Foam Stars and 3D Foam Frames
E-Z Runner® Permanent Strips Refillable Dispenser
HomeHobby™ by 3L:
Extreme Double-Sided Tape 1/4in
Other: Cardstock: Neenah; Stamps: Hero Arts (Sentiment Strips – Everyday Stamp Set + Sentiment Strips Die); Patterned Paper: Sunny Studio Stamps (Subtle Grey Tones 6×6 Paper Pack); Embossing Folders: Sizzix; Ink: Ranger Ink (Black, Red, Pink, Orange, Green); Flock: Stampendous!; Embellishments: Buttons Galore & More (Cupcake Sprinkletz Embellishments)
Save to Pinterest!
Visit our Website and Blog!
Sign up for our Newsletter so you never miss a contest or giveaway!


