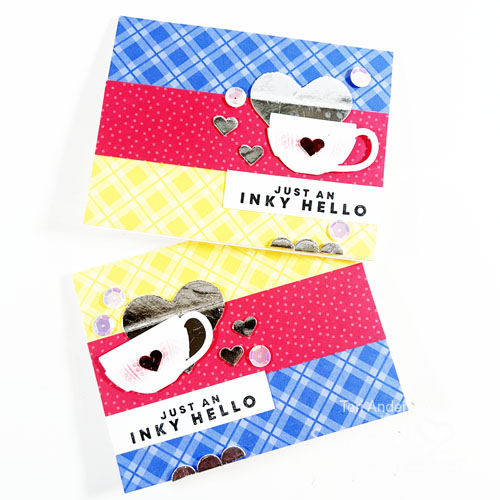
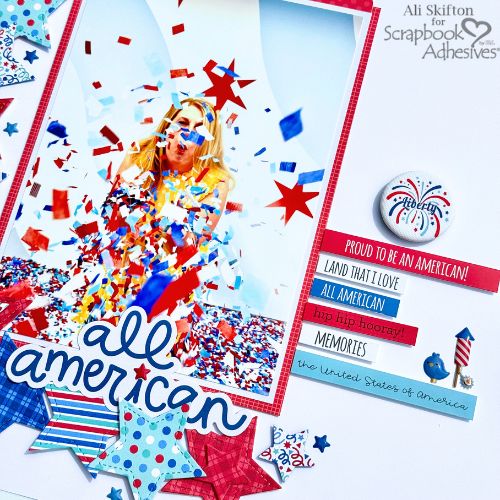
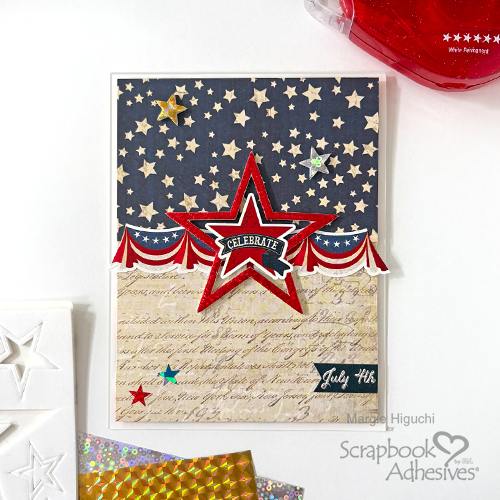
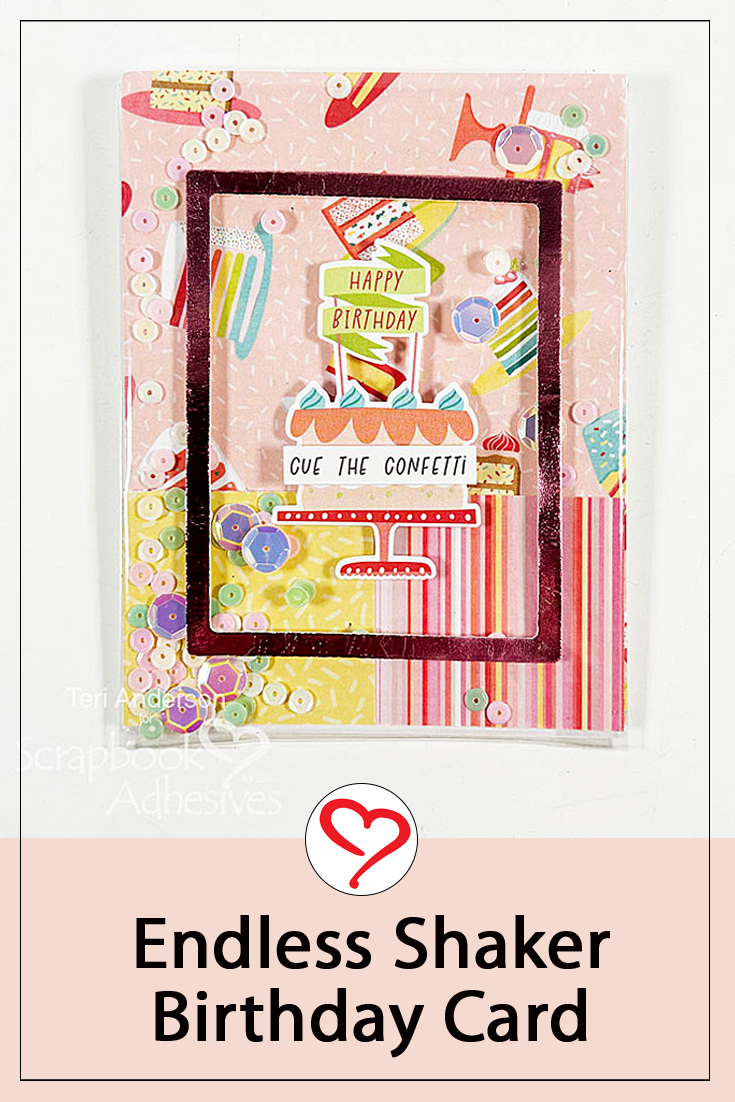
‘Tis the season for gift card giving with weddings, graduations, and showers. So I grabbed my pocket die and adhesives to see where it would take me. Hi, Margie here, and I’d like to share this sweet Starry Hello Pocket Card featuring the E-Z Runner® Stars Refillable Dispenser!
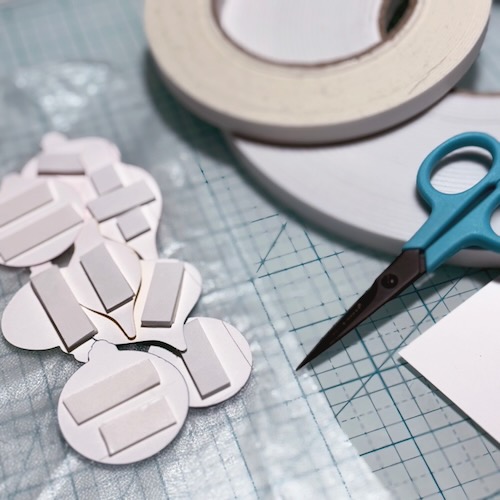
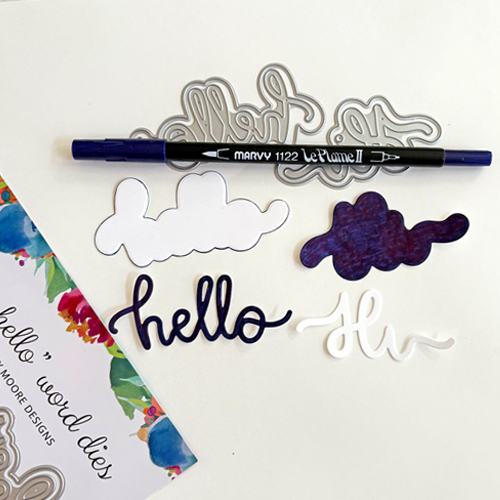
Starry Hello Card Front Pieces
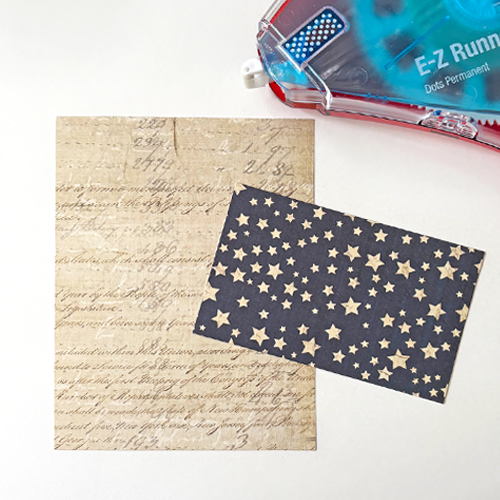
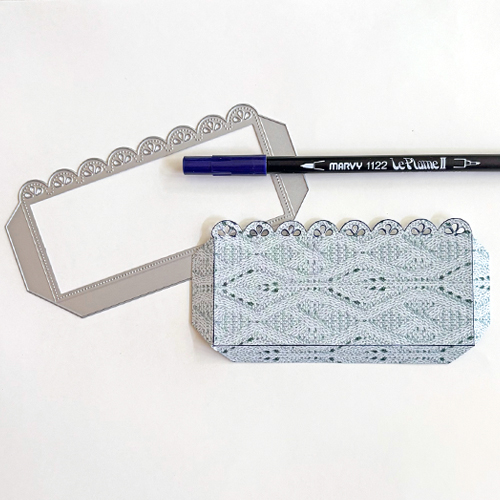
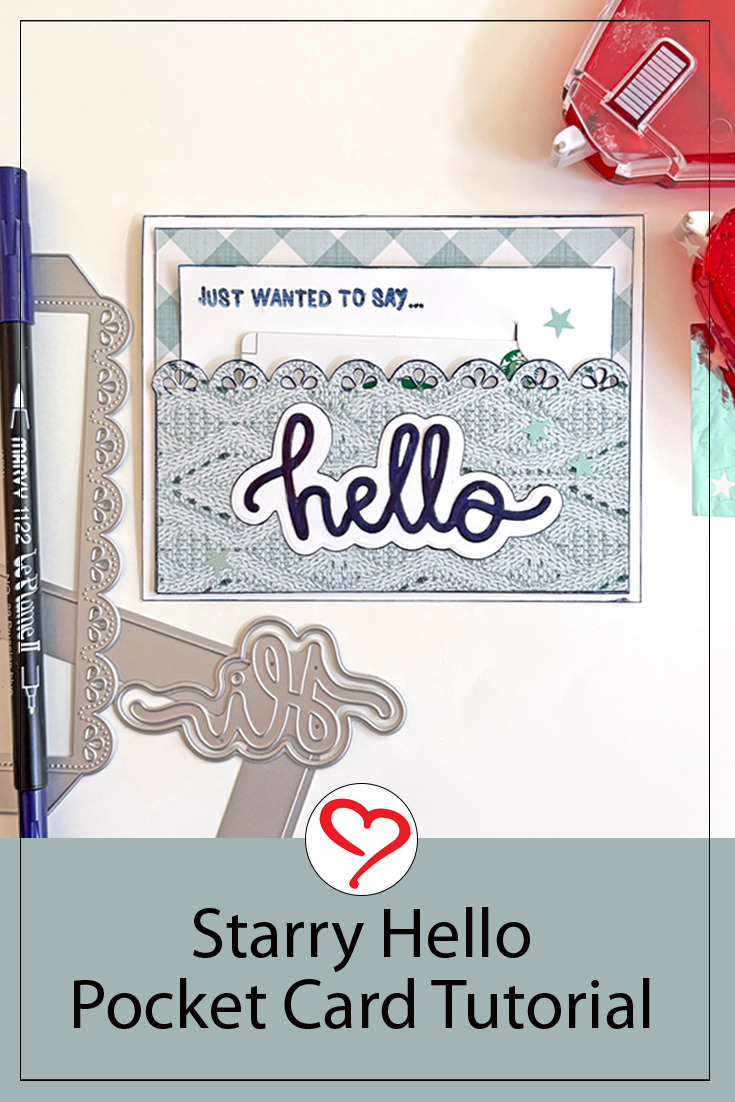
On an A2 top-fold card and a piece of 5.25 x 4-inch patterned paper, color the edges with a dark blue brush pen. Next, die-cut the horizontal pocket die with a patterned paper and repeat with coloring the edges.
Layered Words
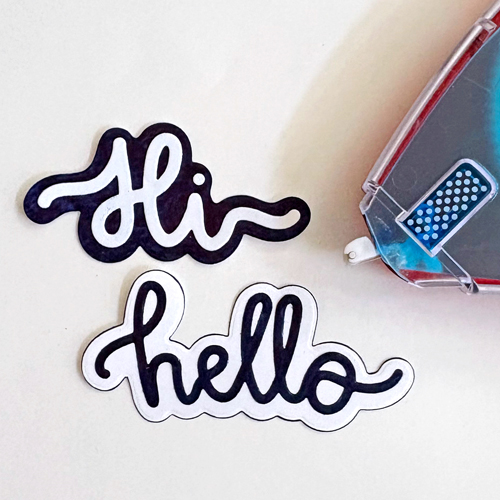
Not only do I want to use the Hello as a sentiment word but I also use the Hi from the same set for the inside of the card. I didn’t have a dark blue cardstock, so I decided to color white cardstock after die-cutting and color the edges of the Hello outline shape.
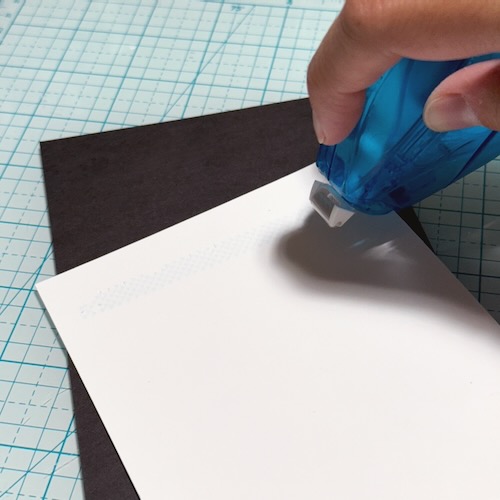
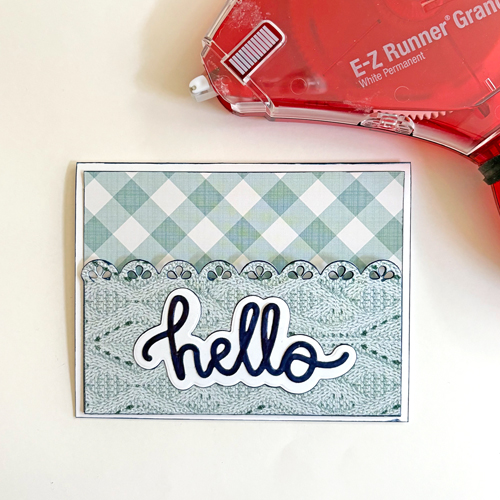
Adhere all the pieces with the E-Z Runner® Grand Permanent Dots Refillable Dispenser. It’s great to use because the adhesive hits the shapes and skips over the open spaces 🙂
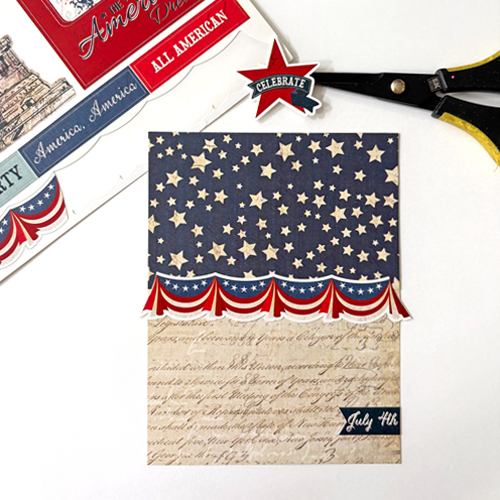
Assemble the Card Front
Adhere all the pieces (card panel, pocket, and layered word) using the E-Z Runner® Grand Permanent Strips Refillable Dispenser on the card base.
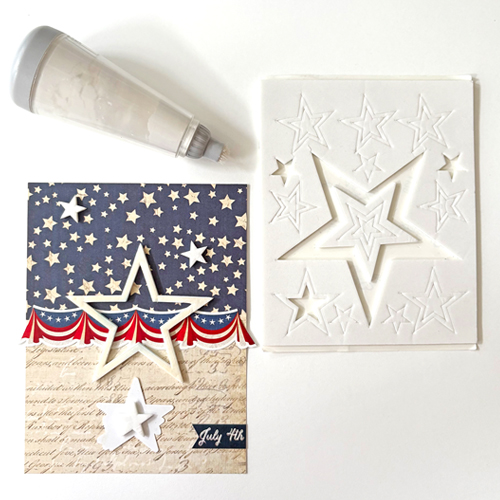
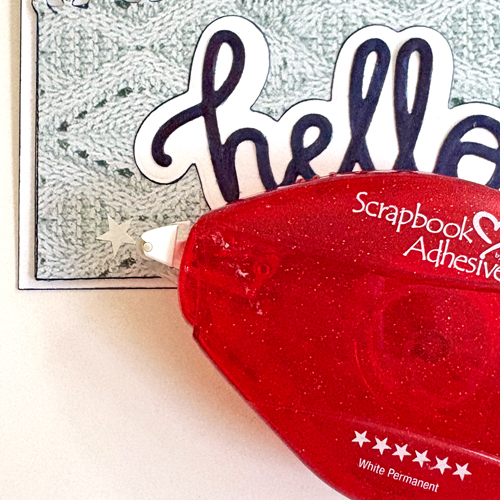
Wear Your Adhesive on the Outside with the E-Z Runner Stars
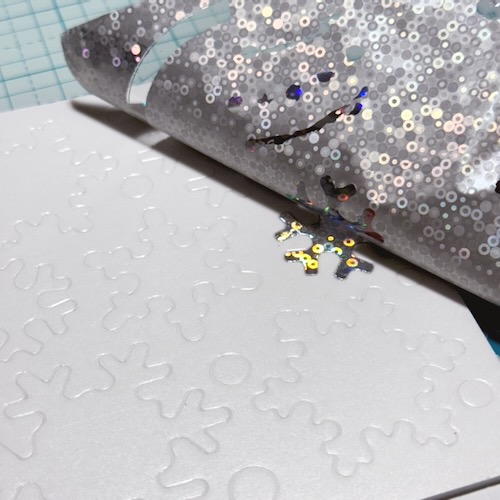
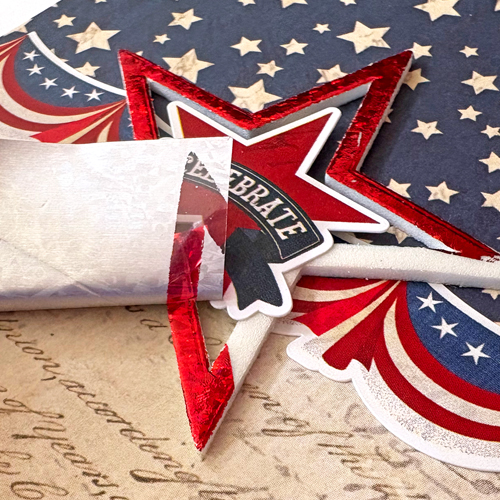
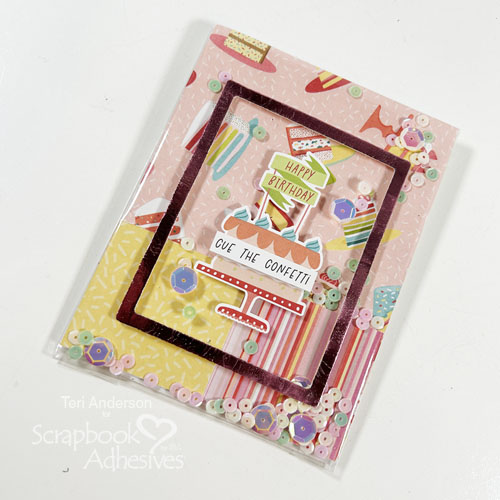
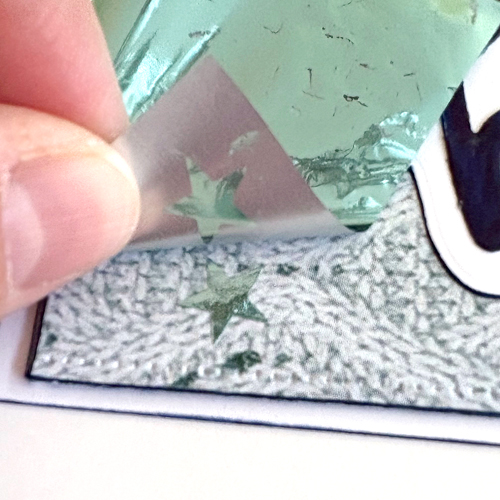
Make quick and easy star accents with this Wear Your Adhesive on the Outside technique. Randomly apply the stars from the E-Z Runner® Stars Refillable Dispenser on the card front and place the pastel blue from the Metallic Transfer Foil Sheets Pastel Colors on the stars. Make sure the foil color is facing you and rub to transfer the color to the stars. Done!
Gift Card Holder
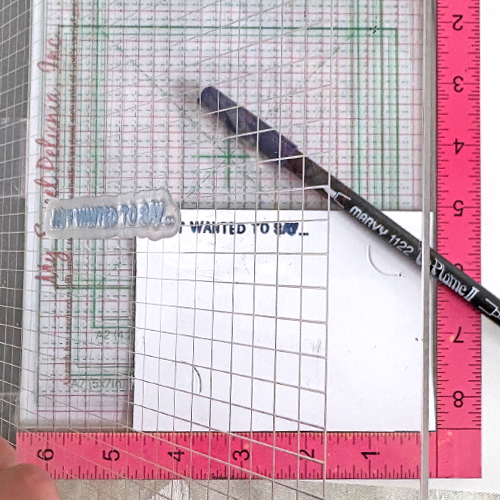
To finish off the Starry Hello Card Front, I die-cut a gift card holder and colored the edges in the same dark blue brush pen. Then stamped a phrase with the pen. Just add the recipient’s favorite gift card and tuck it into the pocket.

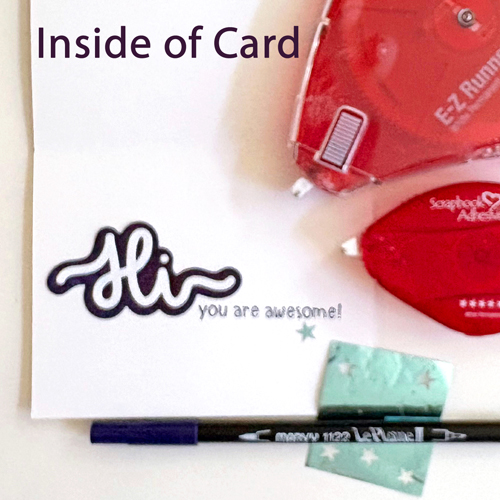
Starry Hello Card Inside
Add the layered Hi word with the E-Z Runner® Grand Permanent Strips Refillable Dispenser towards the left side of the card. Stamp another phrase with the dark blue brush pen. Lastly, add a star from the E-Z Runner® Stars Refillable Dispenser and repeat the foiling step.
I hope you enjoyed the Starry Hello Pocket Card tutorial and recreate one for you.
Thanks for visiting!
Margie Higuchi
Creative Time: 35 mins
Skill Level: Intermediate
Materials Needed:
Scrapbook Adhesives by 3L®
E-Z Runner® Stars Refillable Dispenser
E-Z Runner® Grand Permanent Strips Refillable Dispenser and E-Z Runner® Grand Permanent Dots Refillable Dispenser
Metallic Transfer Foil Sheets Pastel Colors
Other: Papers: Memory Place (Gingham Love Collection); Craft Dies and Stamp: Emily Moore Designs (Horizontal Pocket Die, Hi, Hey, Hello Word Dies – Large Style, Gift Card Holder with a Bow Dies, and Just Wanted to Say Stamp Set); Marker: Marvy Uchida (Le Plume II in Prussian Blue); White Cardstock; Stamp Positioner, Sticky Mat and Stamp Press
Click Preferred Retailers List
Save to Pinterest!
Visit our Website and Blog!
Sign up for our Newsletter so you never miss a contest or giveaway!