You are in our US store • Switch to Europe store

Christmas Layout with 3D Foam Circles

Hi friends! Dana Tatar here sharing a Christmas scrapbook layout that features dimensional embellishments created with 3D Foam Circles and die-cuts. The simple process of applying 3D Foam between layers of paper is a quick and easy way to create an eye-catching design.

Festive Christmas Scrapbook Layout with Dimensional Die-Cut Embellishments and Pet Photo by Dana Tatar for Scrapbook Adhesives by 3L

I mixed shades of green with pops of bright red, navy blue, and gold for a fun twist on the traditional Christmas color palette. I like to include family pets in my holiday festivities. Spending time with my brother’s sweet bulldog, Maeby, is super fun!

Christmas Scrapbook Layers with 3D Foam

Dimensional Die-Cut Pinecone Embellishment with 3D Foam Circles

I used a regular size 3D Foam Circle to secure the pine cone die-cut to the top of the chipboard frame.

Dimensional Holiday Greenery Embellishment with 3D Foam Circles

3D Foam Circles in small size are perfect for adhering smaller curved die-cuts to the page.

The Best Adhesives to Use on Laser Cut Chipboard

I built dimensional greenery embellishments on top of a chipboard frame. I want to share my favorite adhesives for laser-cut chipboard. The E-Z Runner® Micro Refillable Dispenser is 0.8-inch pre-cut strips of permanent, double-sided adhesive that is the perfect narrow width for most chipboard designs. This adhesive is easy to apply around curves, circles, and lines.

The E-Z Runner® Petite Permanent Dots Refillable Dispenser is a favorite to use for intricate designs. Simply run the dispenser over the chipboard to apply petite dots. These petite dots may be small, but they are strong!

Festive Flocked Shapes

Holly Berry Embellishment Cluster with Flocked 3D Foam Shapes

The 3D Foam Snowflakes include several snowflake designs as well as small circles. First, I applied a pale blue glittered flock to several snowflakes and sprinkled them around the page. Next, I transformed the small circles into holly berries on the leaves with some red glittered flock.

Festive Journal Spot with Flocked 3D Foam Snowflake

I used the same 3D Foam shapes to decorate my journal spot. I hope you use this idea on your Christmas scrapbook layouts!

Have a Happy Christmas! I’ll be back before the new year sharing a fun technique using 3D Foam Circles on a card design.
~Dana

Creative Time: 45 minutes
Skill Level: Beginner

Materials Needed:
Scrapbook Adhesives by 3L®

Adhesive Dots Micro
3D Foam Circles White Mix
3D Foam Snowflakes
E-Z Runner® Petite Permanent Dots Refillable Dispenser
E-Z Runner® Micro Refillable Dispenser

Other
Patterned Paper, Die-Cuts, and Stickers: Pretty Little Studio; Glittered Flock (Martha Stewart); Chipboard (Creative Embellishments); Wood Veneer Stars (Creative Embellishments); Flower (Prima); Acrylic Paint (DecoArt); Pen (American Crafts)

Love It! Save It!

Festive Christmas Scrapbook Layout with Dimensional Die-Cut Embellishments and Pet Photo by Dana Tatar for Scrapbook Adhesives by 3L

Visit our Website and Blog!
Sign up for our Newsletter so you never miss a contest or giveaway!

instagram purple icon facebook icon purple pinterest purple icon twitter purple icon YouTube icon blog subscription purple icon

Carolers Snow Jar Tutorial

Hello everyone! The holidays are fast approaching! I’m always scurrying around at this time of year to make little gifts or decor items that are quick yet classy. Yes, I’m a last-minute person…is there any other way!?! Today, I’m sharing a Carolers Snow Jar made mostly from things I found at my local dollar store.

I bought the plastic jar, miniature carolers, tree, lamppost, pine cones, all accessories for a Christmas village, along with Styrofoam. The seam binding and cord are from my stash.

Carolers Snow Jar Instructions

The first step is to cut a piece of Styrofoam to fit inside jar opening so the jar can fit over it. A craft knife should work for this. Then remove the white liner that was inside the jar lid. I used Extreme Double-Sided Tape ½ in to attach the Styrofoam inside the lid.

Trim the liner piece from jar lid to fit inside the jar opening and use it on top of the Styrofoam. It’s also adhered with Extreme Double-Sided Tape ½ in.

Making a Snowy Scene

Before adding two carolers, a tree and a lamp post on the lid, I screwed the jar to the lid to determine where jar front aligned with lid. It helped me determine where to place the carolers. Adhesive Dots Ultra Thin secure them in place.

Next, I used Dual Tip Glue Pen to spread the glue around the figures, then sprinkled snow glitter over it. I added more glue and glitter as needed. The glitter on the insides of the jar was not exactly intentional. I screwed the lid to the jar with the lid on top. Some of the glitter fell into the jar and stuck to the sides…static cling! It’s a happy accident and I like it! LOL!

To hide the edges of the Styrofoam, wrap a cord around the jar just above the lid. Add Extreme Double-Sided Tape ⅛ in around the jar, then adhere the cord to it with ends butted together in the back.

Add two pine cones and a seam binding bow to top of the jar (original bottom). These are held in place with Adhesive Dots 3D. That completes this little Carolers Snow Jar project!

Thanks for Visiting! Happy Holidays!
Judy

Creative Time: 30 Minutes
Skill Level: Beginner

Materials Needed
Scrapbook Adhesives by 3L®

Home Hobby by 3L®

Other
Plastic Jar; Miniature Carolers, Tree, Lamppost; Styrofoam; Martha Stewart Snow Glitter; Seam Binding; Decorative Cord; Pine Cones

Love It! Save It to Pinterest!
Visit our Website and Blog!
Sign up for our Newsletter so you never miss a contest or giveaway!

instagram purple icon facebook icon purple pinterest purple icon twitter purple icon YouTube icon blog subscription purple icon

12 Days of Giving with Creative Scrapbooker Magazine

We feel like Santa Claus! Join us today at Creative Scrapbooker Magazine’s 12 Days of Giving.

Click the button or image below to visit Creative Scrapbooker Magazine’s blog to enter to win this prize package worth over $57! Winners will be announced on December 24. Visit CSM for all the contest details.

Stay with us on social media and the newsletter so you don’t miss any of the opportunities to win!

It’s the 3rd opportunity for you to win this week! Be sure to visit THIS GIVEAWAY POST and THIS GIVEAWAY for an additional Holiday Giveaways and chances to win!

Visit our Website and Blog!
Sign up for our Newsletter so you never miss a contest or giveaway!

instagram purple icon facebook icon purple pinterest purple icon twitter purple icon YouTube icon blog subscription purple icon

Sweet and Simple Christmas Card

Welcome back, crafty friends! Tracy here, and today I have a Sweet and Simple Christmas Card to share. This fun little tutorial will show you how to Wear Your Adhesive on the Outside. Here are all of the details.

Christmas Card

Let’s Get Started

To start, you will want to cut a piece of white cardstock and the patterned paper for the front of the Christmas Card to the same size, 4 x 5.25-inch. Using a 2.75-inch circle punch, I cut a hole out of the patterned card front. Next, I used Distress Oxide inks and a stencil brush to add subtle colour under where the hole was punched out of the patterned piece.

Create the Wreath

Adhere the 2 layers together using the E-Z Runner® Petite Permanent Dots Refillable Dispenser and then grab some 3D Foam Circles White and began creating a pattern around the circular opening. This wreath of sorts will be the focal point of this Sweet and Simple Christmas Card.

I used a total of 12 large 3D Foam Circles White around the circle.

Then I added small 3D Foam Circles White in between the large ones. Remove the backing from the small circles only and then cover them with teal Metallic Transfer Foil Sheets Variety Colors.

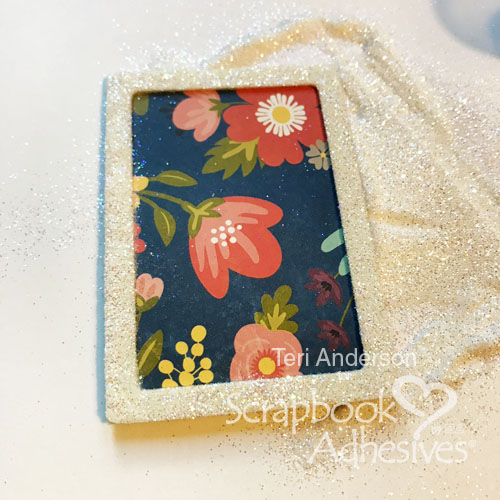
The next step is to take the liners off of the large 3D Foam Circles White and then cover them with fine glitter.

Adhere the patterned card front to the light blue cardstock base using Creative Photo Corners White. Add the super cute Doodlebug pieces to the Christmas Card in the middle of the 3D Foam Circle wreath.

Finally, add the Merry Christmas sentiment and gift box embellishment to the bottom of the Christmas Card.

Thanks so much for stopping by!
Tracy

Creative Time: 30 minutes
Skill Level: Intermediate

Materials Needed:
Scrapbook Adhesives by 3L®

Metallic Transfer Foil Sheets Variety Colors
Creative Photo Corners White
E-Z Runner® Petite Permanent Dots Refillable Dispenser
3D Foam Circles White Mix

Other Products Used:
Doodlebug Designs- Christmas Magic Collection, 2.75″ Circle Punch, Ultra Fine Glitter, Distress Oxide Ink (Tumbled Glass, Sugar Spun), Clarity Brush, Cardstock (White, Teal)

Save it on Pinterest!

Visit our Website and Blog!
Sign up for our Newsletter so you never miss a contest or giveaway!

instagram purple icon facebook icon purple pinterest purple icon twitter purple icon YouTube icon blog subscription purple icon

12 Days of Holiday Giving with Scrapbook and Cards Today Magazine

Today, December 10 is your lucky day! We’re sponsoring the giveaway at Scrapbook & Cards Today Magazine’s 12 Days of Holiday Giving.

Click the button or image below to visit Scrapbook & Cards Today Magazine’s blog to enter to win this prize package worth over $57!

Scrapbook and Cards Today Magazine Logo
12 Days of Holiday Giving - Giveaway with Scrapbook Adhesives by 3L and Scrapbook and Cards Today Magazine

Stay with us on social media and the newsletter so you don’t miss any of the opportunities to win!

Be sure to visit this post and this post for an additional opportunities to win this season!

Visit our Website and Blog!
Sign up for our Newsletter so you never miss a contest or giveaway!

instagram purple icon facebook icon purple pinterest purple icon twitter purple icon YouTube icon blog subscription purple icon

Dotty Doodlebug Christmas Cards

Happy Tuesday! It’s Shellye today and I’m sharing a duo of adorable Christmas cards. These are featuring Doodlebug Design and 3D Foam Circles to make dots on my “dotty” cards!

Dotty Doodlebug Christmas Cards by Shellye McDaniel for Scrapbook Adhesives by 3L

Making Dotty Cards

Cut two card bases to measure 4.25 x 5.5-inches. A swatch of red patterned paper is attached to the card front with my E-Z Runner® Petite Permanent Dots Refillable Dispenser.  

Dotty Doodlebug Christmas Cards by Shellye McDaniel for Scrapbook Adhesives by 3L

I’m using a Christmas collection from Doodlebug with multi dot patterned paper. 3D Foam Circles work in between the layers to attach the dot paper to the red base paper.

Dotty Doodlebug Christmas Cards by Shellye McDaniel for Scrapbook Adhesives by 3L

I created a pattern over the dot background with 3D Foam Circles, the larger size. Metallic Transfer Foils Holographic in silver are added over the tops of the 3D Foam Circles. I love the simple amount of shimmer that it adds!

The sentiments and paper strips are adhered using Crafty Foam Tape White. I’m using Adhesive Dots Micro to attach sequins.

Thank you for joining me today!
Shellye McDaniel

Creative Time: 30 minutes
Skill Level: Beginner

Materials Needed:
Scrapbook Adhesives by 3L®

Adhesive Dots Micro
Crafty Foam Tape White
3D Foam Circles White Mix
Metallic Transfer Foils Holographic
E-Z Runner® Petite Permanent Dots Refillable Dispenser

Other
Patterned Papers, Stickers, Die Cuts: Doodlebug Designs; Twine; Enamel Dots; Sequins

Save it on Pinterest

Dotty Doodlebug Christmas Cards by Shellye McDaniel for Scrapbook Adhesives by 3L

Visit our Website and Blog!
Sign up for our Newsletter so you never miss a contest or giveaway!

instagram purple icon facebook icon purple pinterest purple icon twitter purple icon YouTube icon blog subscription purple icon

Christmas Shopping List Tutorial

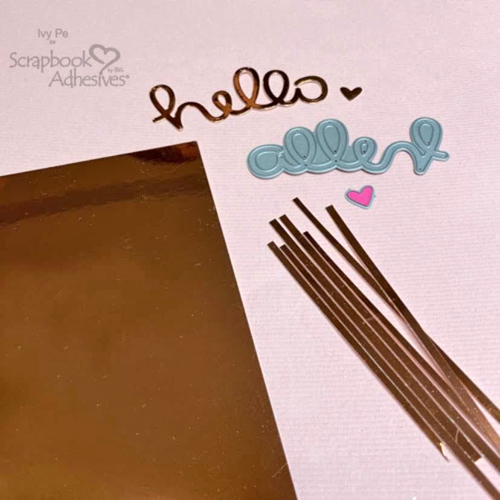
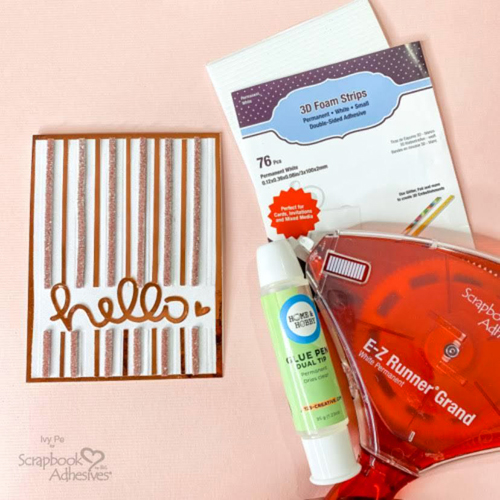
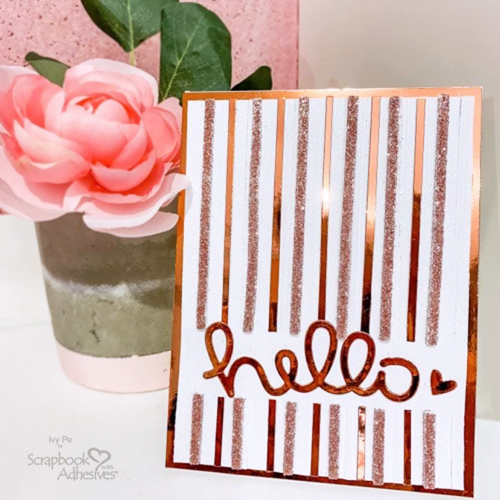
Hi crafty friends Ivy here I’m so excited to be a Guest Designer for Scrapbooks Adhesives by 3L®!  Today I have a project we all need for this season a shopping list booklet!

Christmas Shopping List Base

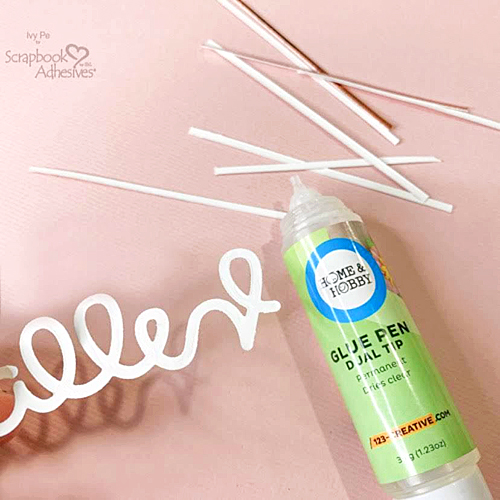
To start, I chose a shopping list cardstock from a paper pack I have as a template. With pink printer papers, I cut the same size as the template which is 3 x 8-inches. Using two binder clips to hold them together, I adhered the edge with the Dual Tip Glue Pen.

Shopping List Cover

For a booklet cover, I cut a piece of white cardstock to 6.5 x 8.5-inches to fit the list. Then score down the center. To make the cover cute, I used patterned paper to cover the booklet cover using the E-Z Runner® Grand Refillable Dispenser.

Secure the list to the inside of the booklet cover with Crafty Power Tape Dispenser.

Embellishing the Cover

Now the fun begins, embellishing the Christmas Shopping List cover! I decorated my cover using some Doodlebug Odds & Ends and 3D Foam Holiday Embellishment Kit.

For the trees, I foiled it with the solid green foil that was included in the kit. It is SO EASY! Take off the top liner, place your foil COLOR SIDE UP over the 3D Foam Tree and rub to transfer the color to the shape. Peel off and you have yourself a foiled tree. Best part? No tools!

For the snowflakes and snowballs I used some glitter to give some sparkle. The 3D Foam Snowflakes and the 3D Foam Circles in small size are included in the 3D Foam Holiday Embellishment Kit.

For the words “shopping list,” I cut it out of my electronic cutting machine and vinyl. Then placed it on a little label that I hand cut with scissors. The label was popped up Crafty Foam Tape Black for some dimension.

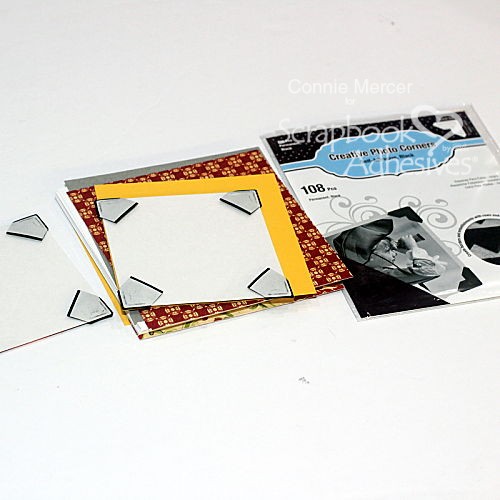
The corners needed a little something so I placed a creative photo corner on each one – it was the perfect touch! I chose the Creative Photo Corners in White from the Creative Photo Corners Mix Pack.

This is how the final project looks like…what do you think? Now you’re organized in holiday fashion! 

Thanks so much!
Ivy Pe

Creative Time: 30 minutes
Skill Level: Beginner

Materials Needed:
Scrapbook Adhesives by 3L®
E-Z Runner® Grand Refillable Dispenser
Crafty Power Tape Dispenser 81 ft.
3D Foam Holiday Embellishment Kit with Foil
Crafty Foam Tape Black
Creative Photo Corners Mix Pack

Home Hobby by 3L®
Dual Tip Glue Pen

Other
Patterned Papers, Die Cuts, Cardstock Stickers: Doodlebug Designs (Christmas Magic Collection); White Cardstock (Neenah); Pink Printer Paper; Oracal 651 Vinyl; Cricut Electronic Cutting Machine

Love It! Save It to Pinterest!
Visit our Website and Blog!
Sign up for our Newsletter so you never miss a contest or giveaway!

instagram purple icon facebook icon purple pinterest purple icon twitter purple icon YouTube icon blog subscription purple icon

Christmas Giveaway with Stamp and Scrapbook Expo

NOW CLOSED!

Thanks for Participating in Stamp and Scrapbook Expo Giveaway! Winner was announced on their blog 🙂 See more upcoming holiday giveaway events by subscribing to our FREE newsletter – scroll down to sign up!

We’re starting the holiday season off with the first of several giveaways. Thank you to Stamp and Scrapbook Expo for the opportunity to celebrate with a $50 value prize full of Adhesives!

This giveaway is hosted on Stamp and Scrapbook Expo’s blog, but hurry and Enter NOW!

It starts TODAY, December 7, 2019 at 4PM EST. (We apologize for the time difference in the newsletter!)

You only have 24 hours to visit their blog and leave a comment as your entry. Click the button or image below:

Stay with us on social media and the newsletter so you don’t miss any of the upcoming opportunities to win!

Visit our Website and Blog!
Sign up for our Newsletter so you never miss a contest or giveaway!

instagram purple icon facebook icon purple pinterest purple icon twitter purple icon YouTube icon blog subscription purple icon

Window Scene Christmas Cards

Hi, everyone! Are you looking for a unique Christmas card to send out this year? It’s Teri here, and I’m going to show you how to make window scene Christmas cards that are sure to wow your friends!

Happy Holidays and Merry Christmas Window Scene Cards Tutorial by Teri Anderson for Scrapbook Adhesives by 3L

These cards are easy to make with a little creative muscle and a few basic paper crafting supplies!

Starting the Window Scene

Start by cutting a window from cardstock. You can either use a window die or a paper trimmer. If you are using a paper trimmer, simply cut a rectangle and then cut four squares out of it.

You’ll also want to cut four squares of patterned paper slightly larger than the openings, to place behind the windows.

Stamp or write a sentiment on the front of the window. Set the window on a card base. Use a pencil to mark the window’s openings. Adhere the patterned paper squares to the card.

Place a piece of transparency film on the back of the window panel. Add a die-cut tree the card. Use the tree as it is or decorate it by adding gems or enamel dots to it.

Flip the window panel over and add strips and blocks of 3D Foam to it. You can use Crafty Foam Tape or you can make your own strips and blocks by freehand cutting them from a 3D Creative Foam Sheet.

Complete your window scene by adding a Christmas die-cut, like a Santa or reindeer. To make it pop, adhere it with 3D Foam. I decided to trace the shape with a pencil on a piece of 3D Foam Creative Sheet, cut it out with my scissors and affix the die-cut right onto it.

Merry Christmas Window Scene Cards Tutorial by Teri Anderson for Scrapbook Adhesives by 3L

You can kick things up a notch by decorating the die-cut. I gave Santa a glittery nose by mounting an Adhesive Dot to it and dumping glitter on top. So fun!

Merry Christmas Window Scene Cards Tutorial by Teri Anderson for Scrapbook Adhesives by 3L

Kicking Up Your Window Scenes Even More

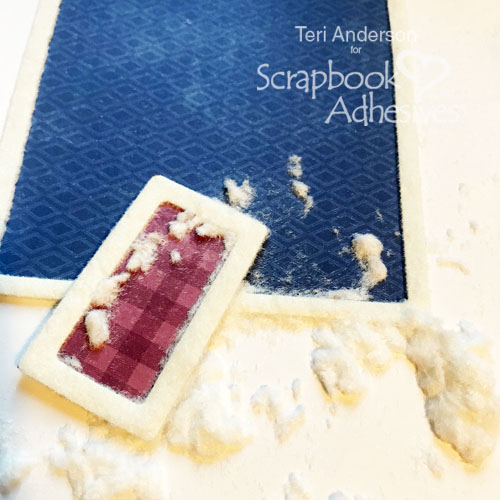
Another fun way to kick up your window scene Christmas cards is to add a little snow to the windows. Randomly apply 3D Foam Circles to the windows and the dump white flock or glitter on them.

Happy Holidays Window Scene Cards Tutorial by Teri Anderson for Scrapbook Adhesives by 3L

Craving more realistic snowflakes? Try using the 3D Foam Snowflakes instead!

Happy Holidays Window Scene Cards Tutorial by Teri Anderson for Scrapbook Adhesives by 3L

I hope you enjoyed this tutorial! I’d love to see your window scenes! Share your links with me in the comments section so I can leave you some love!

Teri Anderson

Creative Time: 60 Minutes
Skill Level: Beginner

Materials Needed
Scrapbook Adhesives by 3L®

Other
Patterned Papers, Die-cuts, Enamel Dots: Doodlebug Design; White Cardstock: Neenah Paper; Stamp: Lawn Fawn (Simply Winter Sentiments Stamp Set); Dies: Lawn Fawn (Foursquare Backdrops: Portrait); Black Ink Pad: Ranger Ink; Flock: Stampendous!; Glitter: Ranger Ink

Save It to Pinterest! 
Happy Holidays and Merry Christmas Window Scene Cards Tutorial by Teri Anderson for Scrapbook Adhesives by 3L

Visit our Website and Blog!
Sign up for our Newsletter so you never miss a contest or giveaway!

instagram purple icon facebook icon purple pinterest purple icon twitter purple icon YouTube icon blog subscription purple icon

Laced Snowflake Card Tutorial

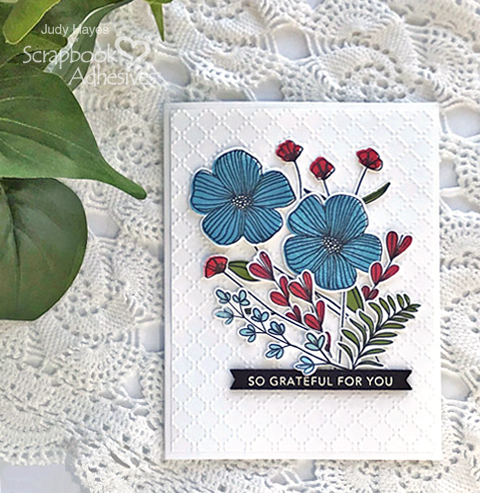
Season’s Greetings! It’s Yvonne with a Laced Snowflake card. Lace always gives such a romantic touch to a card. Since it’s a Christmas card I added sparkle using Metallic Transfer Foil and the E-Z Runner® Petite Permanent Dots Refillable Dispenser.

Season's Greetings on a Laced Snowflake card, tutorial by Yvonne van de Grijp for Scrapbook Adhesives by 3L

Laced Snowflake Card Background

First cut a piece of blue patterned paper to a rectangular that fits your card base.

Use a ruler to make straight lines with the E-Z Runner® Petite Permanent Dots Refillable Dispenser. We will be foiling on top of the adhesive to show a design on the card front. This technique is known as “Wear Your Adhesive on the Outside.”

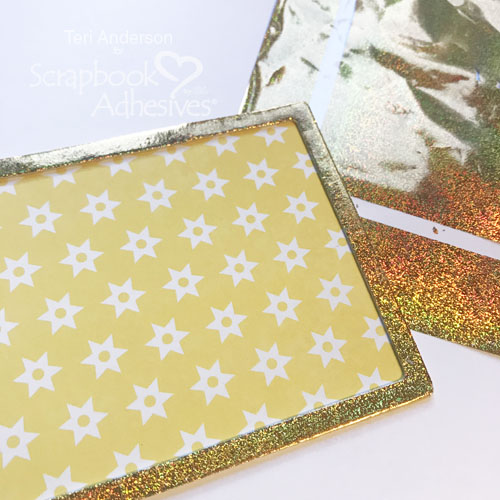
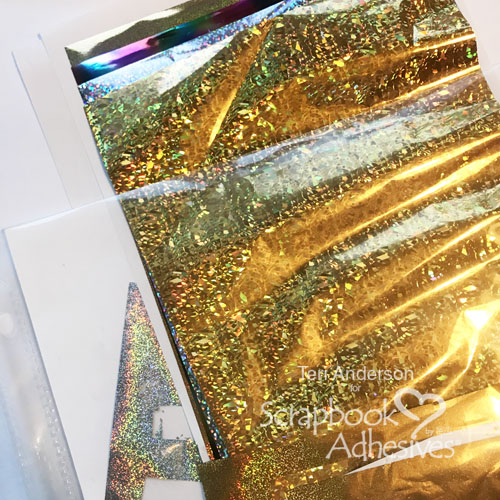
How do you foil? Simple! Gently rub Metallic Transfer Foil Sheets Holographic Colors with the pattern facing up, and place it over the adhesive lines made with the E-Z Runner® Petite Permanent Dots Refillable Dispenser. Rub gently and then remove the Metallic Transfer Foil Sheets.

Next cut a piece of lace wider than the paper, and fold it around the card panel. Adhere to the back side using Premium Double-Sided Tape 1/4 in.

Adhere the laced paper onto a grey cardstock panel and then onto a white card base. To adhere use the E-Z Runner® Petite Permanent Dots Refillable Dispenser.

Create the Snowflake

Die-cut snowflakes from white and gold cardstock. Then stack the snowflakes using 3D Foam Circles White Mix, they add extra dimension.

Adhere a pearl button on top using Adhesive Dots Medium Ultra Thin. Next, place the snowflake onto the laced card using Adhesive Dots Medium Ultra Thin.

Silver Beaded Circles

Making the snowy silver circles is very easy. Remove the top liner from a few 3D Foam Circles White Mix in the small size and sprinkle silver micro beads on top. Make sure to press the beads into the adhesive.

Then place the beaded circles onto the card. Yep, another medium to use to “Wear Your Adhesives on the Outside!”

Laced Snowflake Card Tutorial by Yvonne van de Grijp for Scrapbook Adhesives by 3L

Finish the card with a Season’s Greetings sentiment sticker and voila, your Laced Snowflake card is ready to be sent!

Wishing you happy crafting!
Yvonne

Season's Greetings on a Laced Snowflake card, tutorial by Yvonne van de Grijp for Scrapbook Adhesives by 3L

Creative Time: 30 minutes
Skill Level:
Intermediate

Materials Needed:
Scrapbook Adhesives by 3L®
E-Z Runner® Petite Permanent Dots Refillable Dispenser
3D Foam Circles White Mix
Adhesive Dots Medium Ultra Thin
Metallic Transfer Foil Sheets Holographic Colors

HomeHobby by 3L®
Premium
Double-Sided Tape 1/4 in

Other
Etched Dies and Die Cutting Machine: Spellbinders® Paper Arts -Yuletide Snowflakes A Charming Christmas Collection; White, Grey, Gold, and Patterned Cardstock; Silver Micro Beads; Lace; Button; Twine; Sentiment: Tim Holtz -Holiday Talk

Save It to Pinterest!
Season's Greetings on a Laced Snowflake card, tutorial by Yvonne van de Grijp for Scrapbook Adhesives by 3L

Visit our Website and Blog!
Sign up for our Newsletter so you never miss a contest or giveaway!

instagram purple icon facebook icon purple pinterest purple icon twitter purple icon YouTube icon blog subscription purple icon